YubiKey SSH
Secure SSH with YubiKey Smart Card and U2F
This tutorial will explain configuring SSH authentication using a YubiKey with Smart Card key storage and U2F authentication. The users SSH private key will be stored on the YubiKey and U2F will be used to authenticate with Pritunl Zero when obtaining an SSH certificate. Secondary systems such as Duo can also be included to provide additional security.
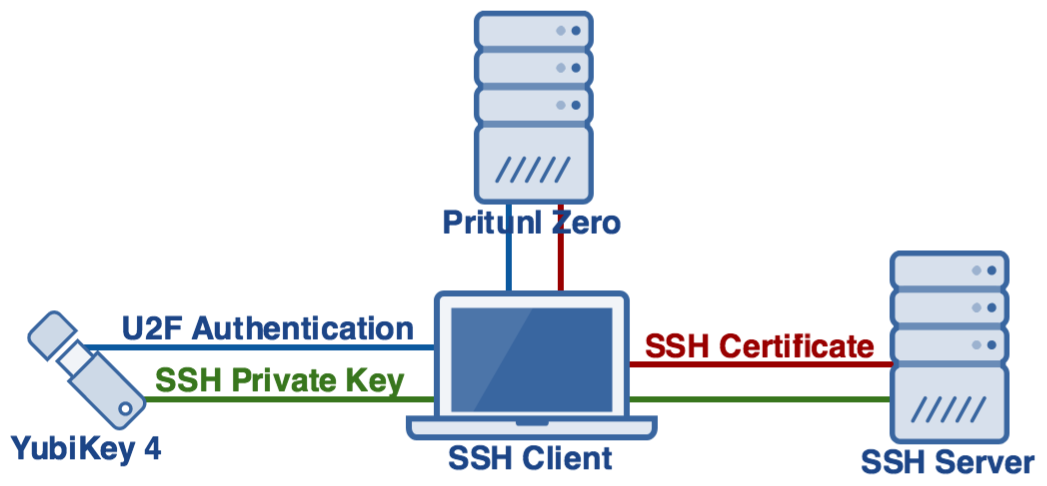
Example Authentication Process
This example authentication process represents the process a user will follow to authenticate using all of the available authentication factors. Policies can be used to control what methods are required for a faster authentication process. Refer to the next section for configuring Pritunl Zero.
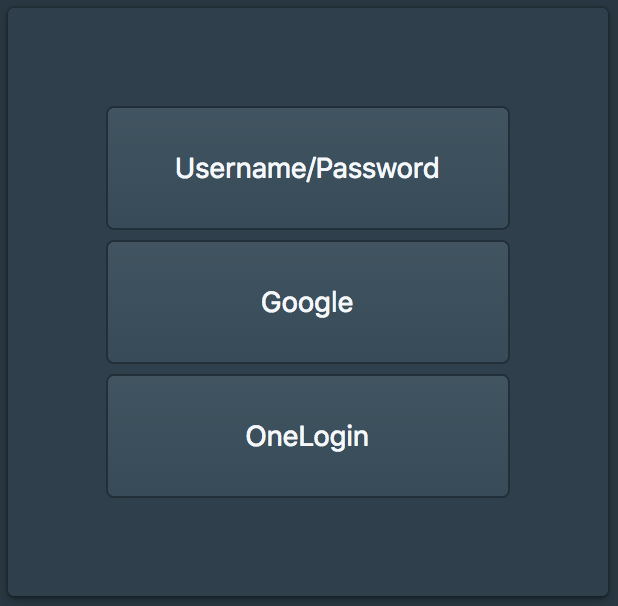
The SSH authentication starts with requesting a SSH certificate from the Pritunl Zero server, this is done by running the command pritunl-ssh. This will direct the user to the Pritunl Zero user authentication web page. If they don't have an active session they will need to login with primary authentication such as Google or OneLogin. Optionally Pritunl Zero policies can be configured to require secondary and U2F at this stage but in this example these will be required at the SSH certificate request stage to avoid users needing to re-authenticate secondary.
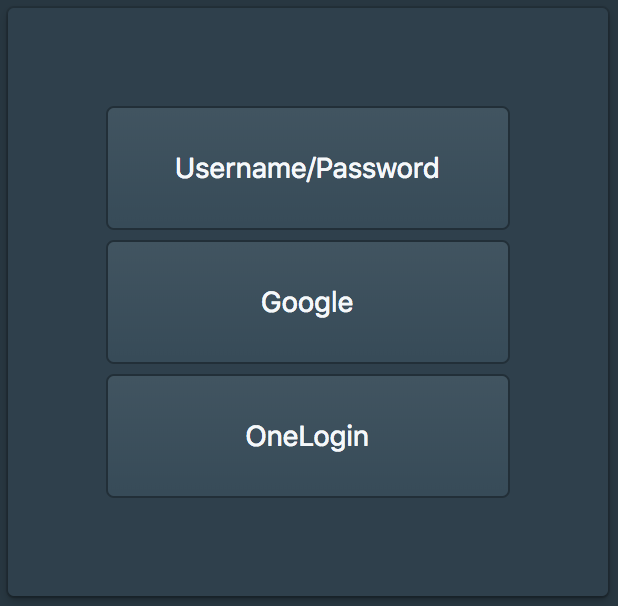
After the user has authenticated or if the user already has an active session they will be prompted to
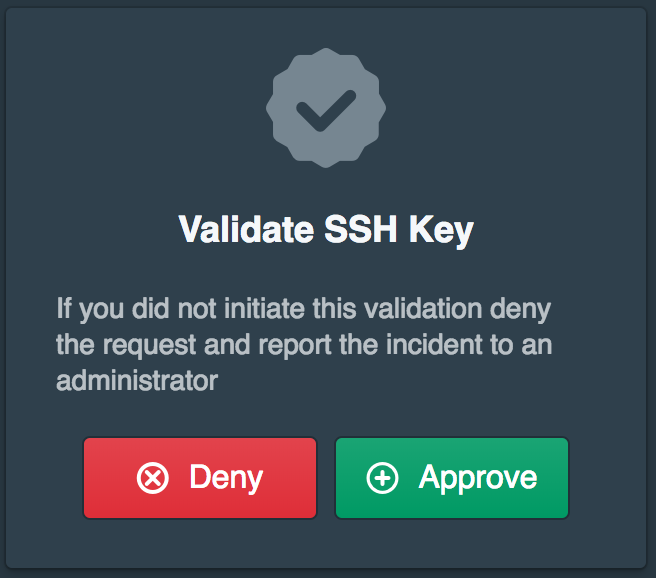
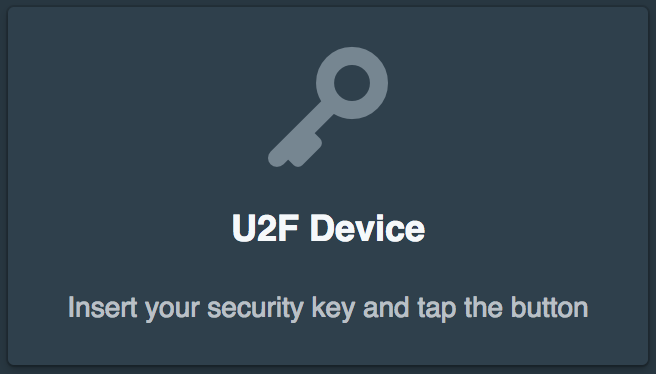
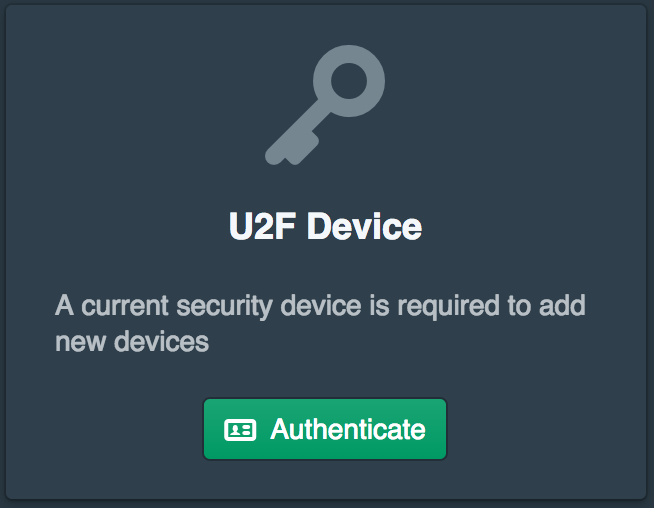
After clicking approve they will be prompted to tap the gold button on the YubiKey to activate the U2F authorization.
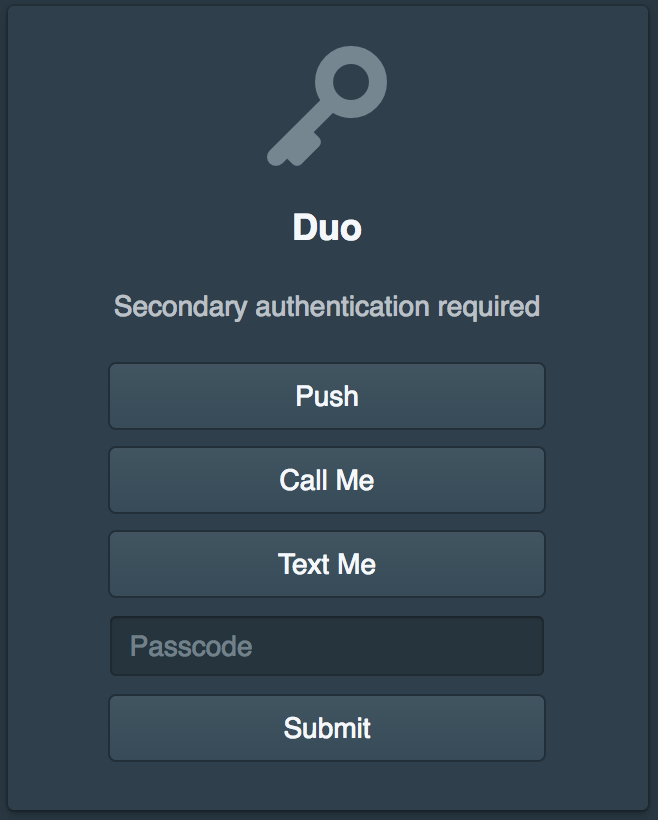
Next they will be prompted to validate Duo. The Pritunl Zero settings allow customizing which Duo factors are available if methods such as text or call are not wanted.
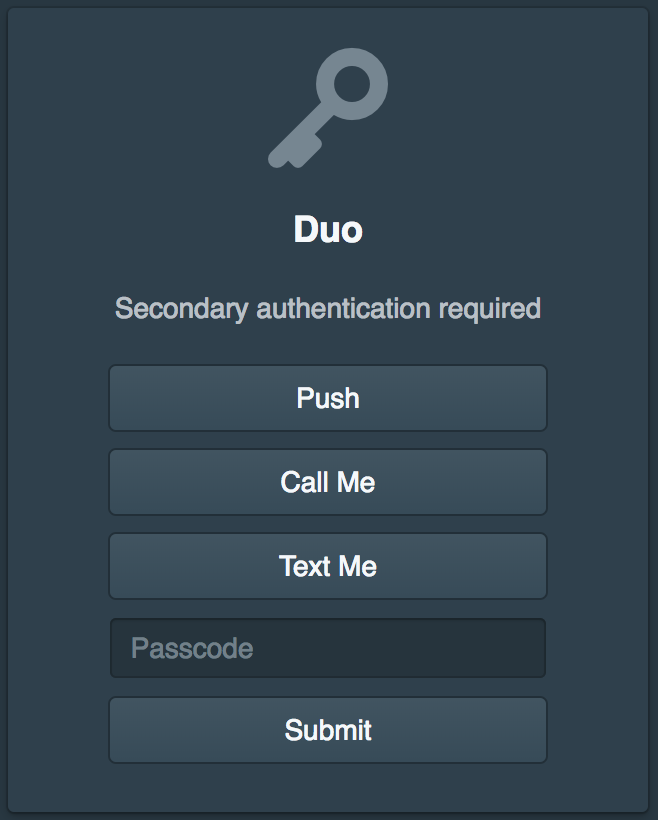
After the user has authenticated the Pritunl Zero server will return an SSH certificate to the pritunl-ssh process. With this policy configuration the Pritunl Zero server will only provide an SSH certificate for the public key of the users YubiKey. If the user attempted to request a certificate for a different YubiKey or an SSH public key of a local key the Pritunl Zero server will reject the request. By default this certificate will be valid for 8 hours. This allows the user to authenticate to SSH servers for 8 hours without needing to validate with Pritunl Zero. The expiration time can be configured in the Pritunl settings.
Once the user has obtained an SSH certificate the pritunl-ssh application will automatically update the ~/.ssh/config to include the certificate. Pritunl Zero does not use any custom protocols or modified SSH applications. The user will be able to continue using SSH the same way they did before Pritunl Zero including using any SSH based applications such as git, rsync, mosh and tmux.
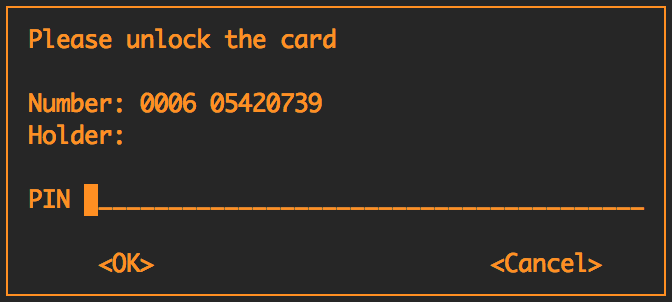
On the first SSH attempt they will be prompted to enter the PIN for the YubiKey. The YubiKey has counters on the device that prevent brute forcing this PIN. By default if a user fails the PIN 3 times the key will need to be reset which will clear any private keys stored on the device. This PIN will be cached by the GPG agent until the configured expiration time. If the device is unplugged the PIN will be required again.
Configure Pritunl Zero
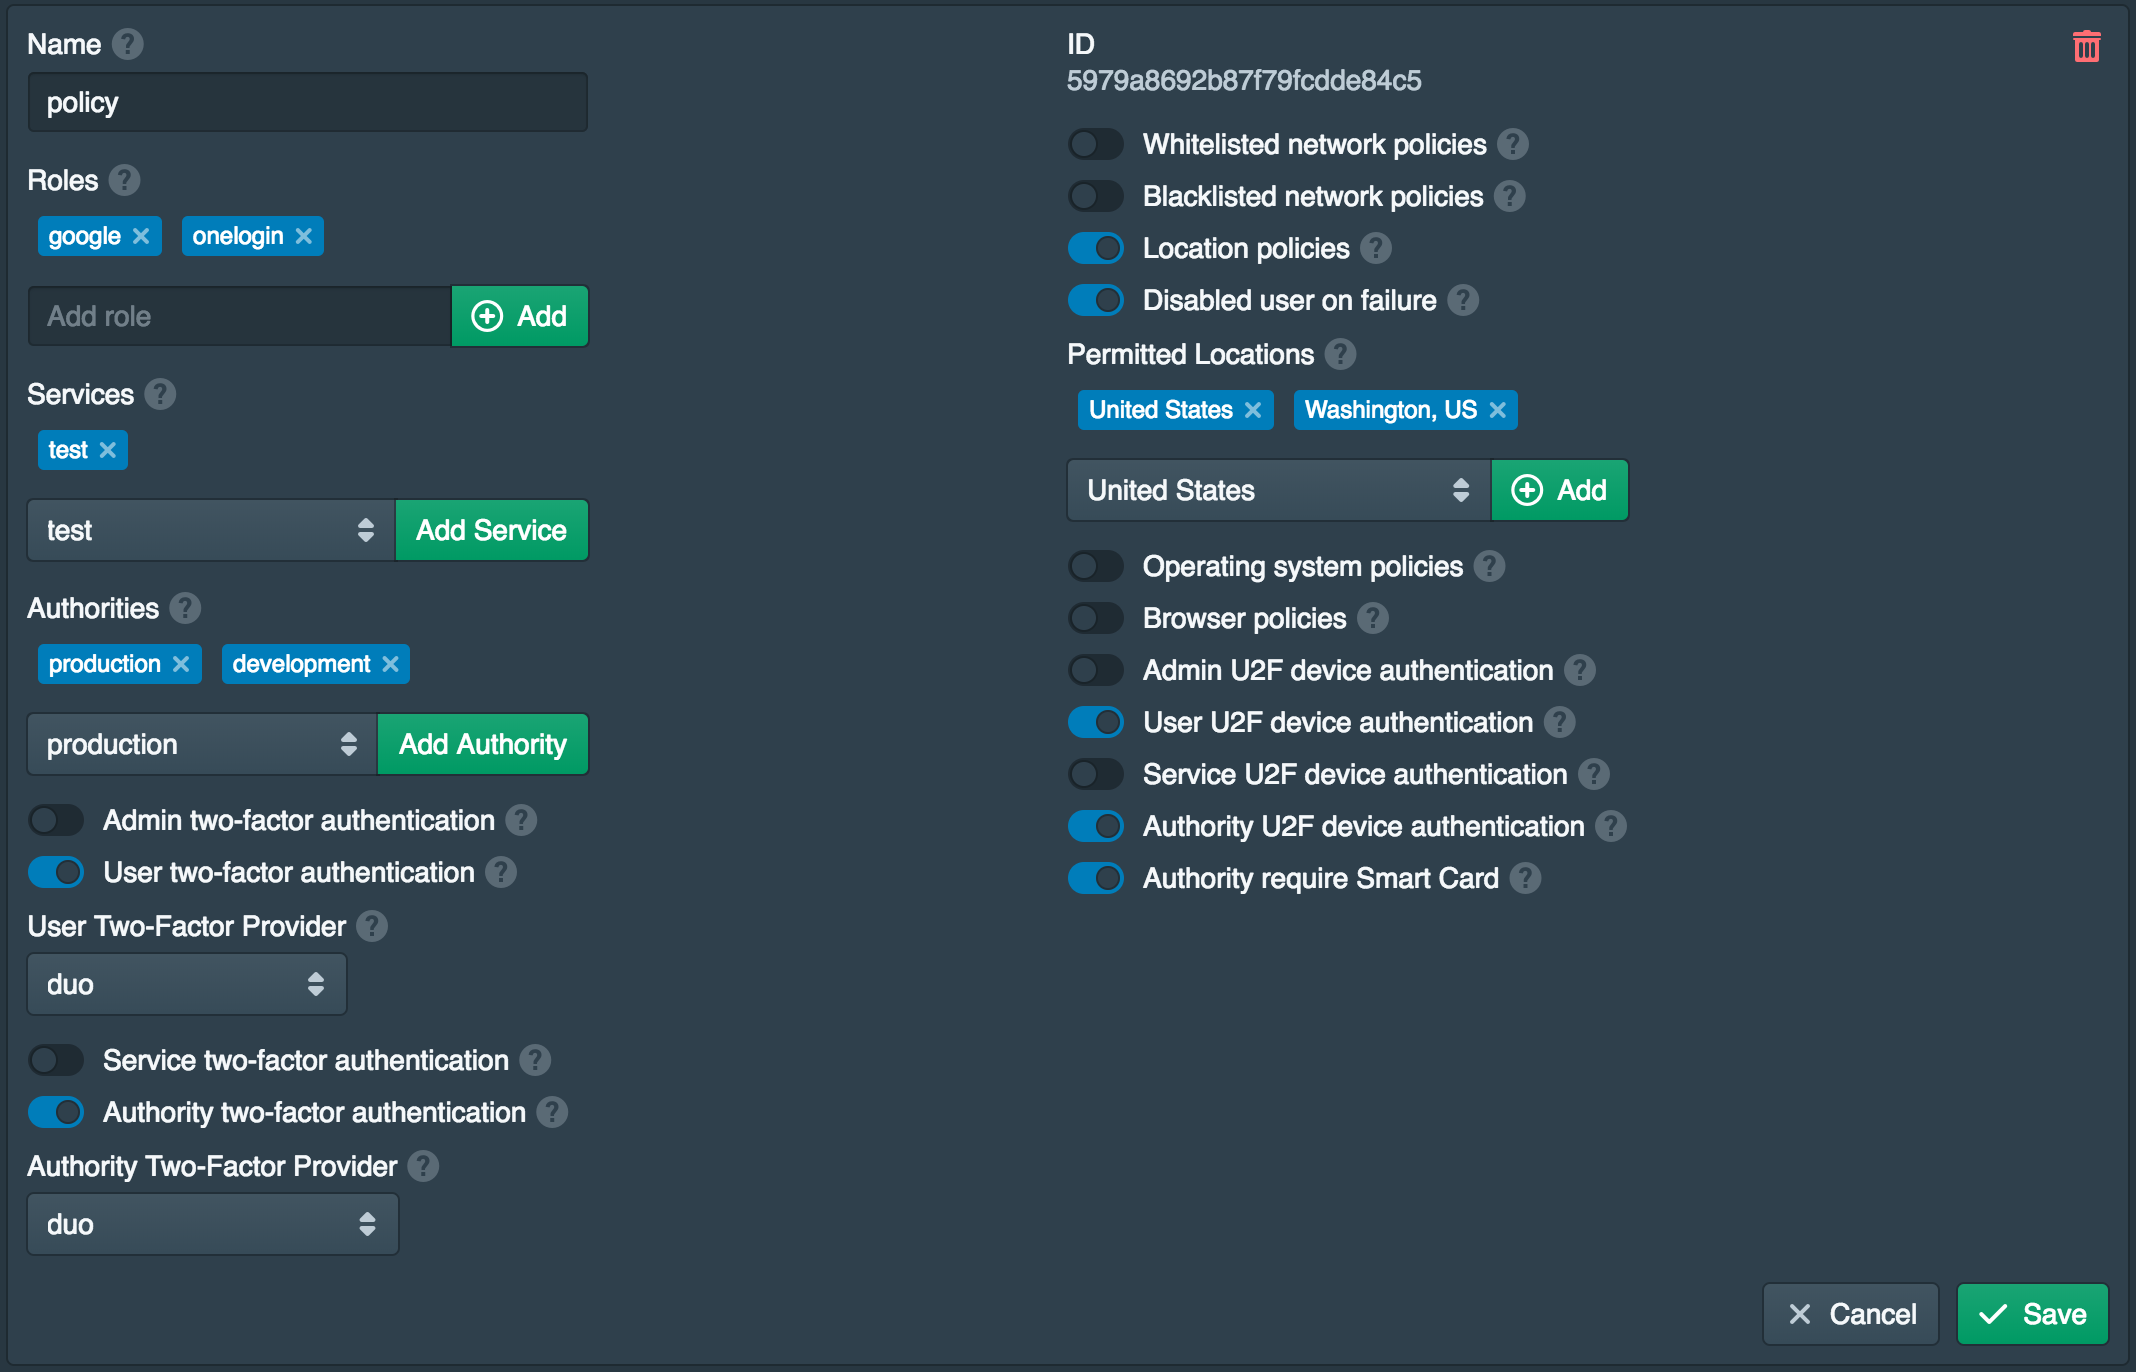
First follow the Getting Started SSH guide for installing and configuring Pritunl Zero for SSH. Once done open the Polices tab and enable Authority U2F device authentication and Authority require Smart Card. This policy requires the user to validate with U2F when validating SSH certificates and requires the user to use a Smart Card.
It isn't possible for the Pritunl Zero server to distinguish a Smart Card public key from any other SSH public key with certainty. The check is done by looking for the cardno string in the SSH public key. The client makes it difficult but it is possible for the user to modify the pritunl-ssh client to avoid this requirement. Either way the SSH public key will still need to be registered as a Smart Card device in Pritunl Zero. The Pritunl Zero server will also still reject any SSH public keys that are not registered if this policy is enabled.
macOS Smart Card Configuration
The commands below will configure macOS to start the GPG agent with Smart Card support. Logout or restart after running commands. The command ssh-add -l should display a RSA key from the YubiKey.
brew install gnupg

tee ~/.gnupg/gpg-agent.conf << EOF
default-cache-ttl 86400
max-cache-ttl 999999
enable-ssh-support
EOF

tee ~/.gnupg/scdaemon.conf << EOF
card-timeout 1800
EOF

tee -a ~/.bash_profile << EOF
alias ssh='gpg-connect-agent updatestartuptty /bye; ssh'
export GPG_TTY=\$(tty)
export SSH_AUTH_SOCK=\$HOME/.gnupg/S.gpg-agent.ssh
EOF
Fedora Smart Card Configuration
The commands below will configure Fedora to start the GPG agent with Smart Card support. Logout or restart after running commands. The command ssh-add -l should display a RSA key from the YubiKey.
sudo dnf -y install gnupg2 pcsc-lite-ccid
sudo systemctl enable pcscd

tee ~/.gnupg/gpg-agent.conf << EOF
default-cache-ttl 86400
max-cache-ttl 999999
enable-ssh-support
EOF

tee ~/.gnupg/scdaemon.conf << EOF
card-timeout 1800
EOF

sudo ln -s /usr/share/doc/gnupg2/examples/systemd-user/dirmngr.service /etc/systemd/user/dirmngr.service
sudo ln -s /usr/share/doc/gnupg2/examples/systemd-user/dirmngr.socket /etc/systemd/user/dirmngr.socket
sudo ln -s /usr/share/doc/gnupg2/examples/systemd-user/gpg-agent-browser.socket /etc/systemd/user/gpg-agent-browser.socket
sudo ln -s /usr/share/doc/gnupg2/examples/systemd-user/gpg-agent-extra.socket /etc/systemd/user/gpg-agent-extra.socket
sudo ln -s /usr/share/doc/gnupg2/examples/systemd-user/gpg-agent-ssh.socket /etc/systemd/user/gpg-agent-ssh.socket
sudo ln -s /usr/share/doc/gnupg2/examples/systemd-user/gpg-agent.service /etc/systemd/user/gpg-agent.service
sudo ln -s /usr/share/doc/gnupg2/examples/systemd-user/gpg-agent.socket /etc/systemd/user/gpg-agent.socket

sudo systemctl daemon-reload

systemctl --user enable dirmngr.socket
systemctl --user enable gpg-agent-browser.socket
systemctl --user enable gpg-agent-extra.socket
systemctl --user enable gpg-agent-ssh.socket
systemctl --user enable gpg-agent.socket

tee -a ~/.bashrc << EOF
export SSH_AUTH_SOCK="/run/user/\$(id -u)/gnupg/S.gpg-agent.ssh"
EOF
User YubiKey Self Deployment
These next steps will be performed by the user on first login. Once the user completes the initial deployment new U2F devices or Smart Cards cannot be added without first validating an existing U2F device. If the user removes all U2F devices the account will be disabled and an administrator will need to manually reactivate their account.
The user starts the self deployment when running pritunl-ssh for the first time or by running pritunl-ssh config. After entering the Pritunl Zero user hostname and selecting the YubiKey they will be directed to the Pritunl Zero user login.

The user will then login with primary and if configured secondary authentication.
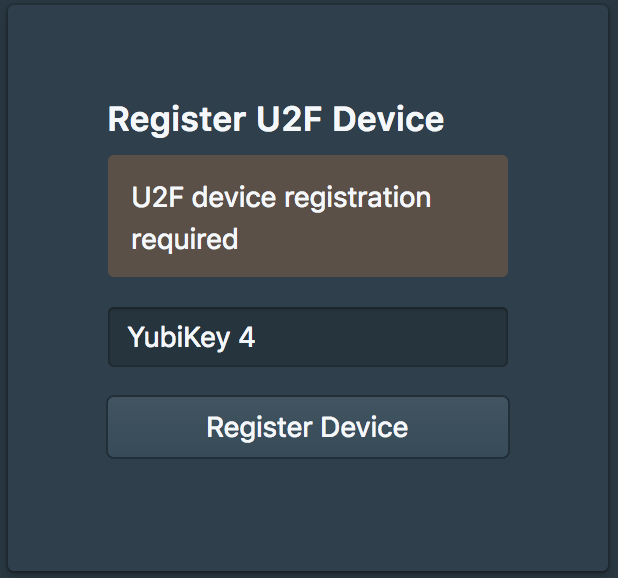
The user will then be prompted to register the first U2F device.
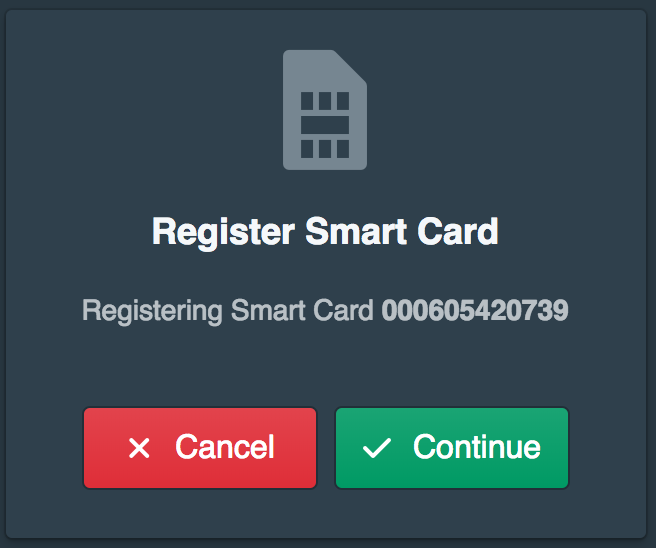
They will then be prompted to register the Smart Card.
They will then need to authenticate with their U2F device.
If configured they will then also need to authenticate secondary such as Duo.
Next the smart card device name will be configured.
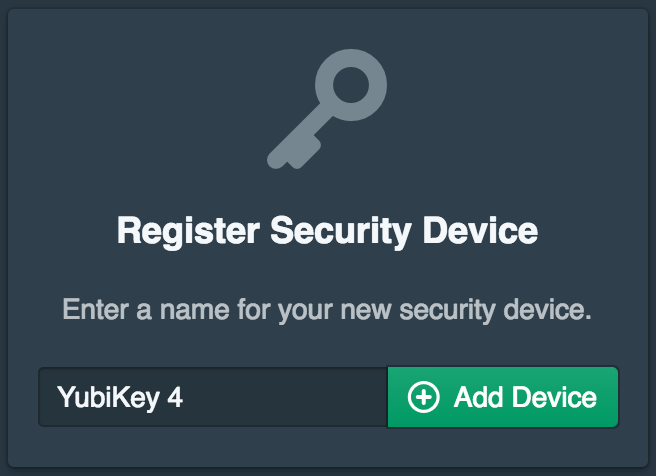
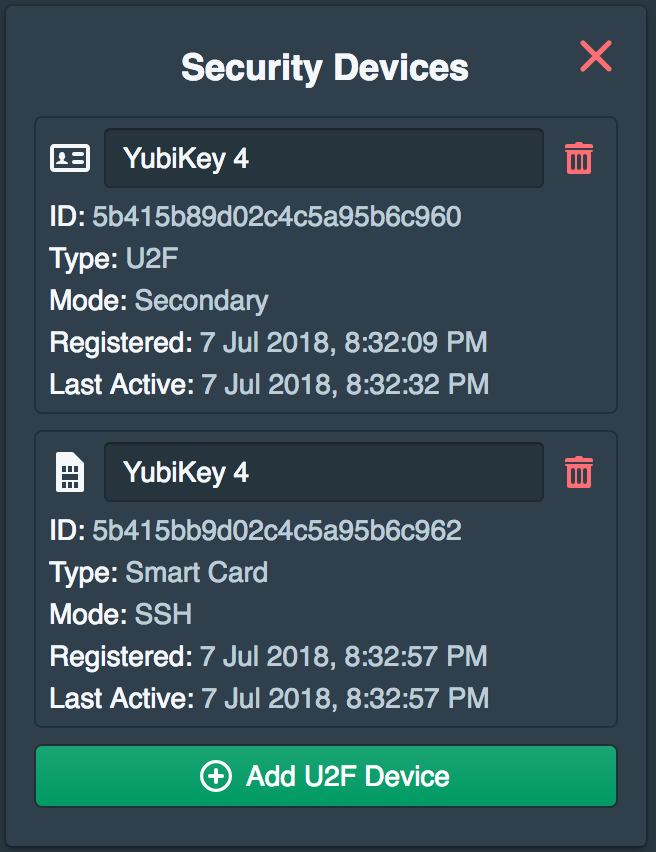
This will add both the U2F and Smart Card device to the users devices. The user will then be ready to authenticate with SSH using the YubiKey.
Updated 3 months ago
