Site-to-Site with IPsec
Create a site-to-site connection between AWS, Google Cloud and Oracle Cloud
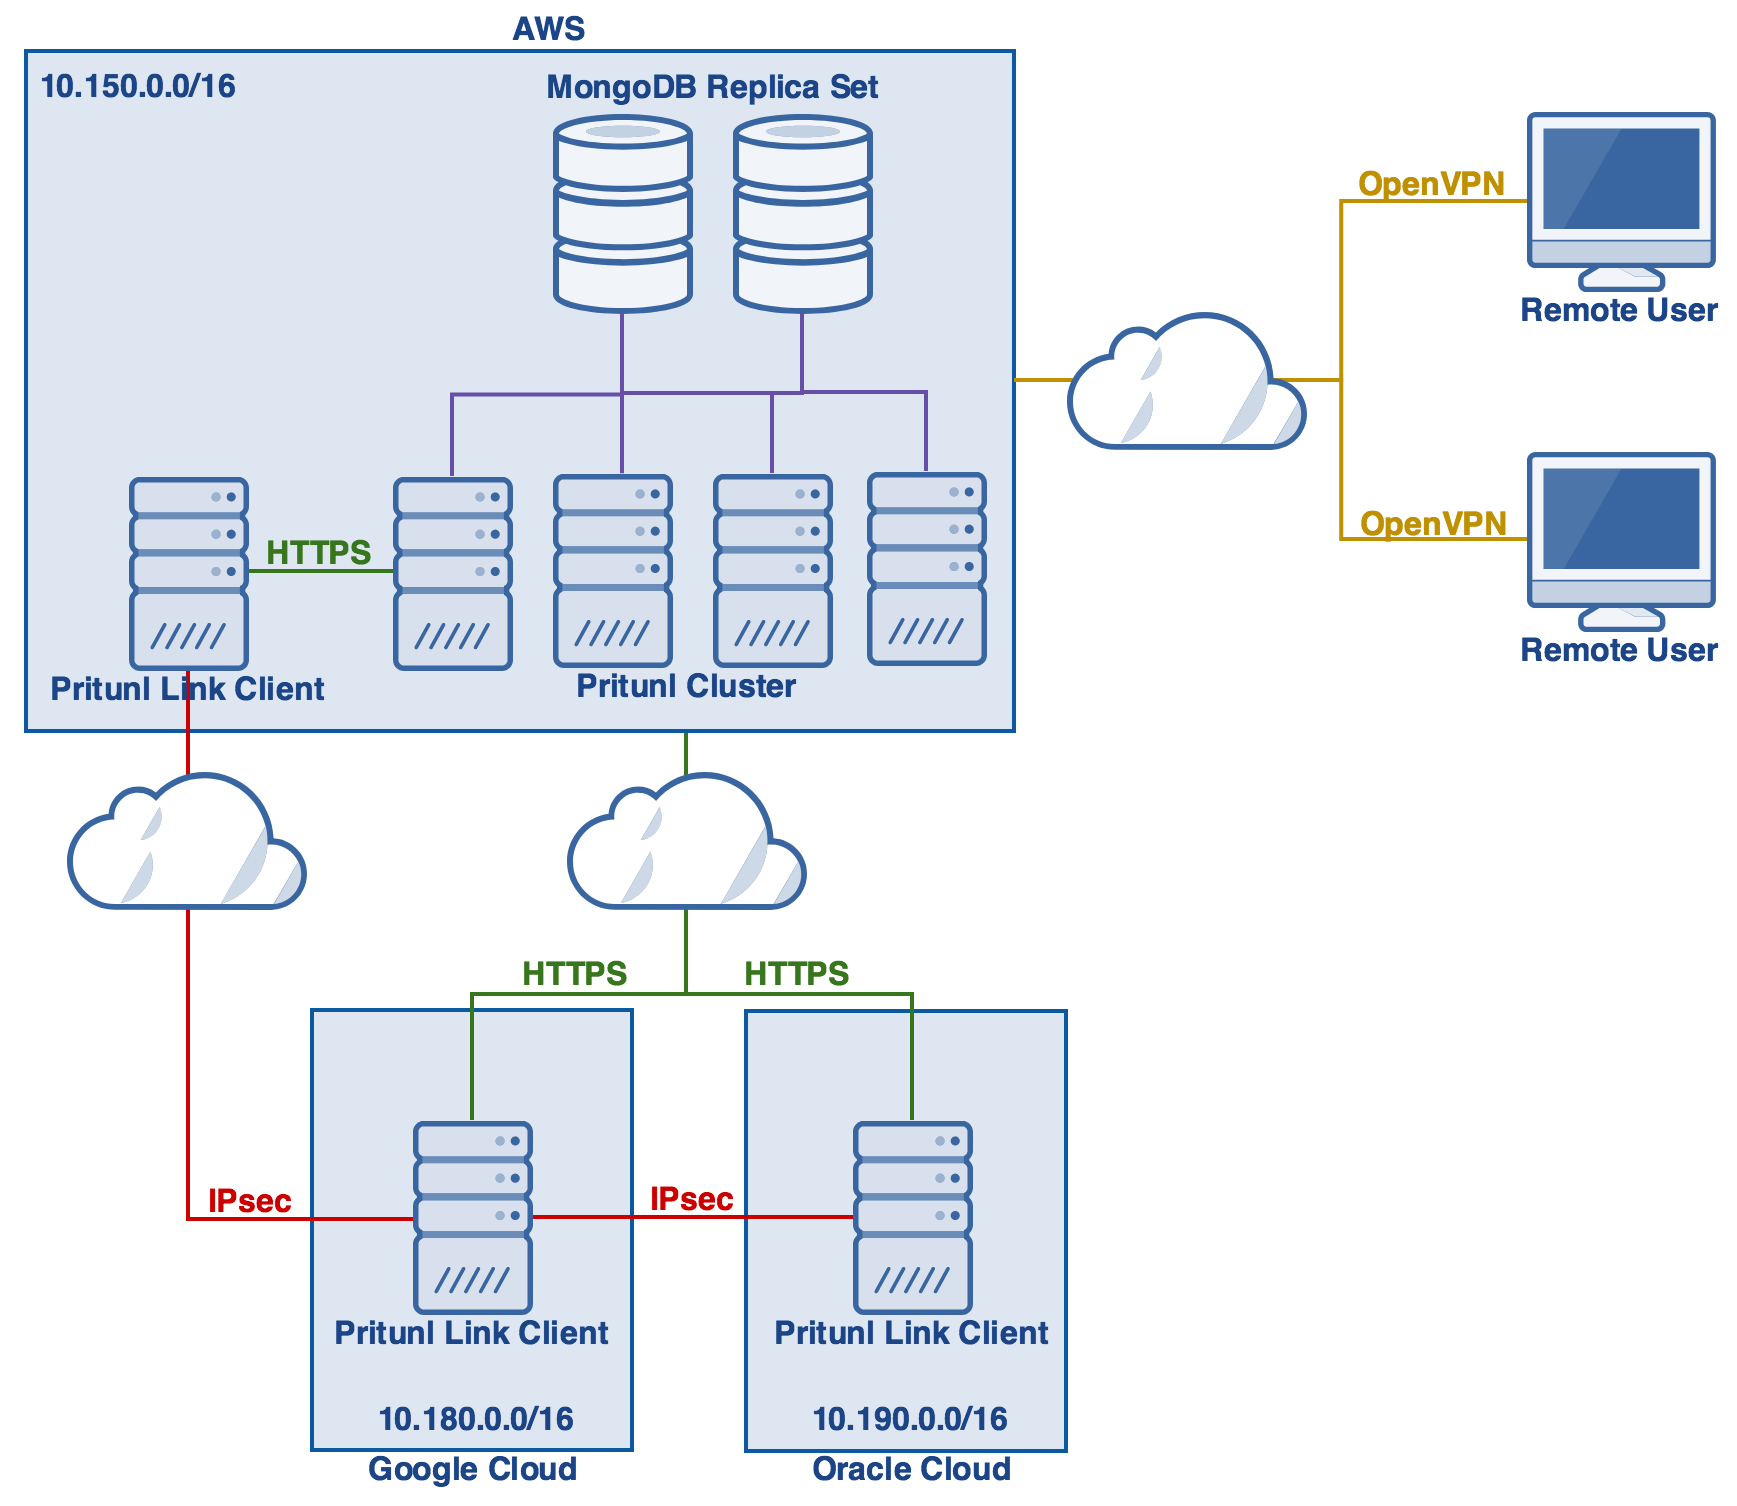
This tutorial will explain creating an IPsec peering connection between VPCs on AWS, Google Cloud and Oracle Cloud. Additionally a VPN server will be created to allow VPN clients to access all the VPCs. Below is the topology for this tutorial. The purple lines represent a connection from the Pritunl servers to the MongoDB replica set. The green lines represent HTTPS connections from the Pritunl Link clients to the Pritunl server. The red lines represent IPsec connections between the Pritunl Link clients. The yellow lines represent OpenVPN connections from remote users to the Pritunl servers. The clouds represent connections that occur over the internet. Once done instances in any of the VPCs will be able to communicate with instances in the other VPCs over an IPsec connection. For high availability multiple Pritunl Link clients can be configured in each VPC to provide failover. Before starting note the subnets below and change the corresponding subnets throughout this tutorial to match your cloud infrastructure.
Pritunl
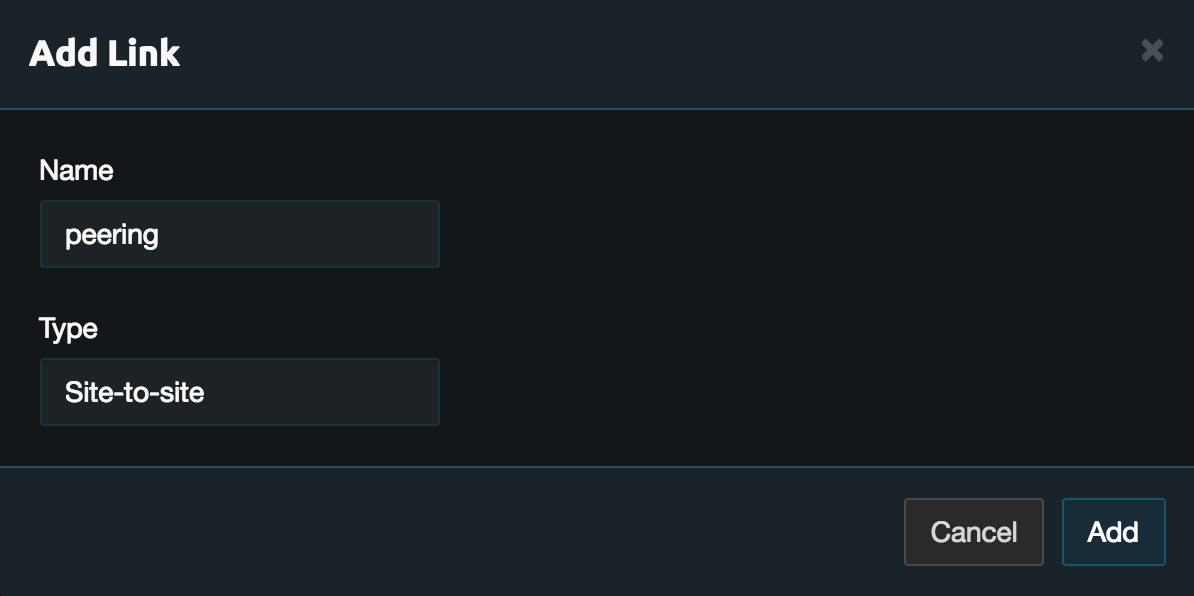
In the Links tab click Add Link. Then name the link and set the Type to Site-to-site.
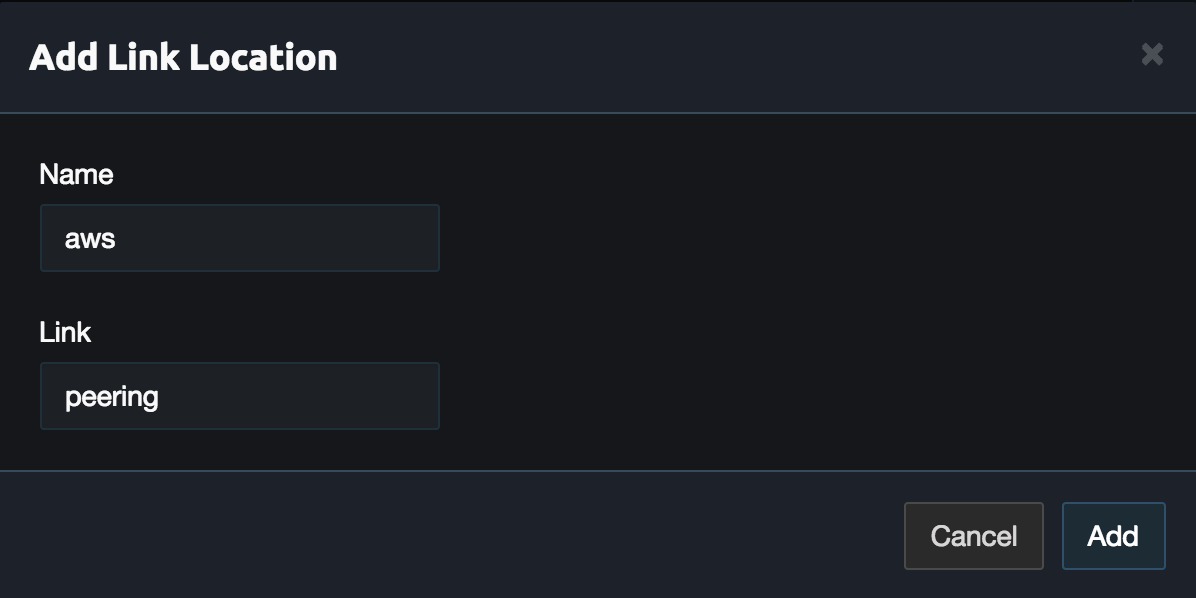
Then click Add Location and set the name to aws. Select the Link created above then click Add.
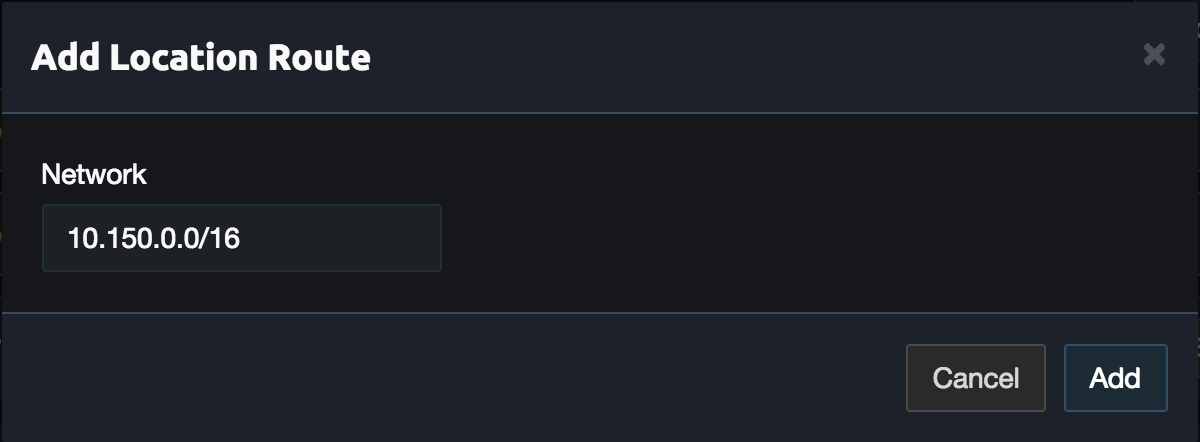
Click Add Route in the aws location and enter the VPC subnet. In this example this is 10.150.0.0/16. Then click Add.
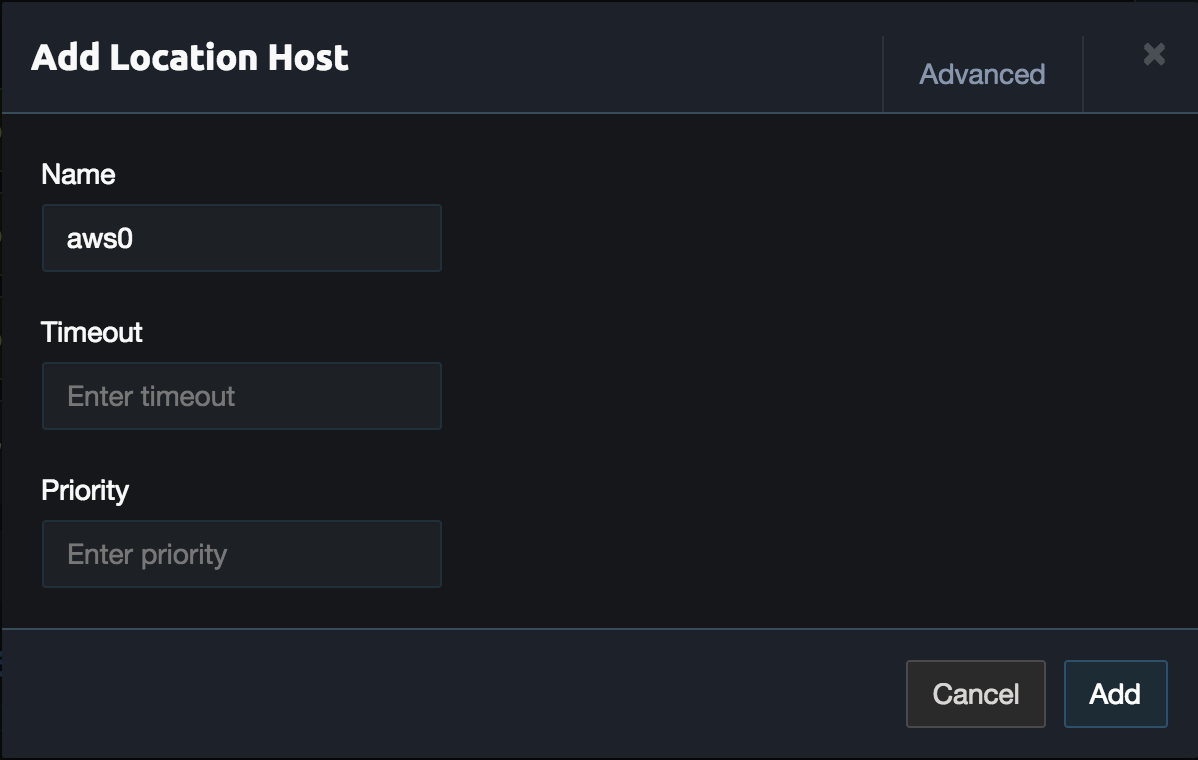
Next click Add Host in the aws location and set the name to aws0. Then click Add.
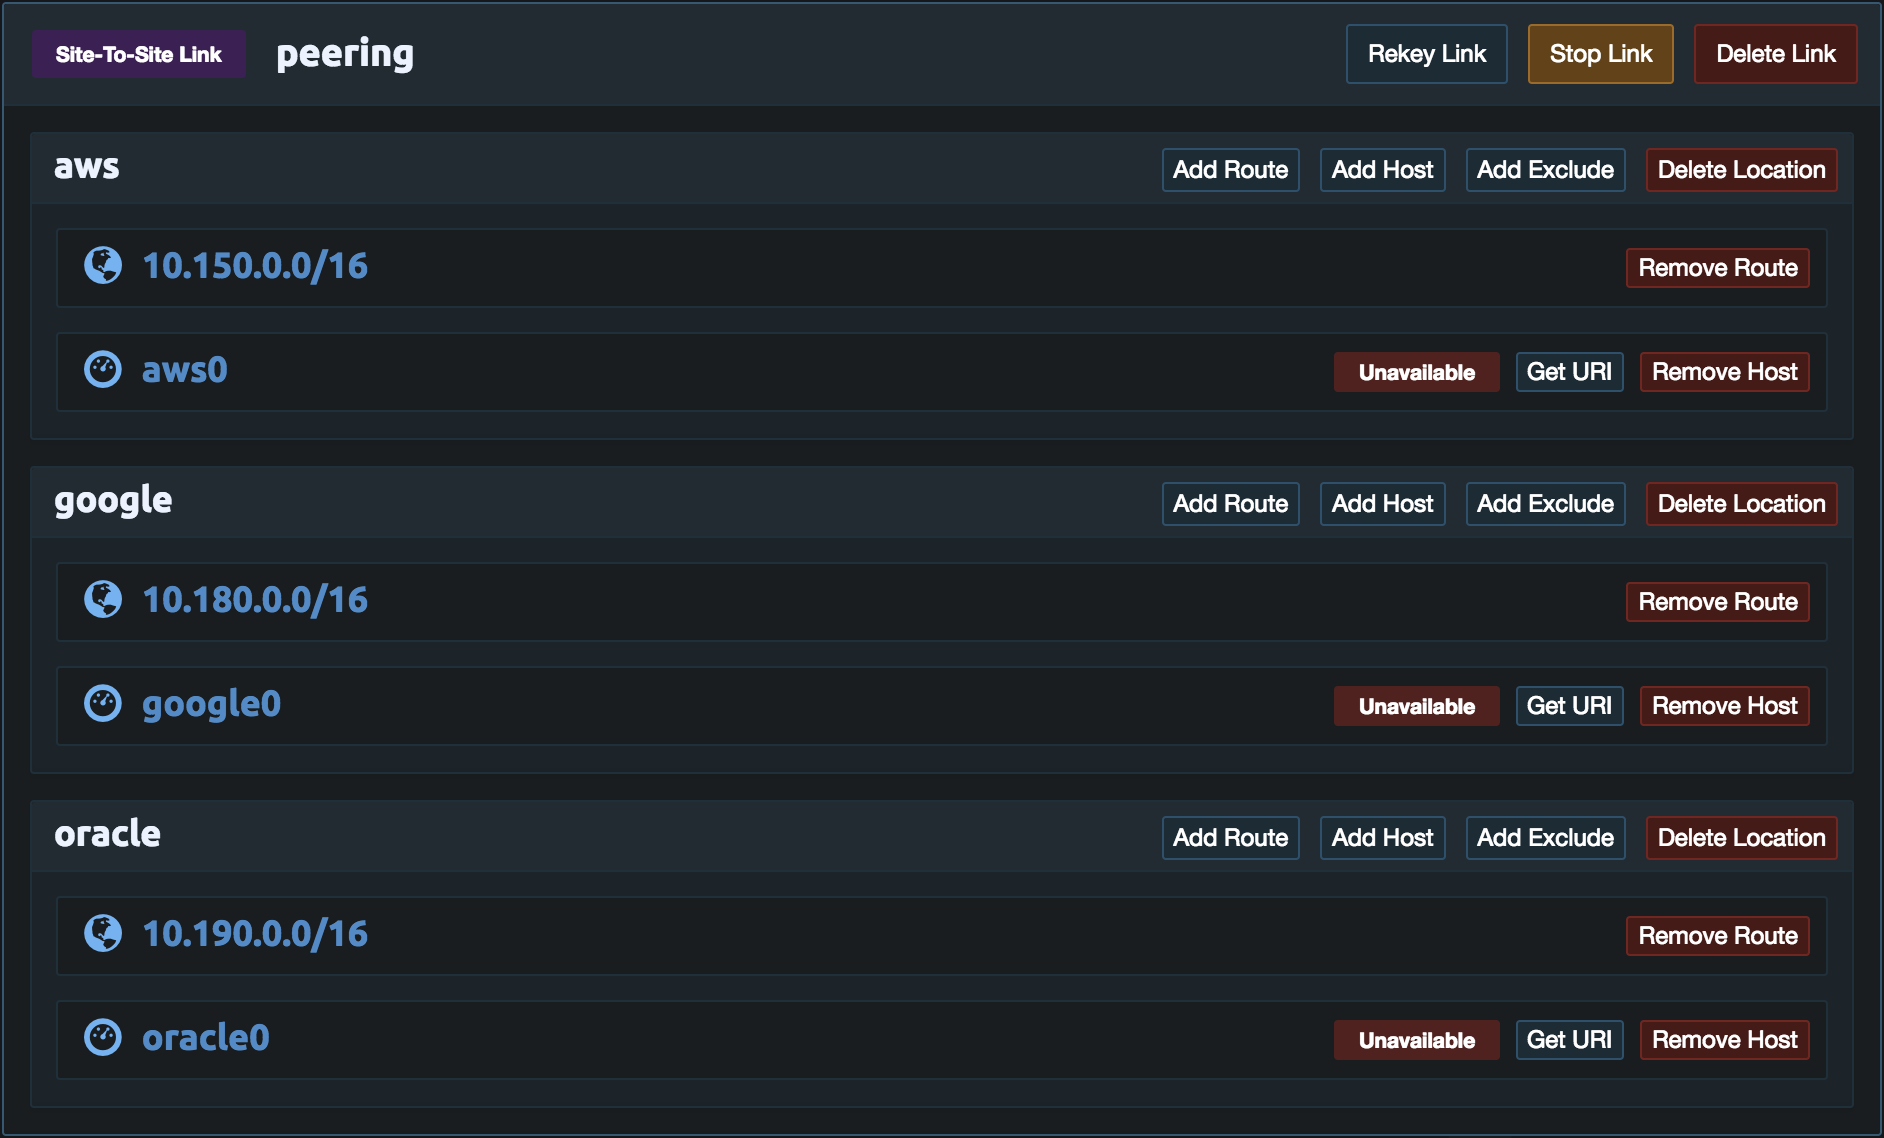
Then repeat these steps for the Google Cloud and Oracle Cloud. Once done the link configuration should look similar to the example below. If the HTTPS port is not already open on the Pritunl server add it to the security group to allow the pritunl-link instances to access the Pritunl server. The pritunl-link instances will only need HTTPS access to the Pritunl server. Instances will be created in each VPC next.
AWS
Open the IAM dashboard and click Roles on the left. Then click Create Role. The select AWS service and EC2. Once done click Next: Permissions.

Search for and select AmazonVPCFullAccess. Then click Next: Review.

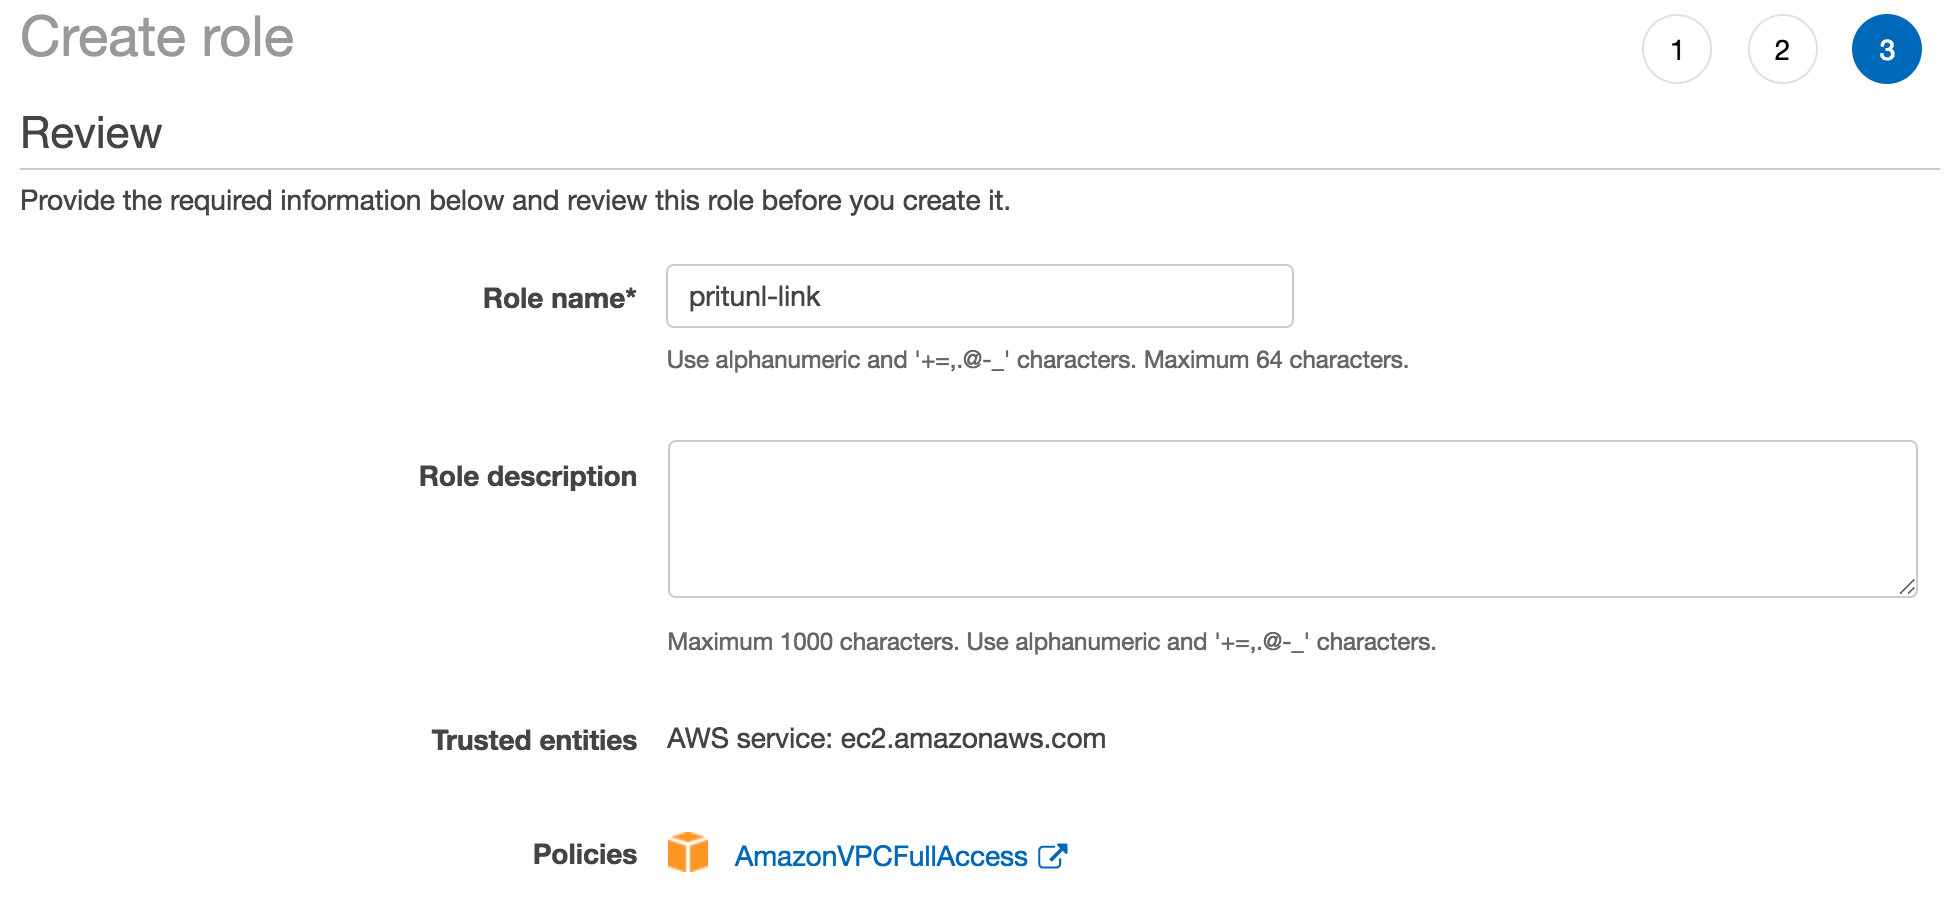
Name the role pritunl-link and click Create.
In the EC2 dashboard click Launch Instance. Then select Amazon Linux 2.

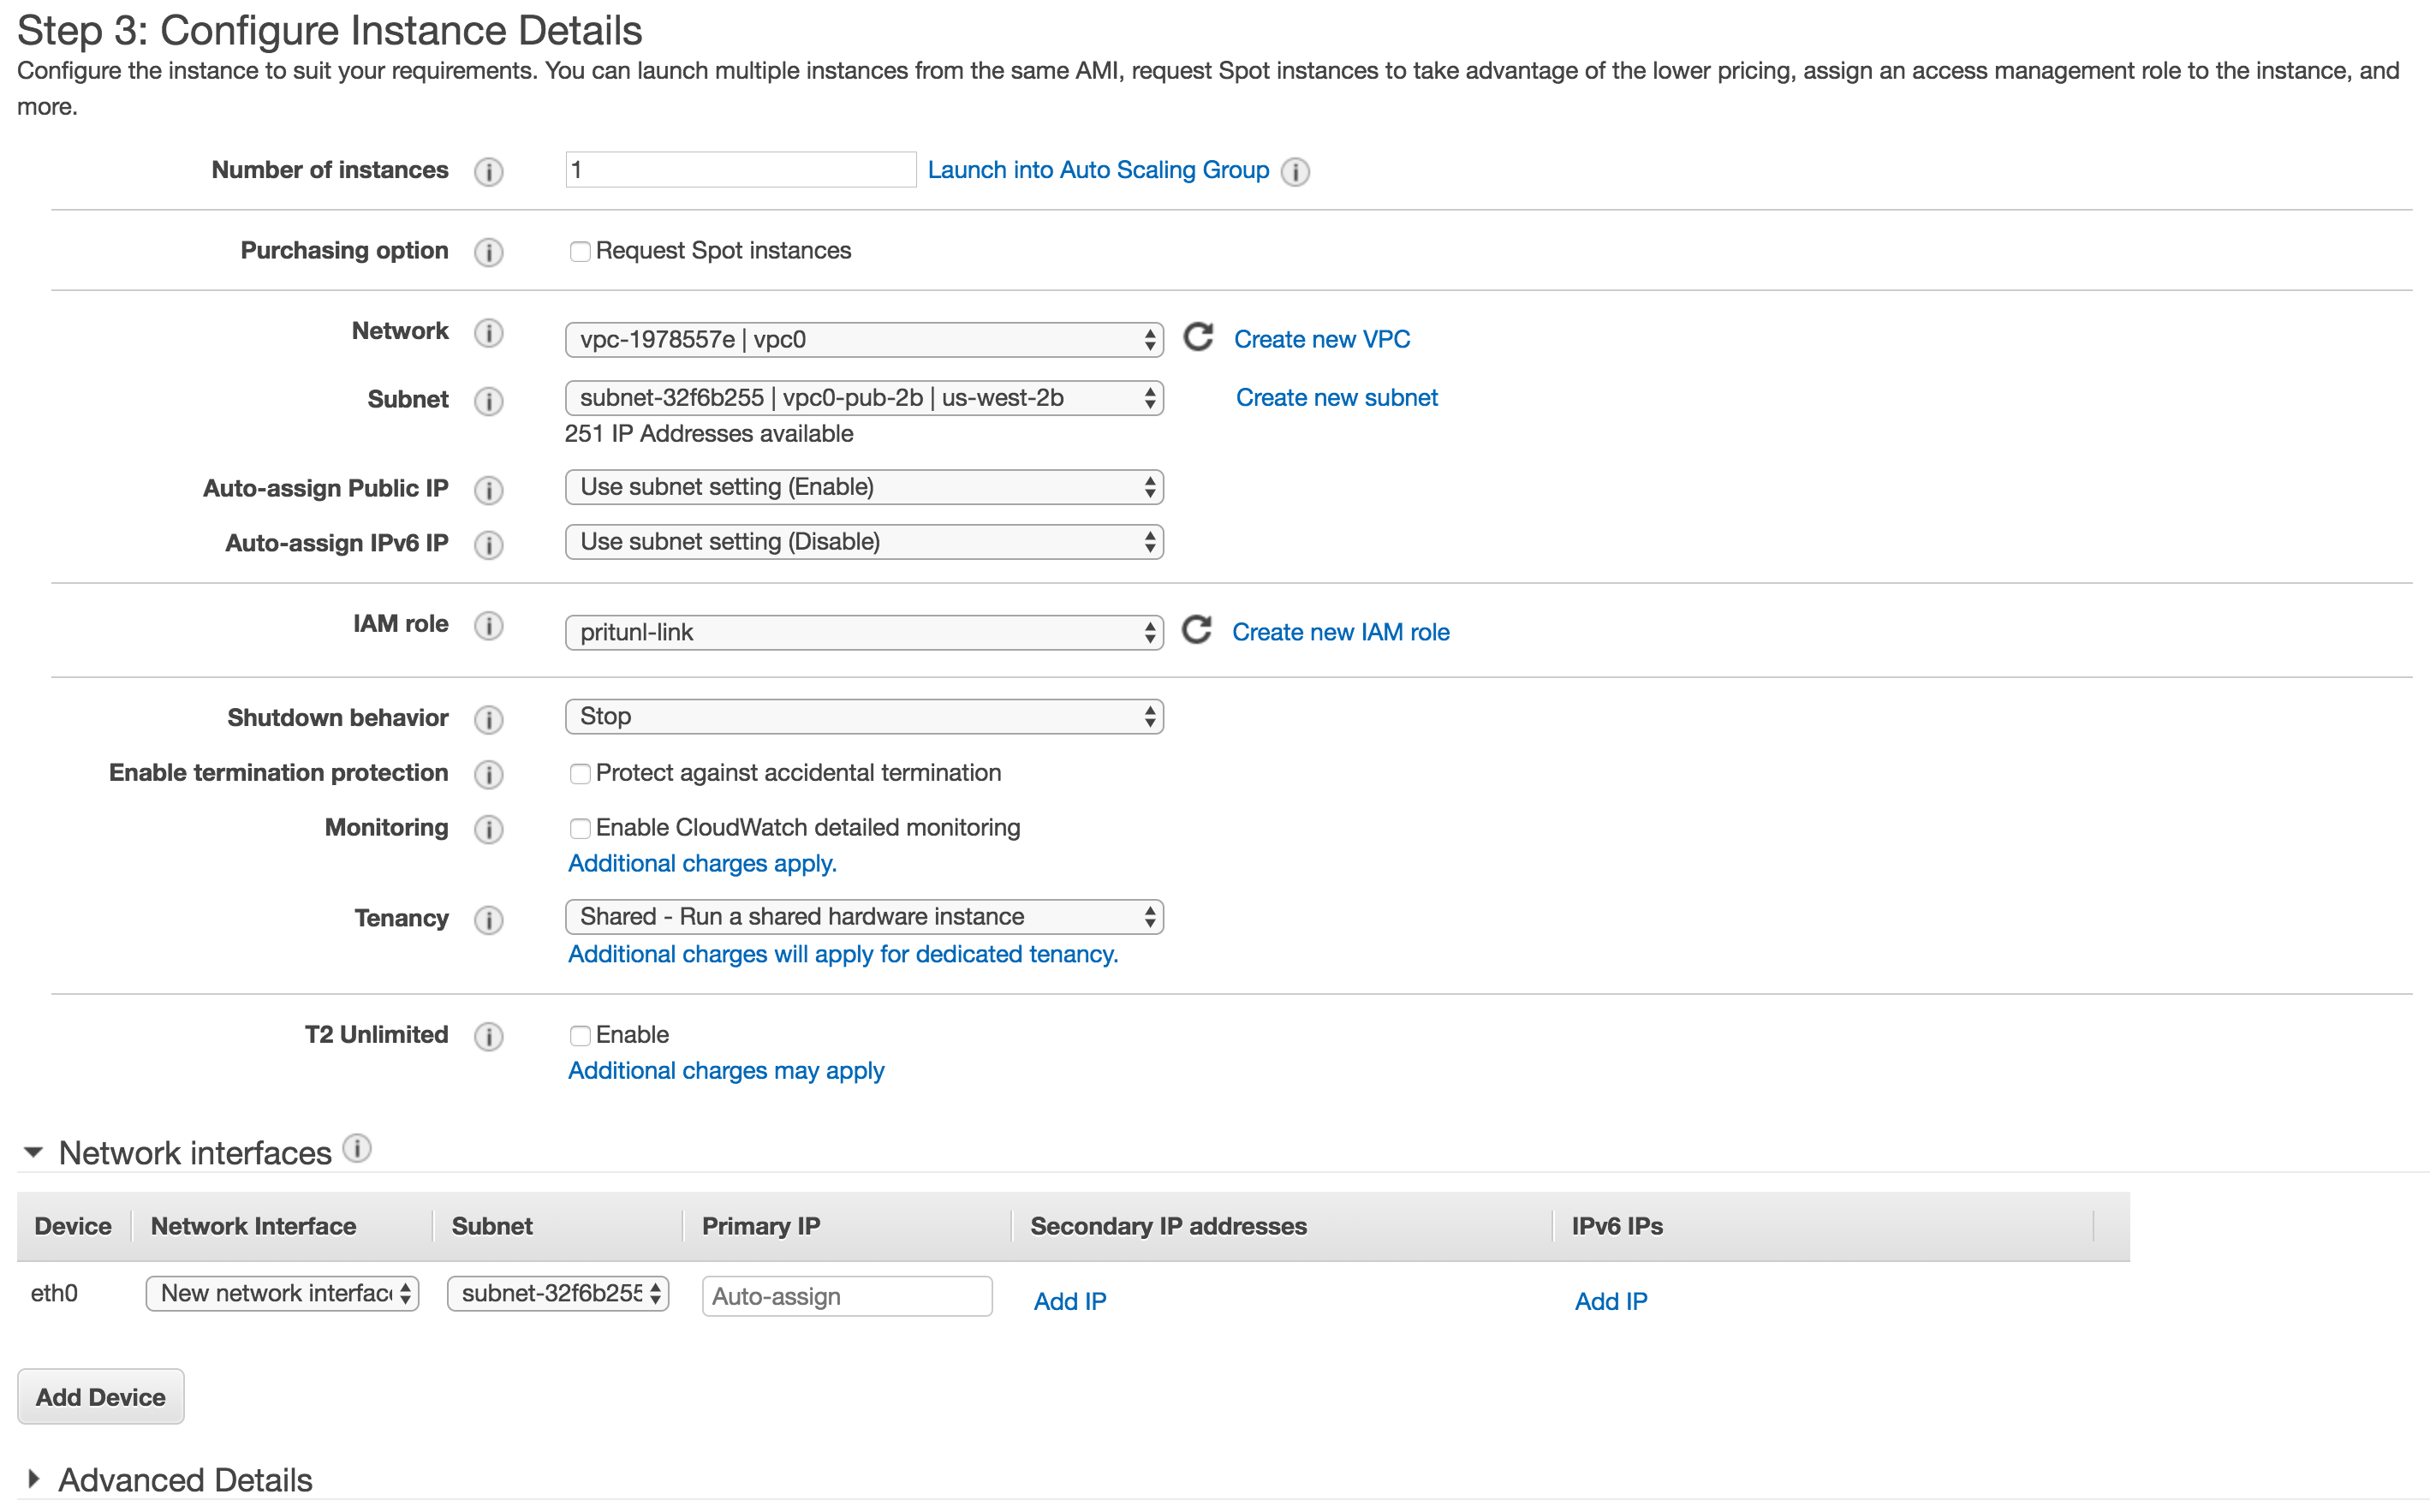
Select an instance type then select the VPC you are peering. If you are using private VPC subnets create the instance in the public subnet. Then select the IAM role created above.
On the security group page create a security group and open UDP ports 500 and 4500 to 0.0.0.0/0. Then open all traffic to all the peered VPC networks, in this example 10.0.0.0/8 covers all the VPC networks.

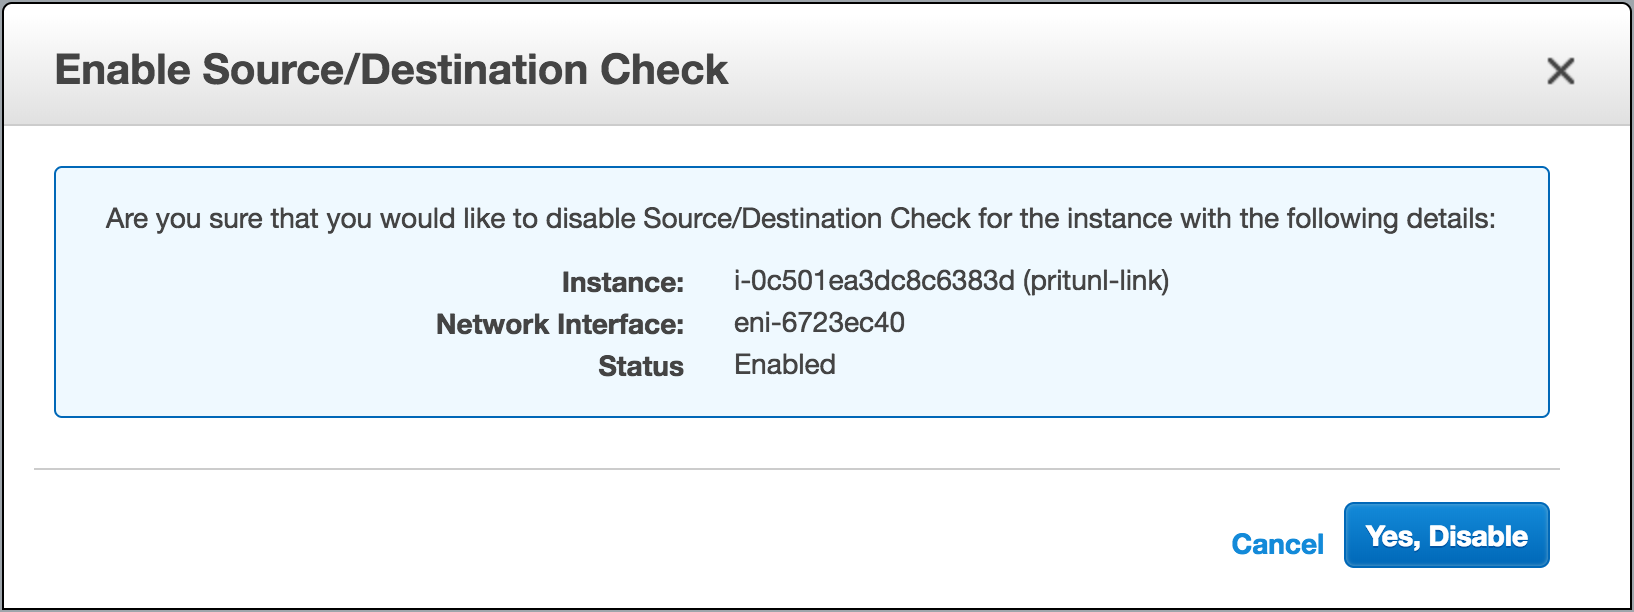
Once done launch the instance. Then right click the instance and select Change Source/Dest. Check under Networking. Then disable the source/dest check.
From the Pritunl web console click Get URI on the aws0 host created earlier. Copy the Host URI Link for the commands below.
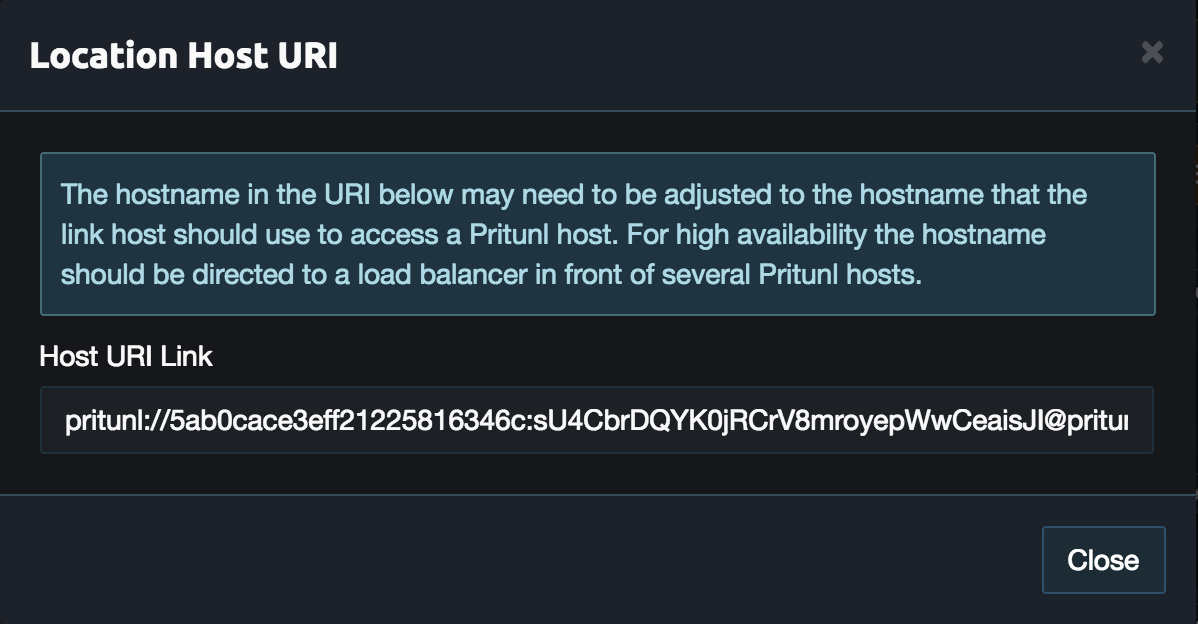
SSH to the public address on the instance and run the commands below to install pritunl-link. Replace the URI below with the one copied above. The sudo pritunl-link verify-off line can be left out if the Pritunl server is configured with a valid SSL certificate. It is not necessary to verify the SSL certificate, the sensitive data is encrypted with AES-256 and signed with HMAC SHA-512 using the token and secret in the URI.
sudo tee -a /etc/yum.repos.d/pritunl.repo << EOF
[pritunl]
name=Pritunl
baseurl=https://repo.pritunl.com/stable/yum/amazonlinux/2/
gpgcheck=1
enabled=1
EOF

sudo rpm -Uvh https://dl.fedoraproject.org/pub/epel/epel-release-latest-7.noarch.rpm
gpg --keyserver hkp://keyserver.ubuntu.com --recv-keys 7568D9BB55FF9E5287D586017AE645C0CF8E292A
gpg --armor --export 7568D9BB55FF9E5287D586017AE645C0CF8E292A > key.tmp; sudo rpm --import key.tmp; rm -f key.tmp
sudo yum -y install pritunl-link

sudo pritunl-link verify-off
sudo pritunl-link provider aws
sudo pritunl-link add pritunl://token:secret@test.pritunl.com
After the commands are run the aws0 host should switch from Unavailable to Active. If not run sudo cat /var/log/pritunl_link.log.

Google
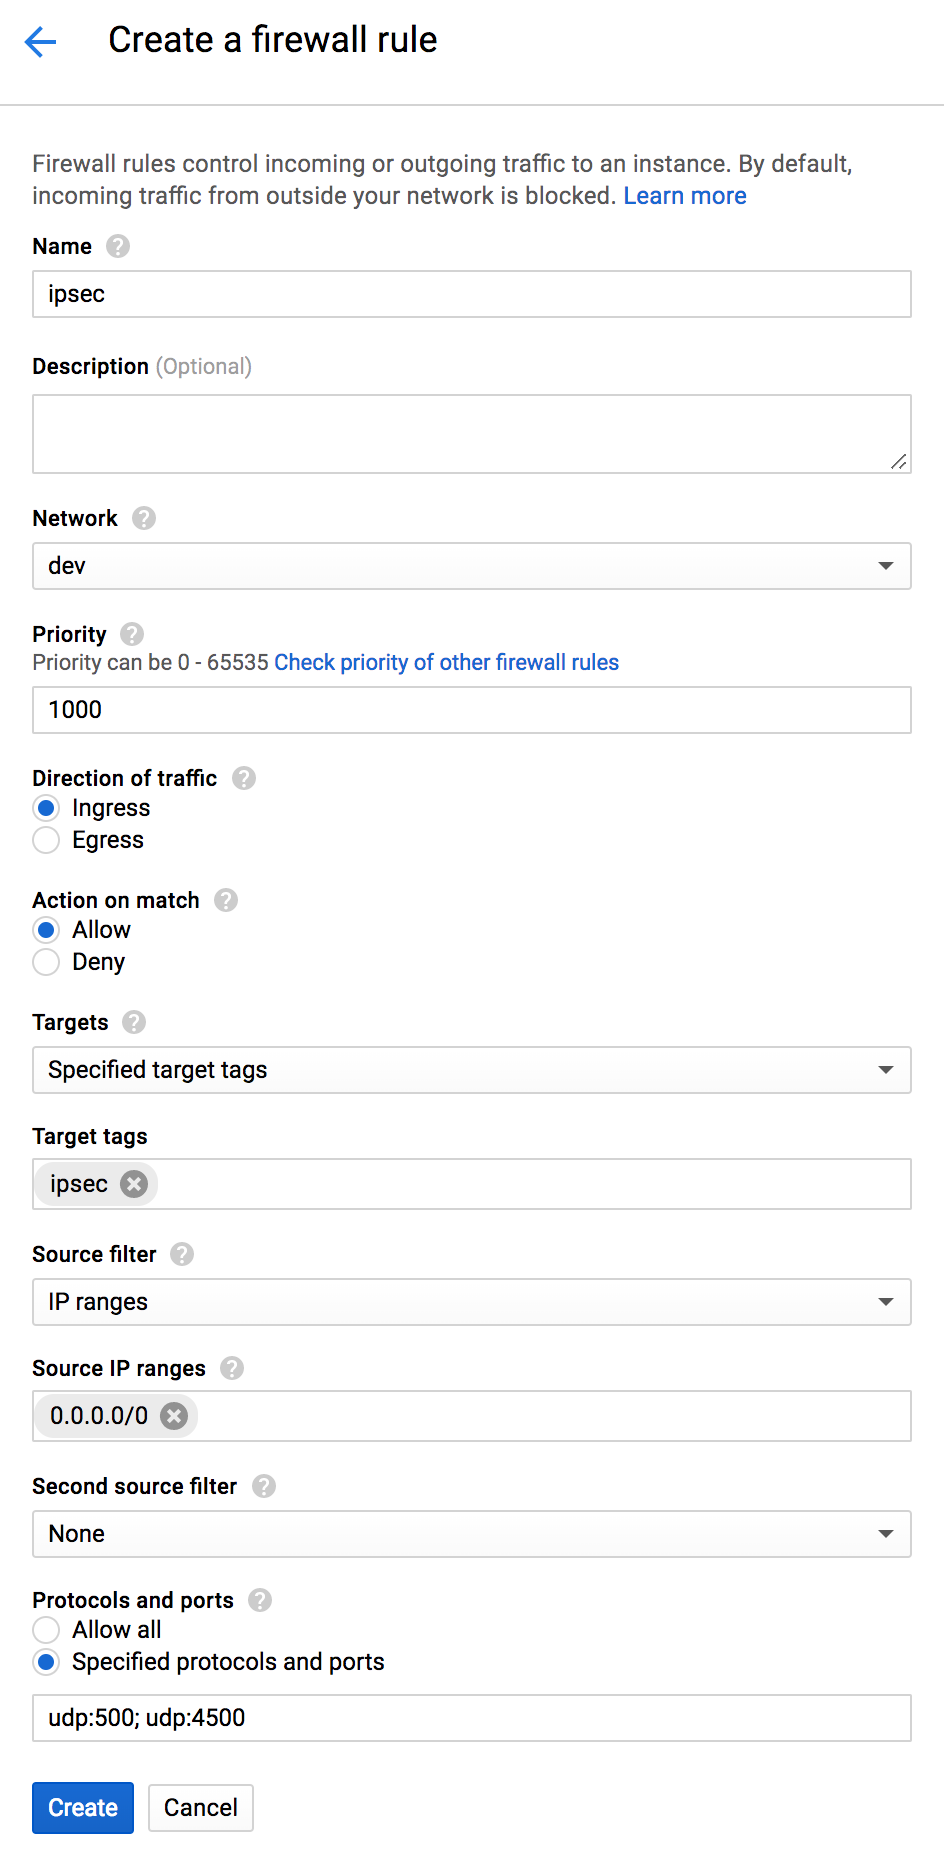
In the VPC network dashboard open Firewall rules. Then click Create Firewall Rule. Set the Name to ipsec and select the Network that will be peered. Add ipsec to the Target tags. Add 0.0.0.0/0 to the Source IP ranges and set the Protocols and ports to udp:500; udp:4500. Then click Create.
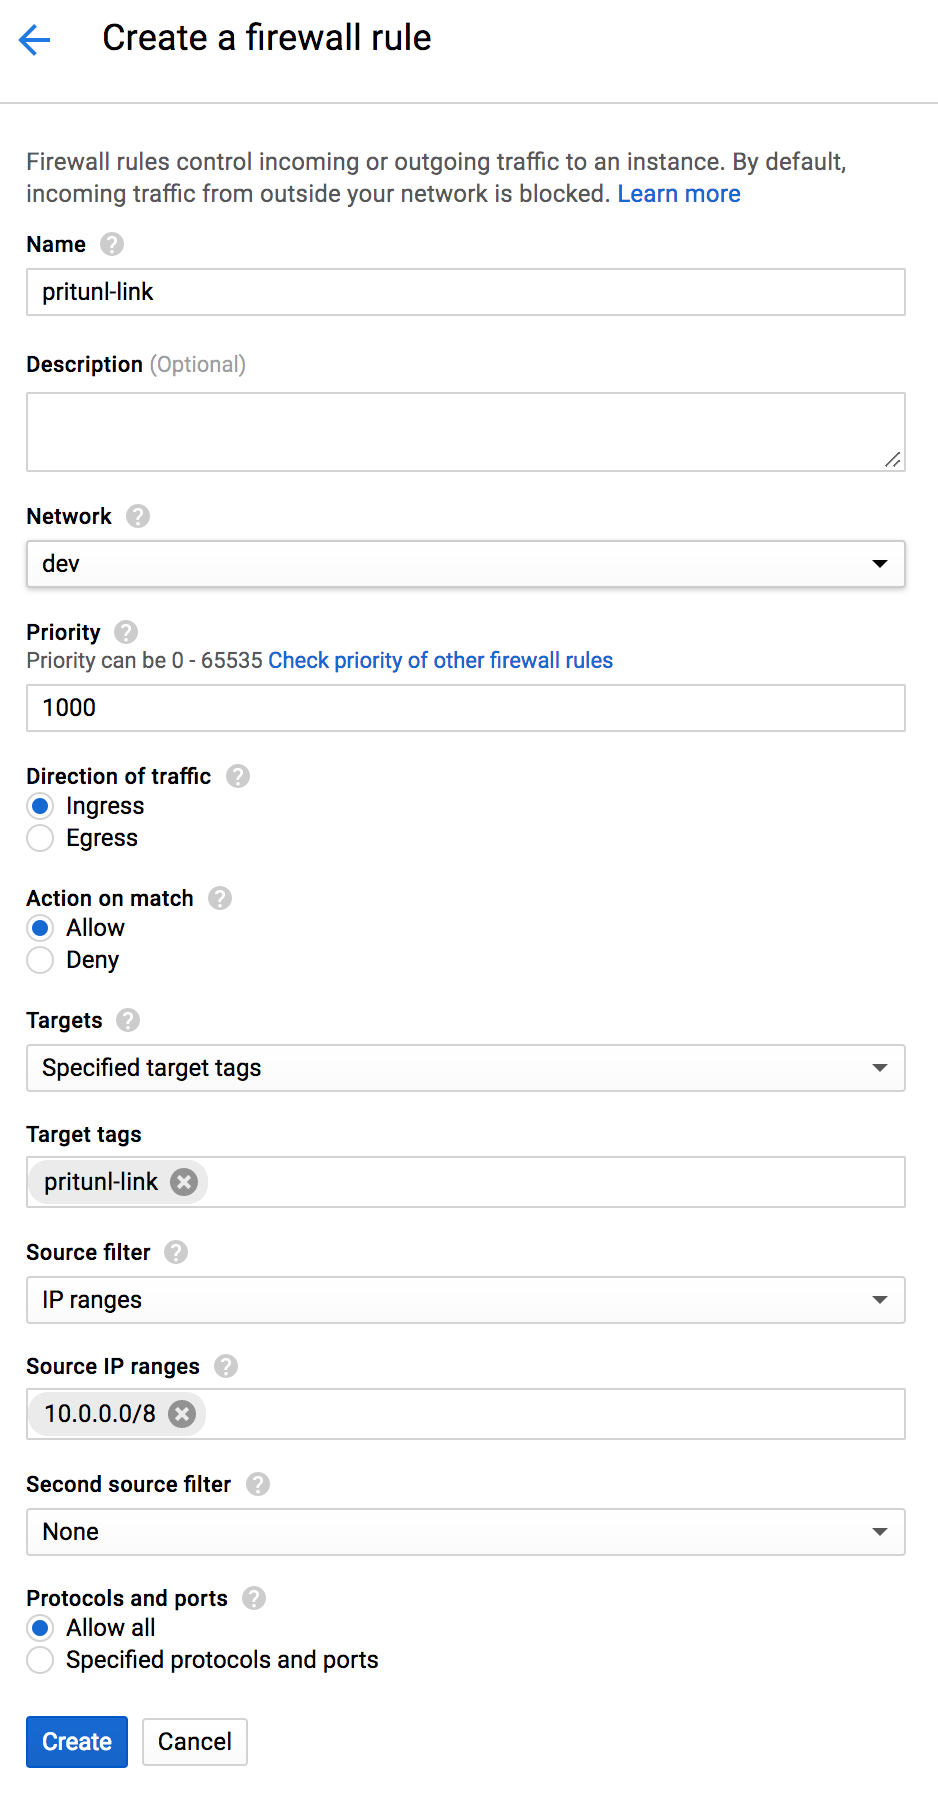
Click Create Firewall Rule again and set the Name to pritunl-link. Then select the Network that will be peered. Add pritunl-link to the Target tags and 10.0.0.0/8 to the Source IP ranges. If you are peering VPCs outside of 10.0.0.0/8 those subnets will also need to be added. Set Protocols and ports to Allow all.
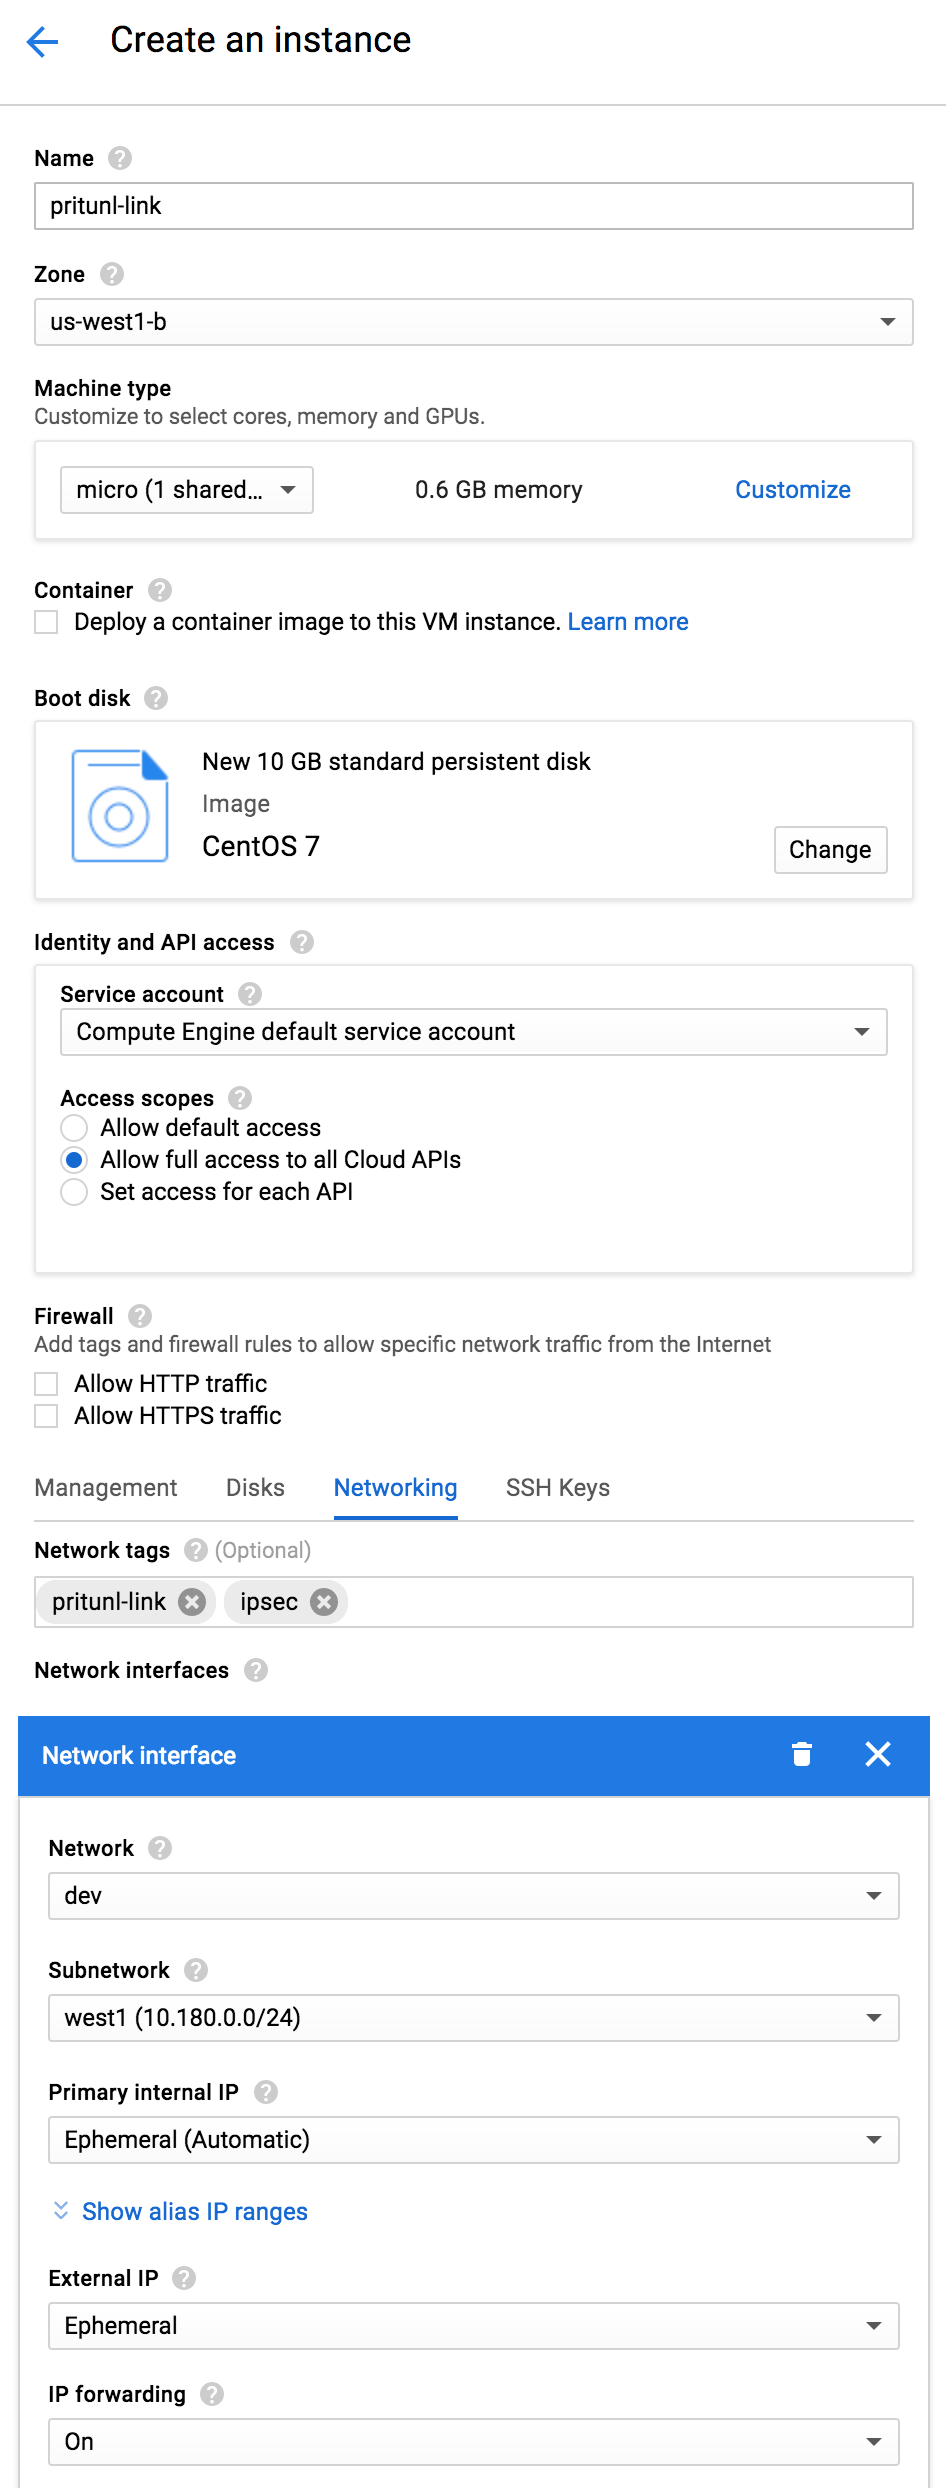
From the Compute Engine dashboard click Create Instance. Set the Name to pritunl-link and select a Zone and Machine type. Then set the Boot disk to CentOS 7. Set Access scopes in Identity and API access to Allow full access to all Cloud APIs. In the Networking tab set Network tags to pritunl-link ipsec. Select the Network that will be peered and set IP forwarding to On. Then click Create.
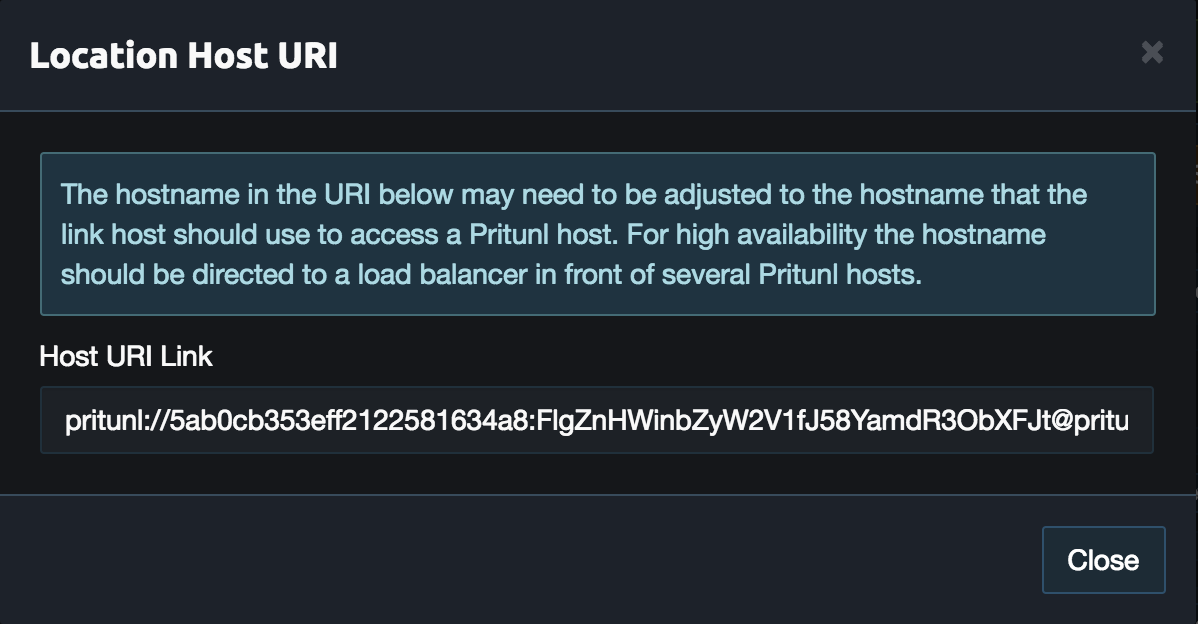
From the Pritunl web console click Get URI on the google0 host created earlier. Copy the Host URI Link for the commands below.
SSH to the public address on the instance and run the commands below to install pritunl-link. Replace the URI below with the one copied above. The sudo pritunl-link verify-off line can be left out if the Pritunl server is configured with a valid SSL certificate. It is not necessary to verify the SSL certificate, the sensitive data is encrypted with AES-256 and signed with HMAC SHA-512 using the token and secret in the URI.
sudo tee -a /etc/yum.repos.d/pritunl.repo << EOF
[pritunl]
name=Pritunl Repository
baseurl=https://repo.pritunl.com/stable/yum/centos/7/
gpgcheck=1
enabled=1
EOF

gpg --keyserver hkp://keyserver.ubuntu.com --recv-keys 7568D9BB55FF9E5287D586017AE645C0CF8E292A
gpg --armor --export 7568D9BB55FF9E5287D586017AE645C0CF8E292A > key.tmp; sudo rpm --import key.tmp; rm -f key.tmp
sudo yum -y install pritunl-link

sudo pritunl-link verify-off
sudo pritunl-link provider google
sudo pritunl-link add pritunl://token:secret@test.pritunl.com
After the commands are run the google0 host should switch from Unavailable to Active. If not run sudo cat /var/log/pritunl_link.log.

Oracle
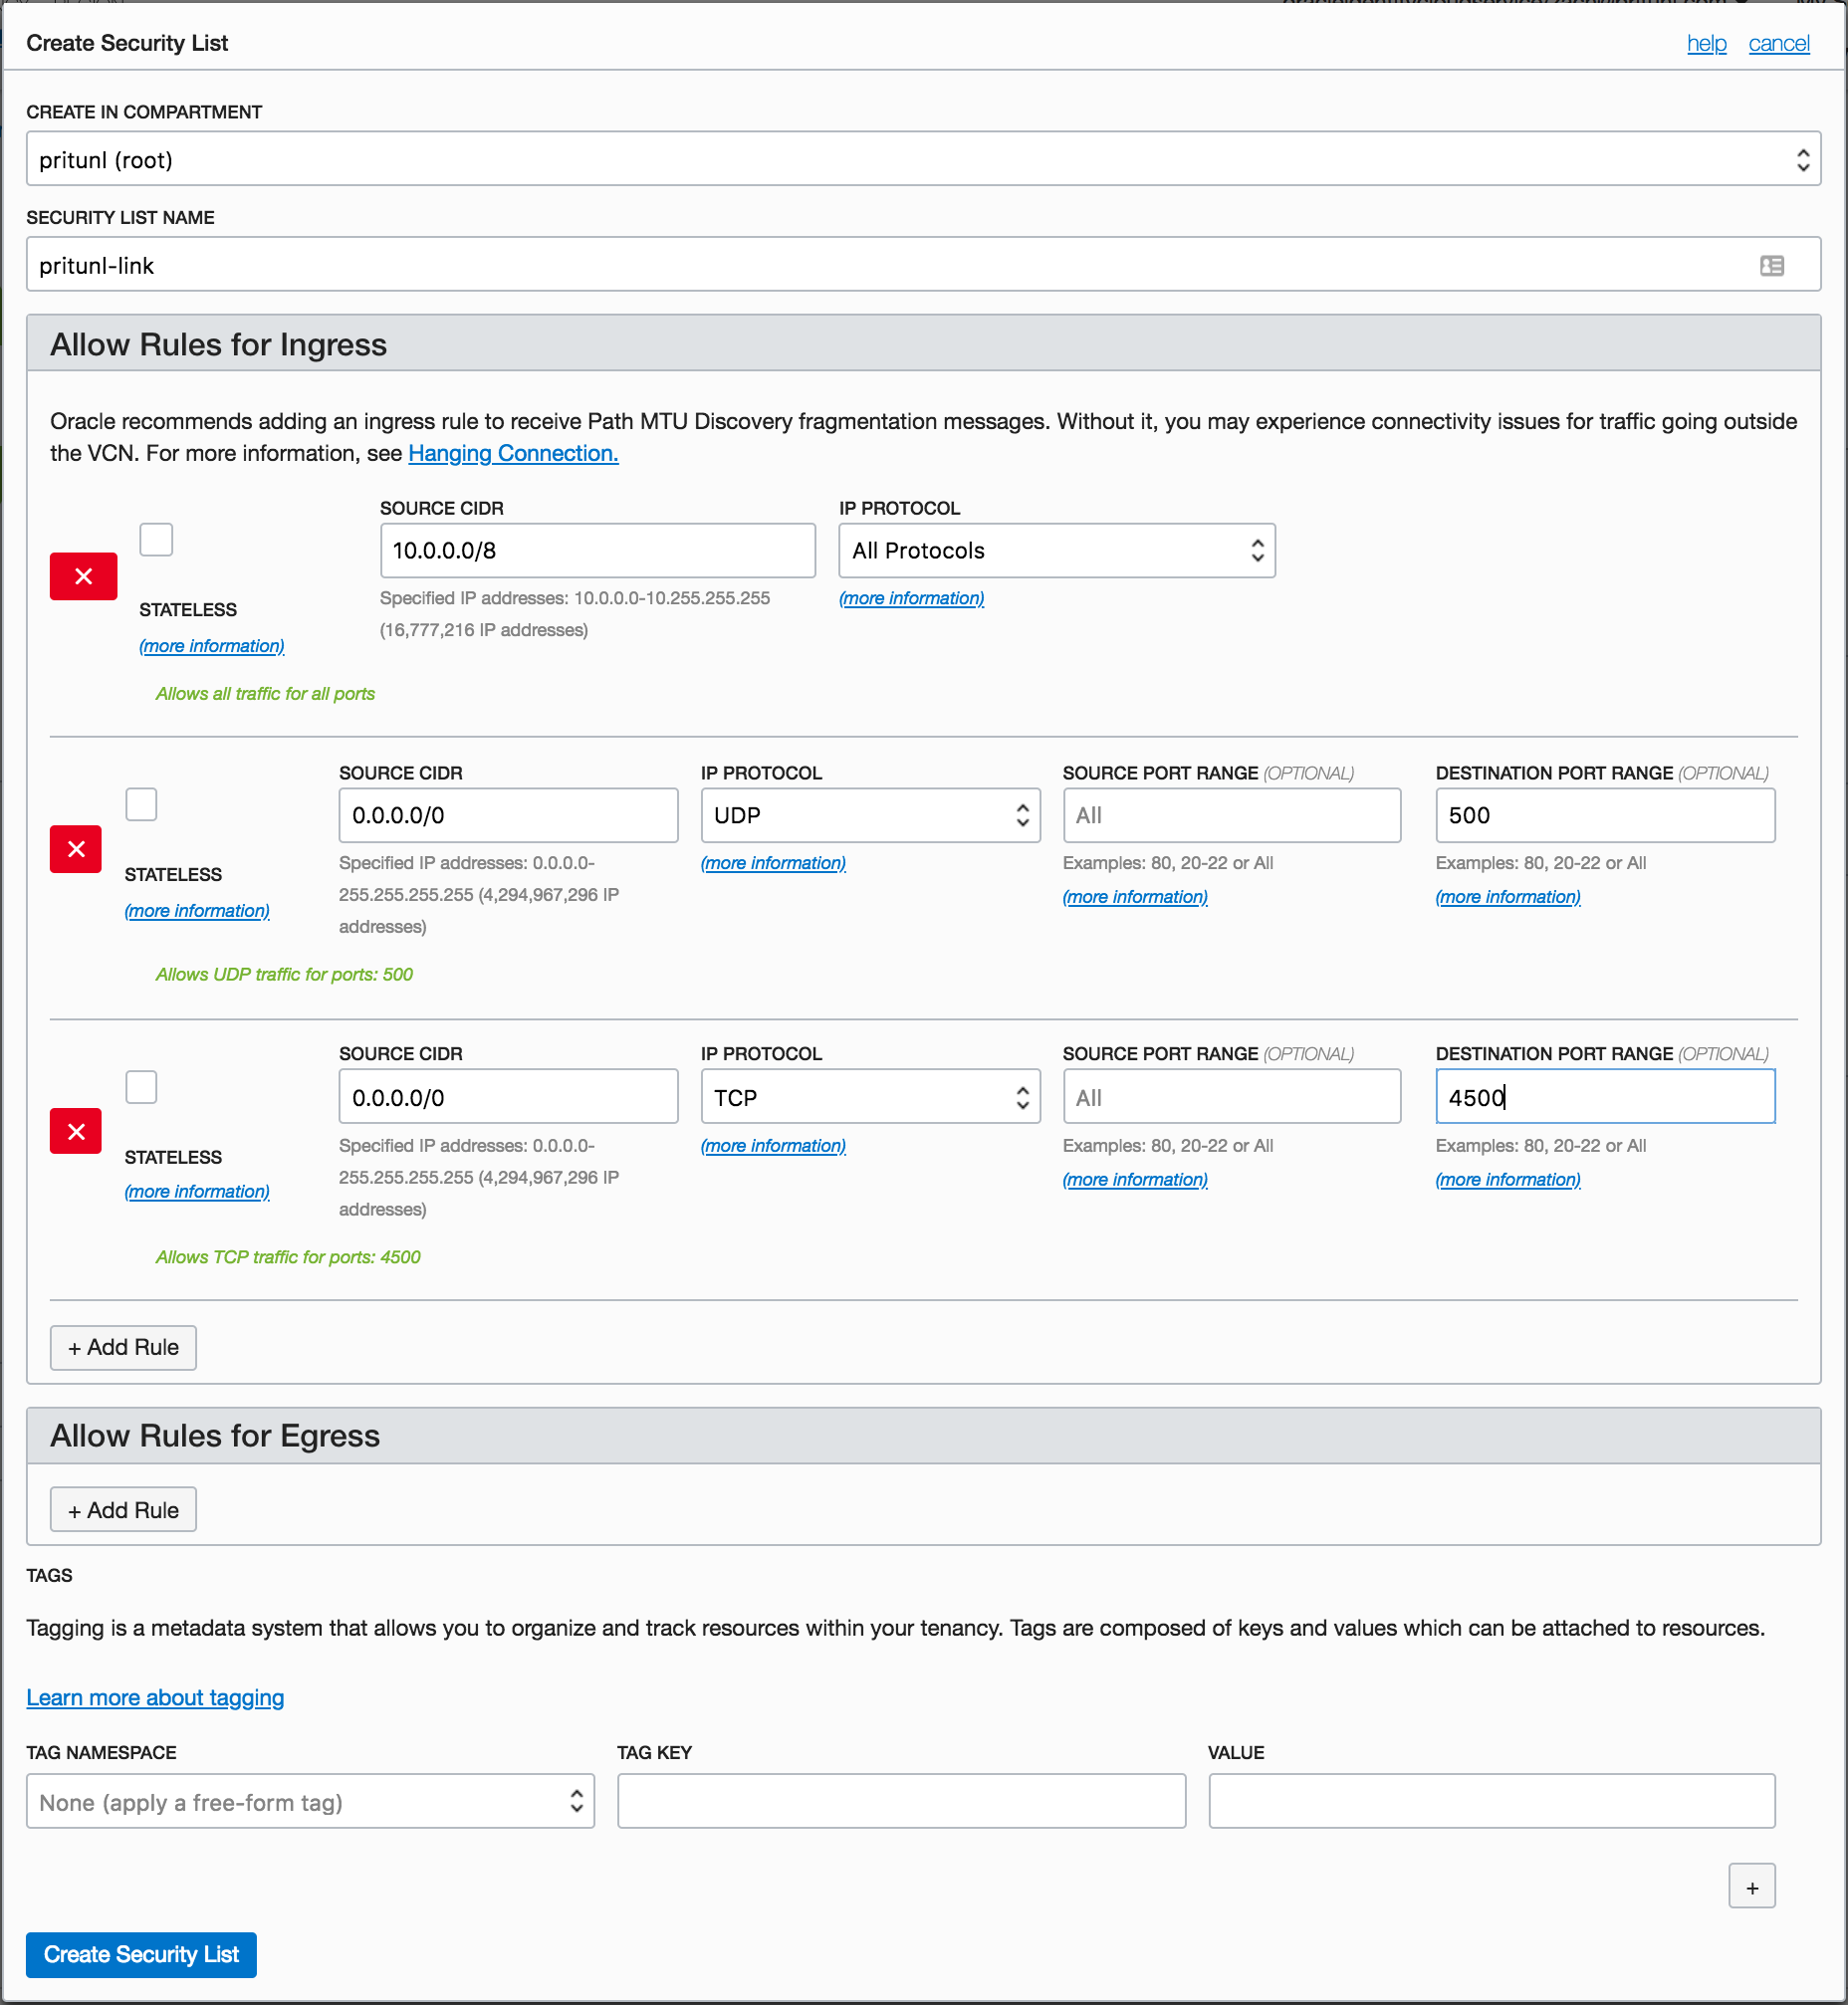
From the Virtual Cloud Networks dashboard click Create Security List then set the Name to pritunl-link. For the first Ingress rule set the Source CIDR to 10.0.0.0/8 and IP Protocol to All Protocols. If you are peering VPCs outside of 10.0.0.0/8 those subnets will also need to be added. For the second Ingress rule set the Source CIDR to 0.0.0.0/0 and IP Protocol to UDP. Then set the Destination Port Range to 500. For the third Ingress rule set the Source CIDR to 0.0.0.0/0 and IP Protocol to UDP. Then set the Destination Port Range to 4500.
From any Linux server run the commands below to generate an API key.
openssl genrsa -out oci_key.pem 2048
openssl rsa -pubout -in oci_key.pem -out oci_pub.pem
cat oci_pub.pem
Open the Users section of the Identity console and select a user that will be used to authenticate with the Oracle Cloud API. Then copy the OCID in the user info, this will be needed later.
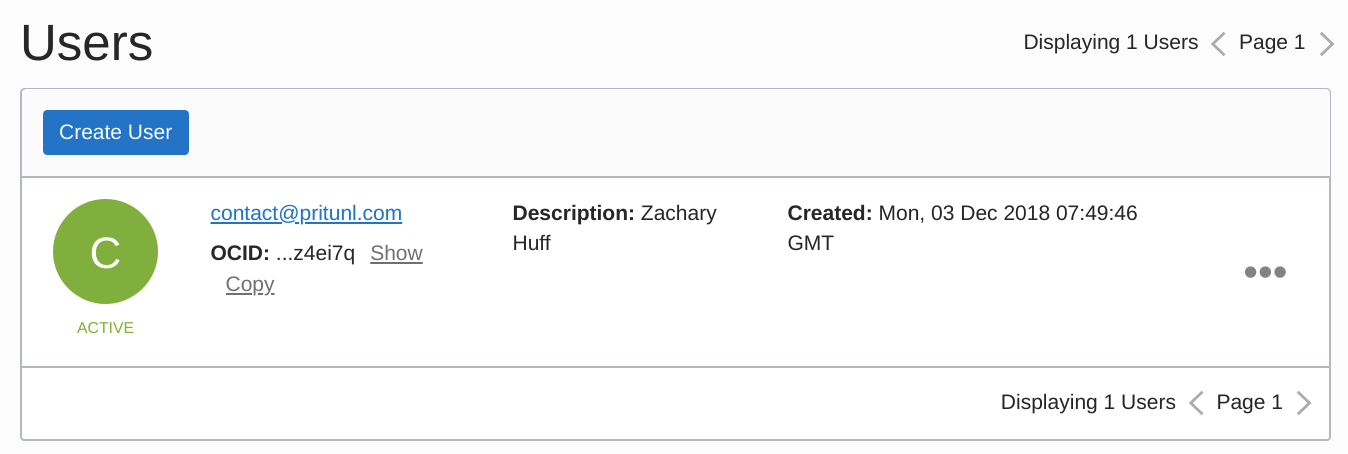
From the identity dashboard open Users and select an administrator user. The click Add Public Key. Copy the public key from above into the Public Key then click Add.
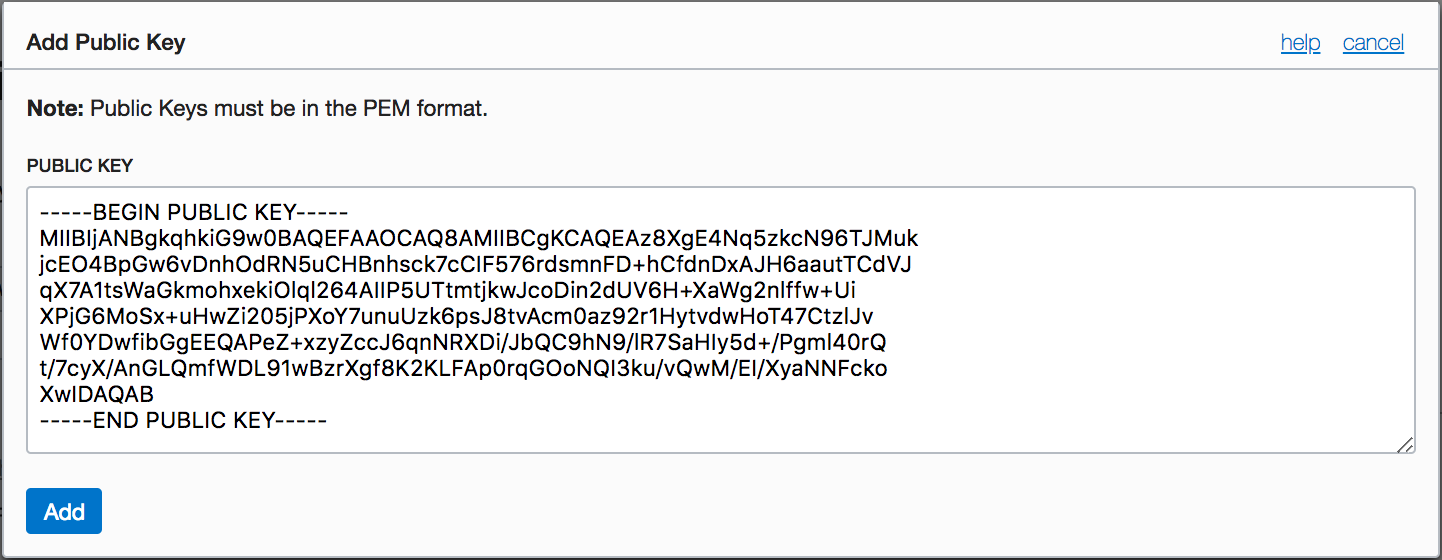
Next run the command below to get the Base64 encoded private key generated above. This will be needed below. Once done run the second command to delete the key.
openssl base64 -in oci_key.pem | tr -d "\n"
rm oci_*.pem
From the Compute dashboard click Launch Instance. Set the name to pritunl-link then select an Availability Domain. Set the Image Operating System to Oracle Linux 7 and select a Shape.
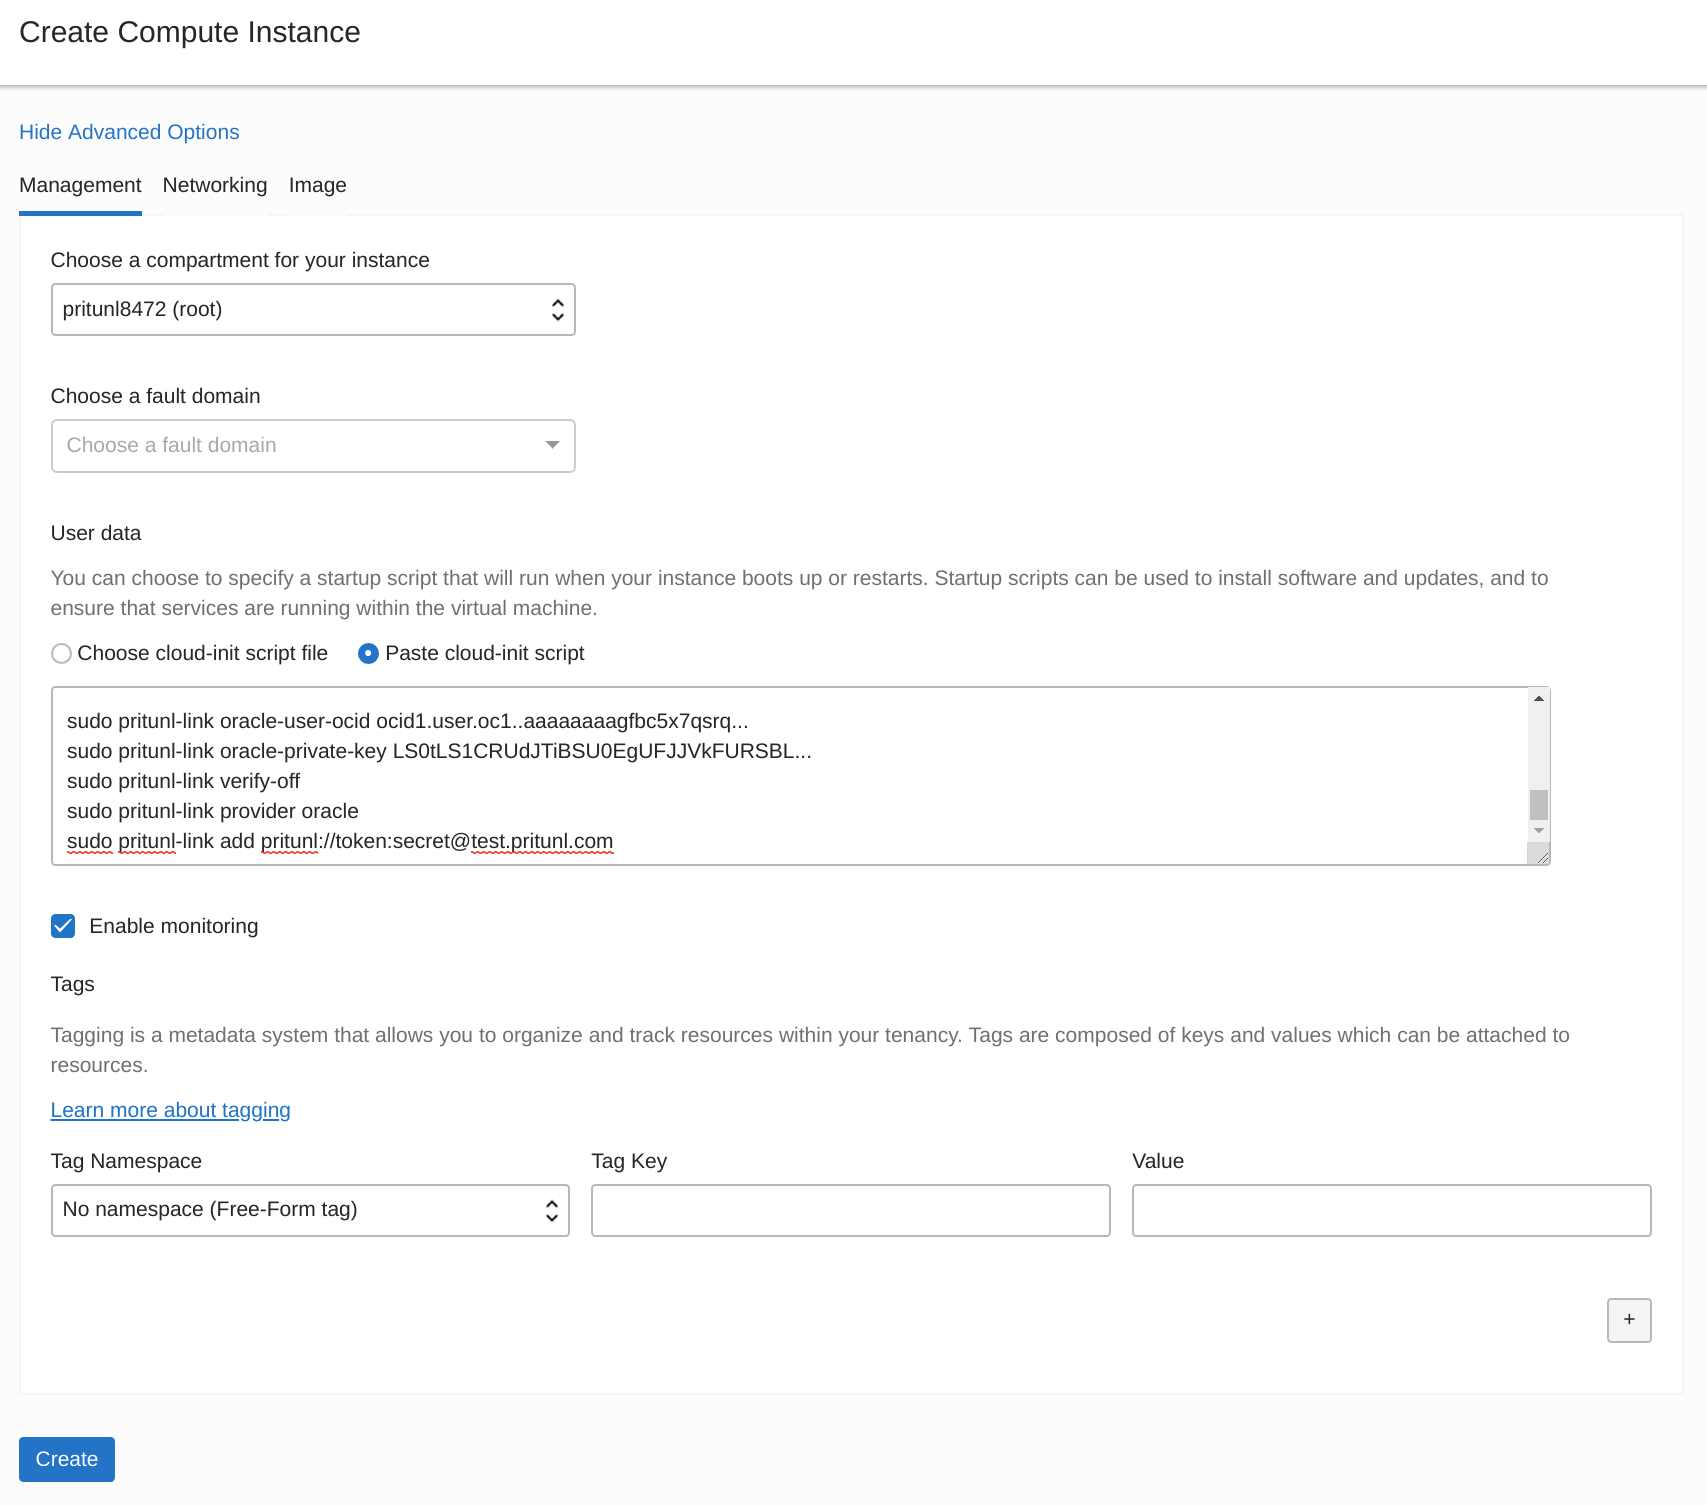
From the Pritunl web console click Get URI on the oracle0 host created earlier. Copy the Host URI Link for the commands below.
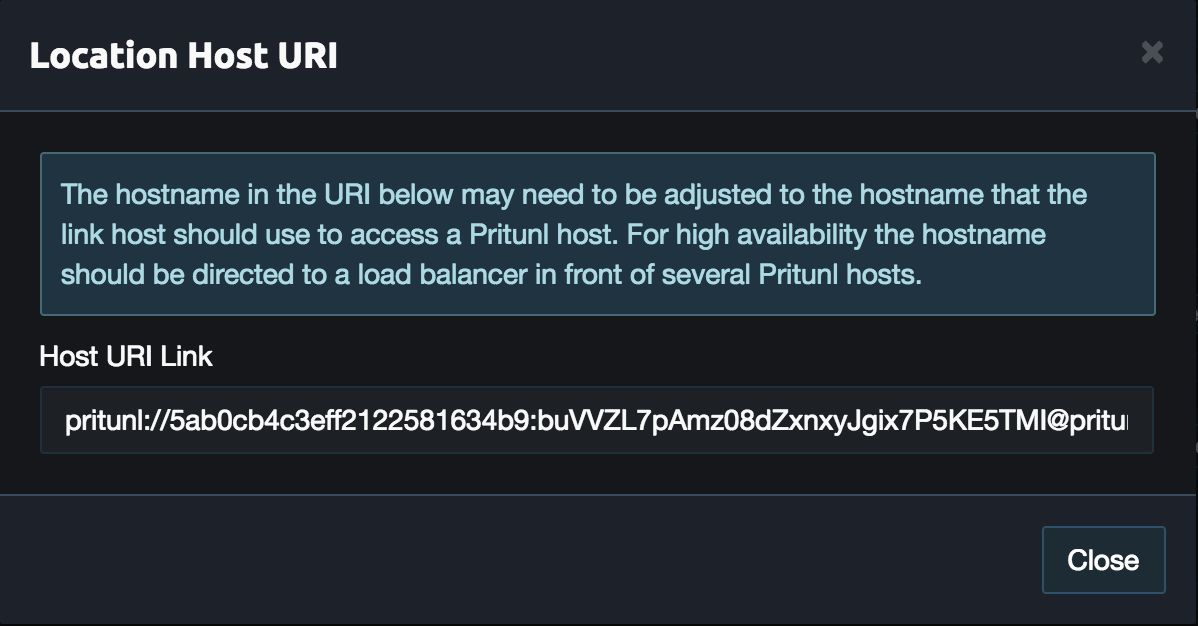
SSH to the public address on the instance and run the commands below to install pritunl-link and disable firewalld. Replace the user ocid and the private key with the Base64 encoded key above. The sudo pritunl-link verify-off line can be left out if the Pritunl server is configured with a valid SSL certificate. It is not necessary to verify the SSL certificate, the sensitive data is encrypted with AES-256 and signed with HMAC SHA-512 using the token and secret in the URI.
sudo tee /etc/yum.repos.d/pritunl.repo << EOF
[pritunl]
name=Pritunl Repository
baseurl=https://repo.pritunl.com/stable/yum/oraclelinux/7/
gpgcheck=1
enabled=1
EOF

gpg --keyserver hkp://keyserver.ubuntu.com --recv-keys 7568D9BB55FF9E5287D586017AE645C0CF8E292A
gpg --armor --export 7568D9BB55FF9E5287D586017AE645C0CF8E292A > key.tmp; sudo rpm --import key.tmp; rm -f key.tmp
sudo yum -y update
sudo yum -y install pritunl-link

sudo systemctl stop firewalld
sudo systemctl disable firewalld

sudo pritunl-link oracle-user-ocid ocid1.user.oc1..aaaaaaaagfbc5x7qsrq...
sudo pritunl-link oracle-private-key LS0tLS1CRUdJTiBSU0EgUFJJVkFURSBL...
sudo pritunl-link verify-off
sudo pritunl-link provider oracle
sudo pritunl-link add pritunl://token:secret@test.pritunl.com
After the commands are run the oracle0 host should switch from Unavailable to Active. If not run sudo cat /var/log/pritunl_link.log.

Firewalls and Testing
At this point the link hosts should all be active and the peering connections should also be established. Before other instances in each VPC can access other VPCs the firewalls for each instance need to be updated to allow traffic to and from the other VPCs. In this tutorial this has already been done for the pritunl-link instances but it will also need to be done for other instances that need access. Once this is done instances should be able to ping instances in the other VPCs. If there are issues check the Pritunl logs in the top right of the web console and run the commands below on the pritunl-link instances.
sudo cat /var/log/pritunl_link.log
sudo ipsec statusall
VPN Server
This optional part will explain configuring a VPN server that will allow users to access all the VPCs. This VPN server will be configured without NAT so VPN users will have a VPN IP address when accessing instances. When doing this the firewalls will need to be configured to allow the VPN subnet. From the Pritunl console click Add Server and set the Name to peering. Then set the Virtual Network to 10.200.0.0/16, this network should not conflict any existing networks.
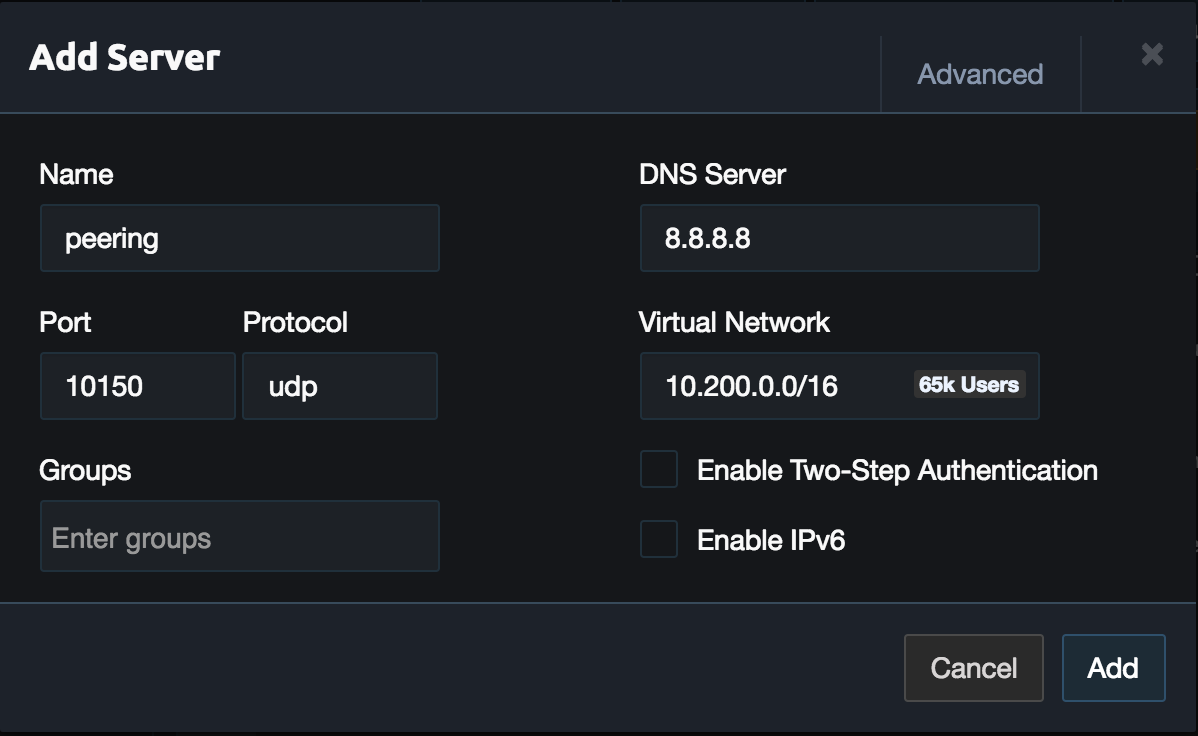
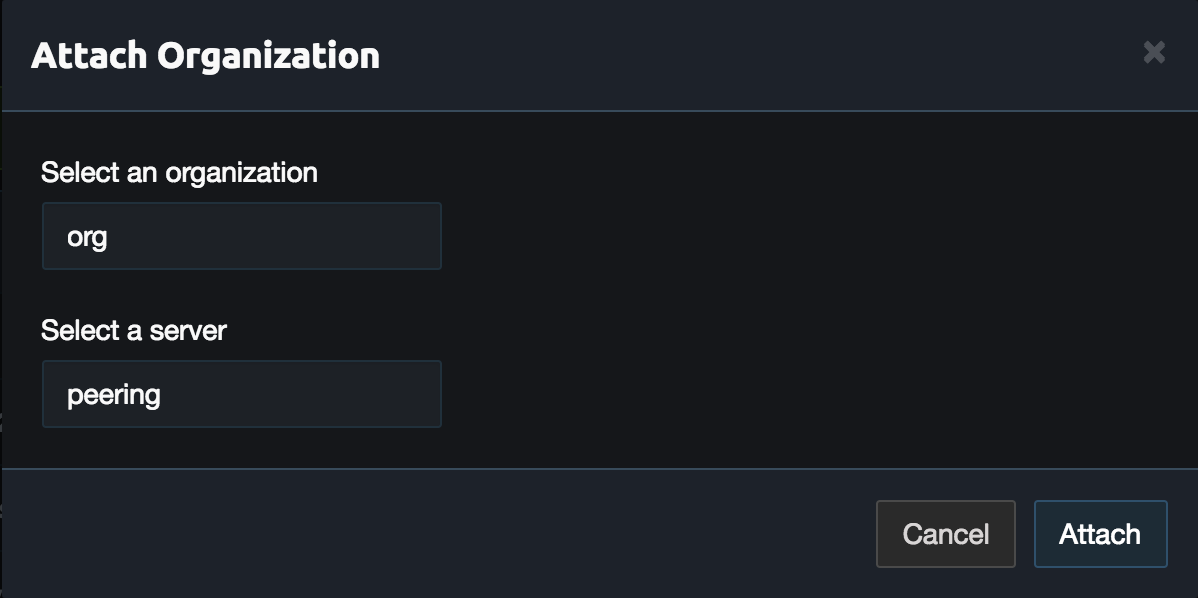
Attach an organization to the peering server.
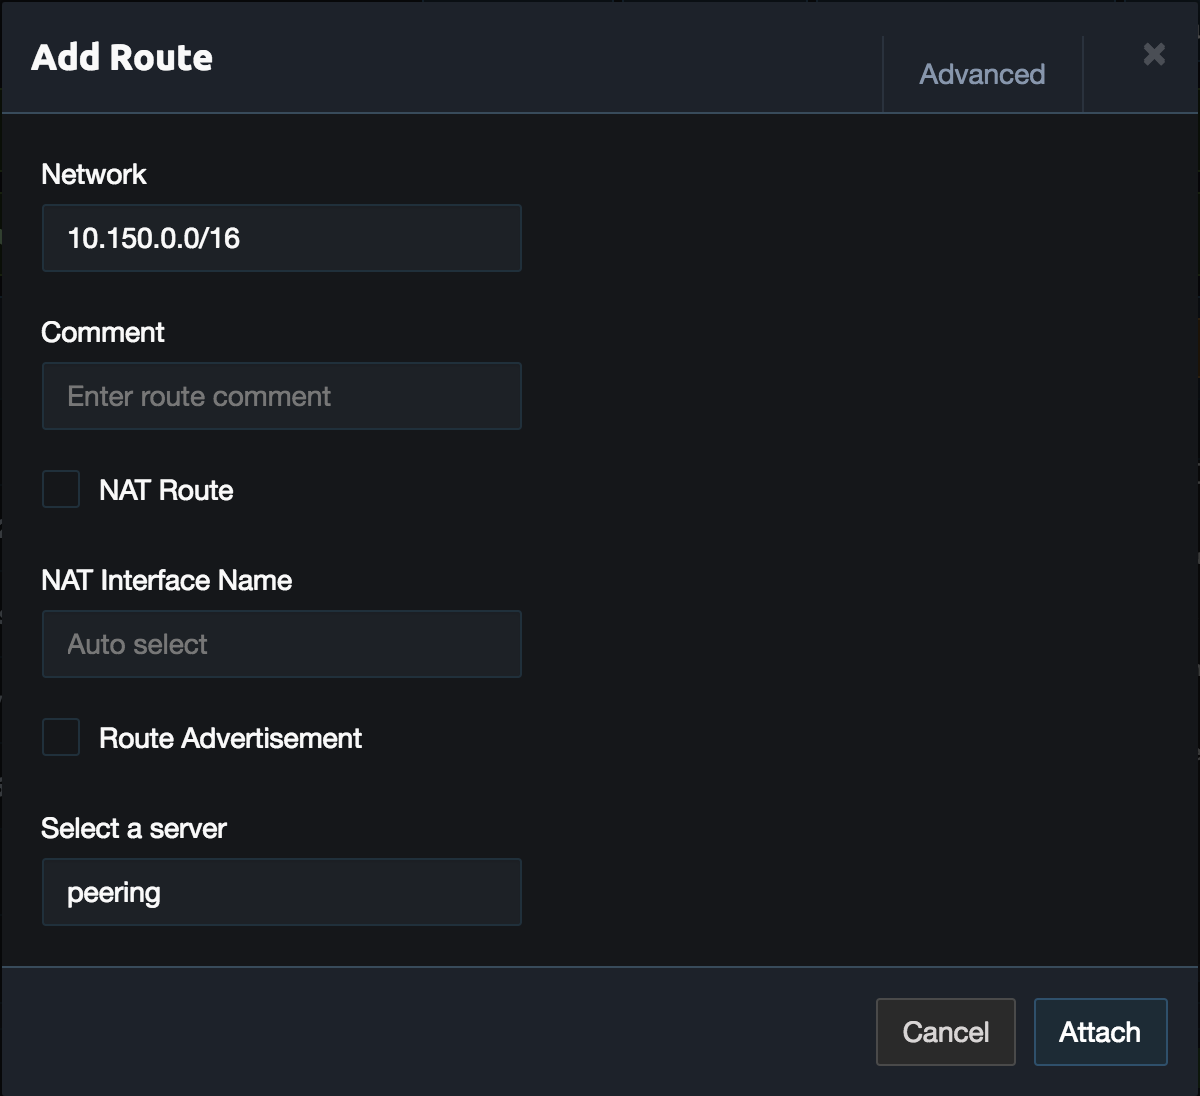
Remove the 0.0.0.0/0 route from the server and add the VPN networks. These should match the networks added to the link configuration. For this example the first network is 10.150.0.0/16. When adding the routes uncheck NAT.
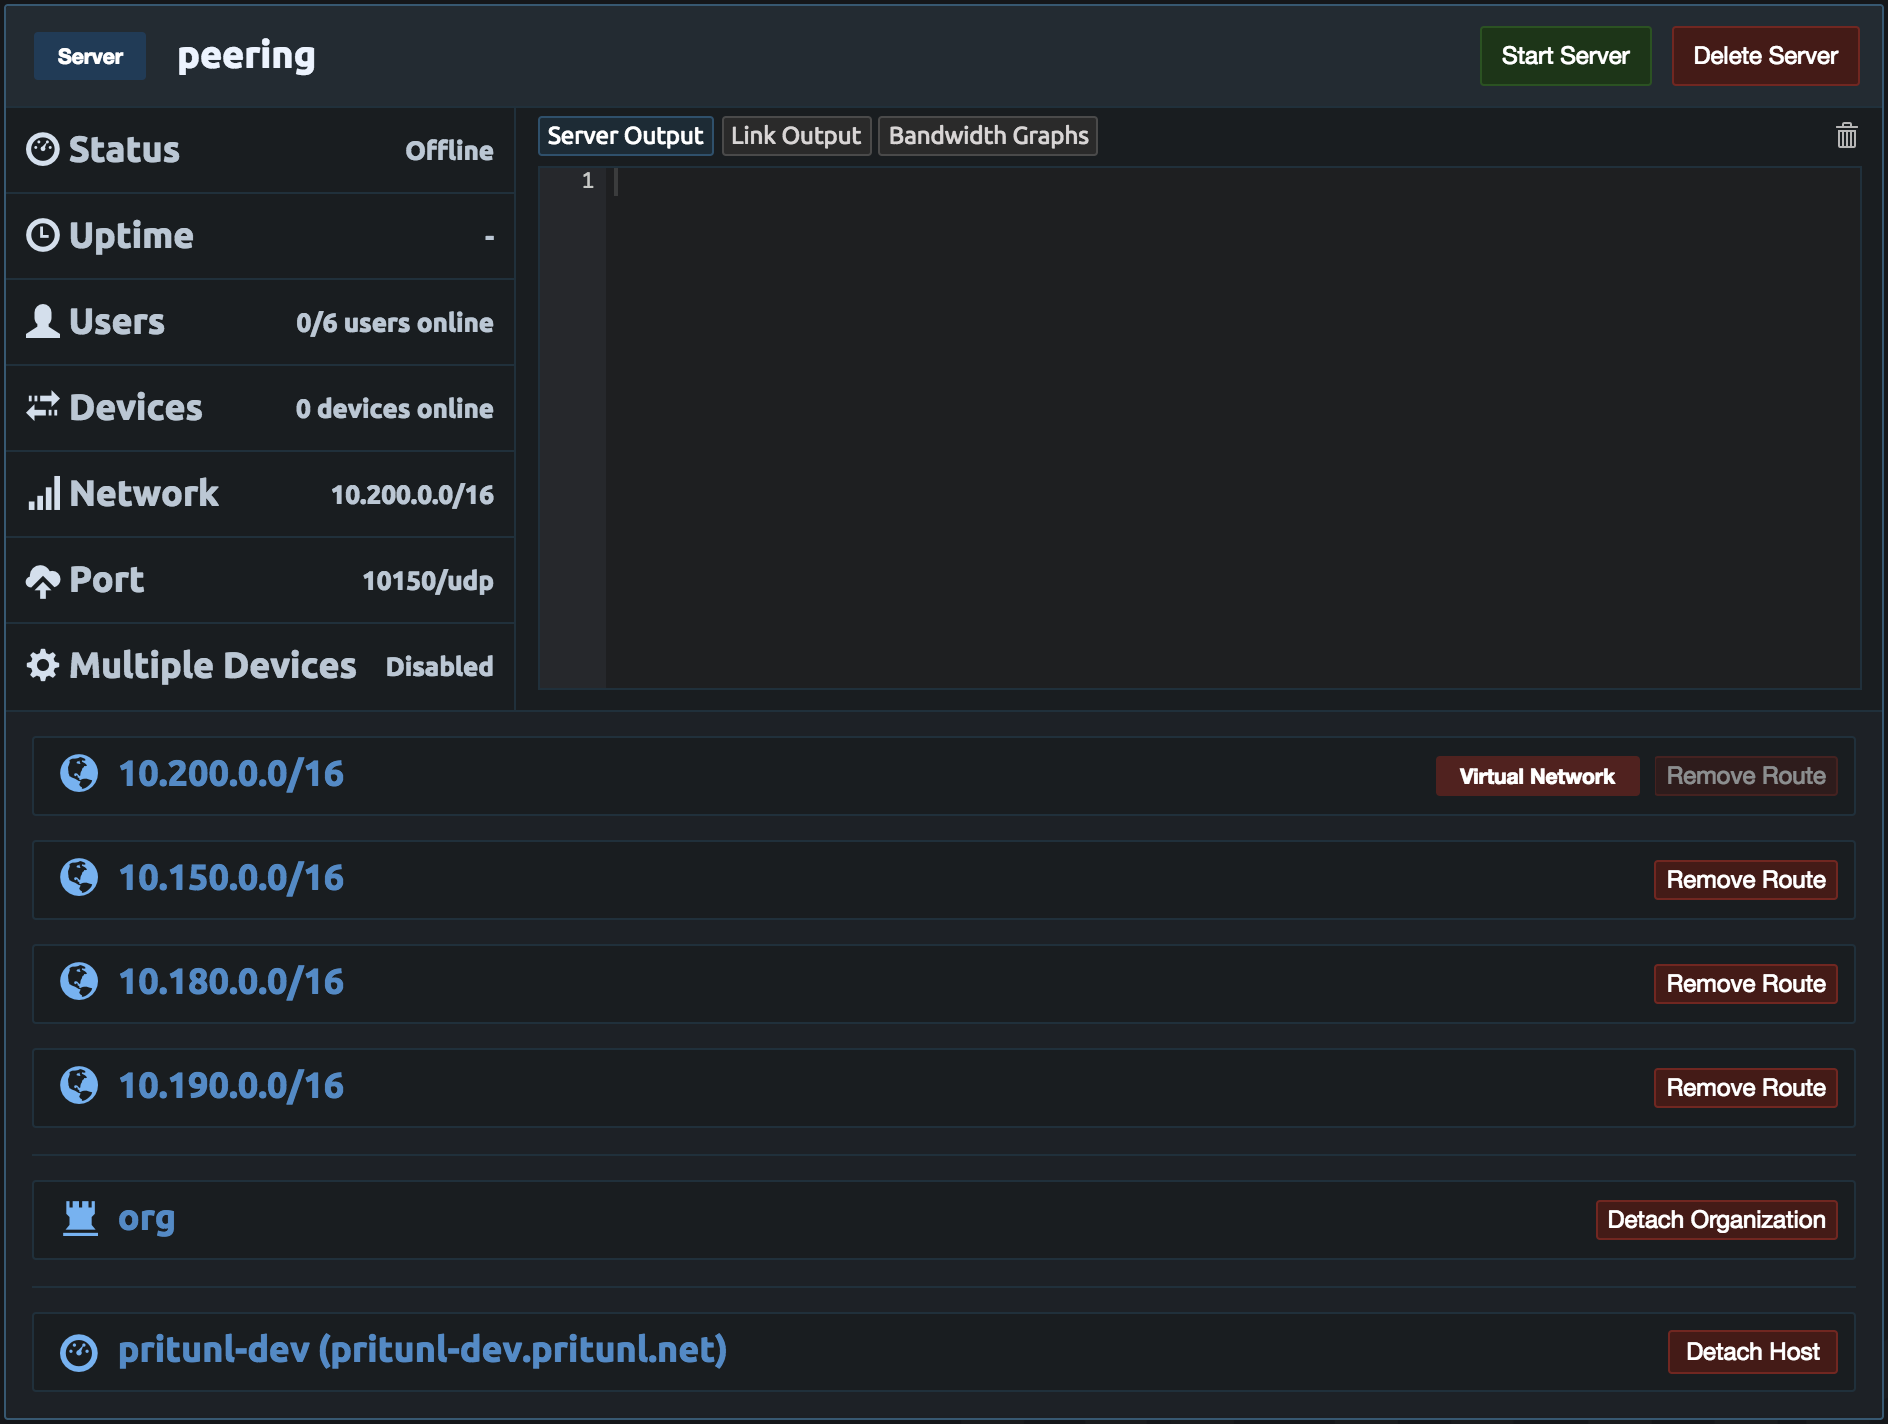
Repeat this for all the networks in the link configuration. Once done the server configuration should look similar to the example below.
If the Pritunl instance was not configured with an instance role with VPC control open the EC2 dashboard. Then right click the instance and select Instance Settings then Attach/Replace IAM Role. You can reuse the pritunl-link role from above or create a new one with AmazonVPCFullAccess.

Next from the Pritunl console click the Settings in the top right. Then set the Cloud Provider to AWS and set the access key and secret key to role for the region that the Pritunl server is running in. This will use the IAM role instead of an access key.

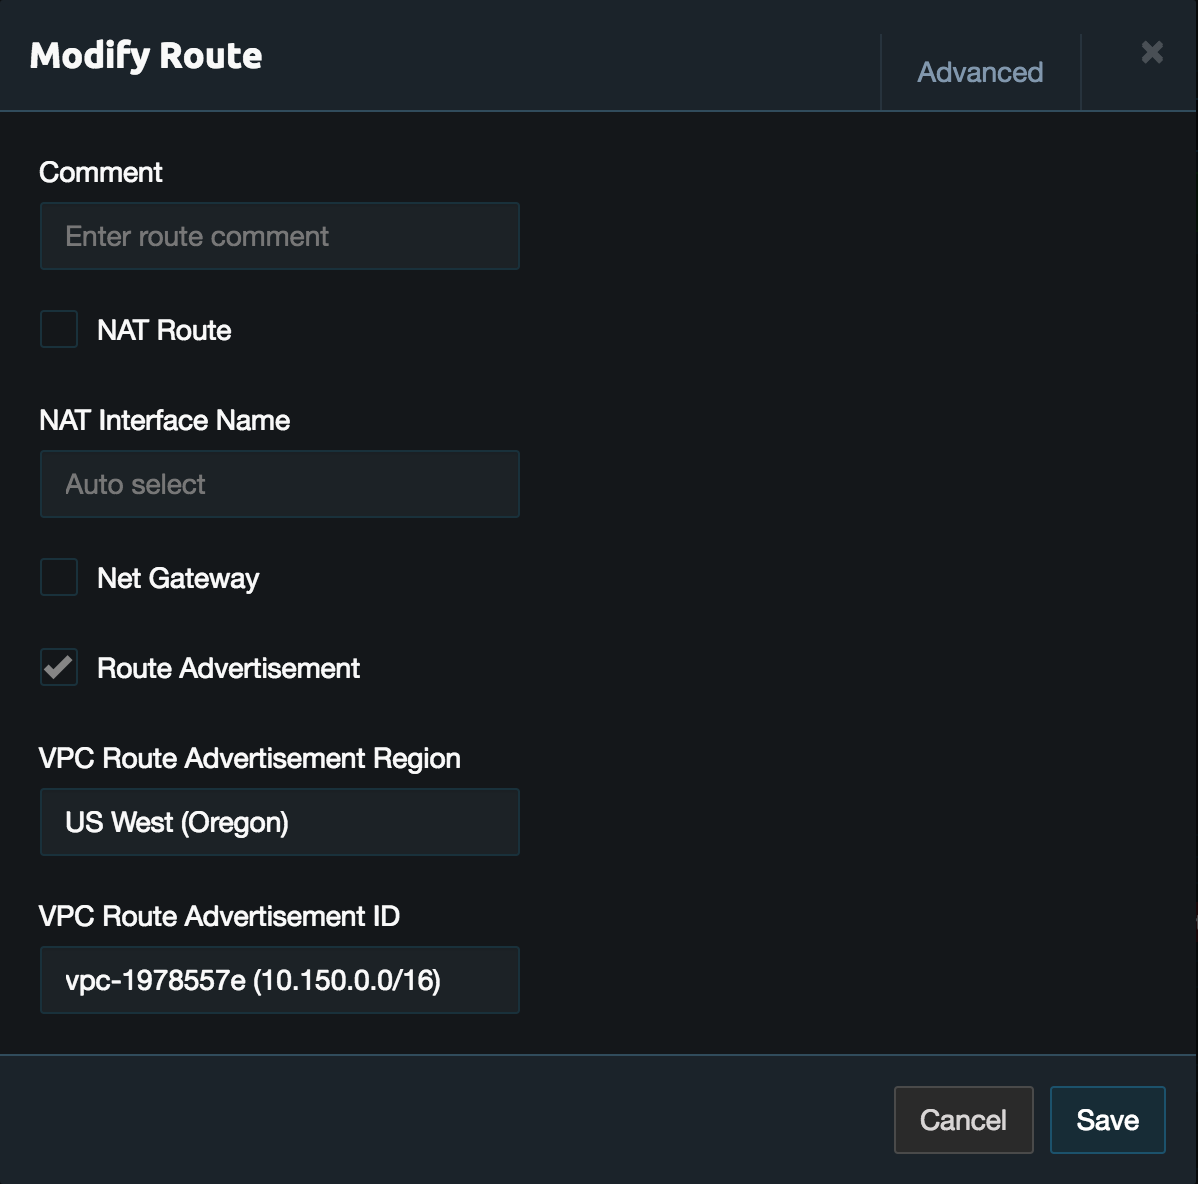
From the peering server select the route labeled Virtual Network and enable Route Advertisement. Then select the region and VPC that was peered in the link configuration. If the VPCs are not shown check the IAM role configuration and the logs in the top right. Once done click Save.
On the Links page in the peering link configuration click Add Route in the aws location. Then enter the virtual network subnet that was advertised from above.
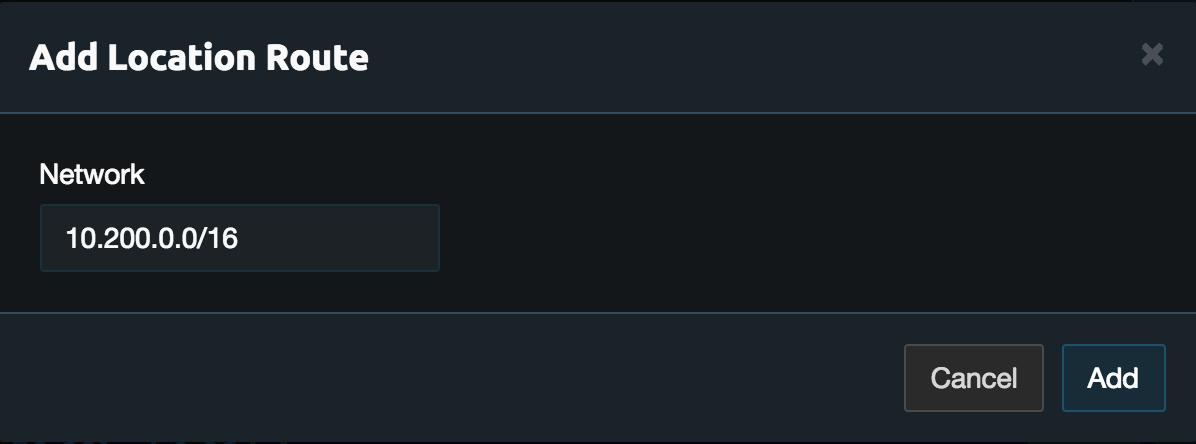
Once done start the peering server and connect to it using the Pritunl Client.
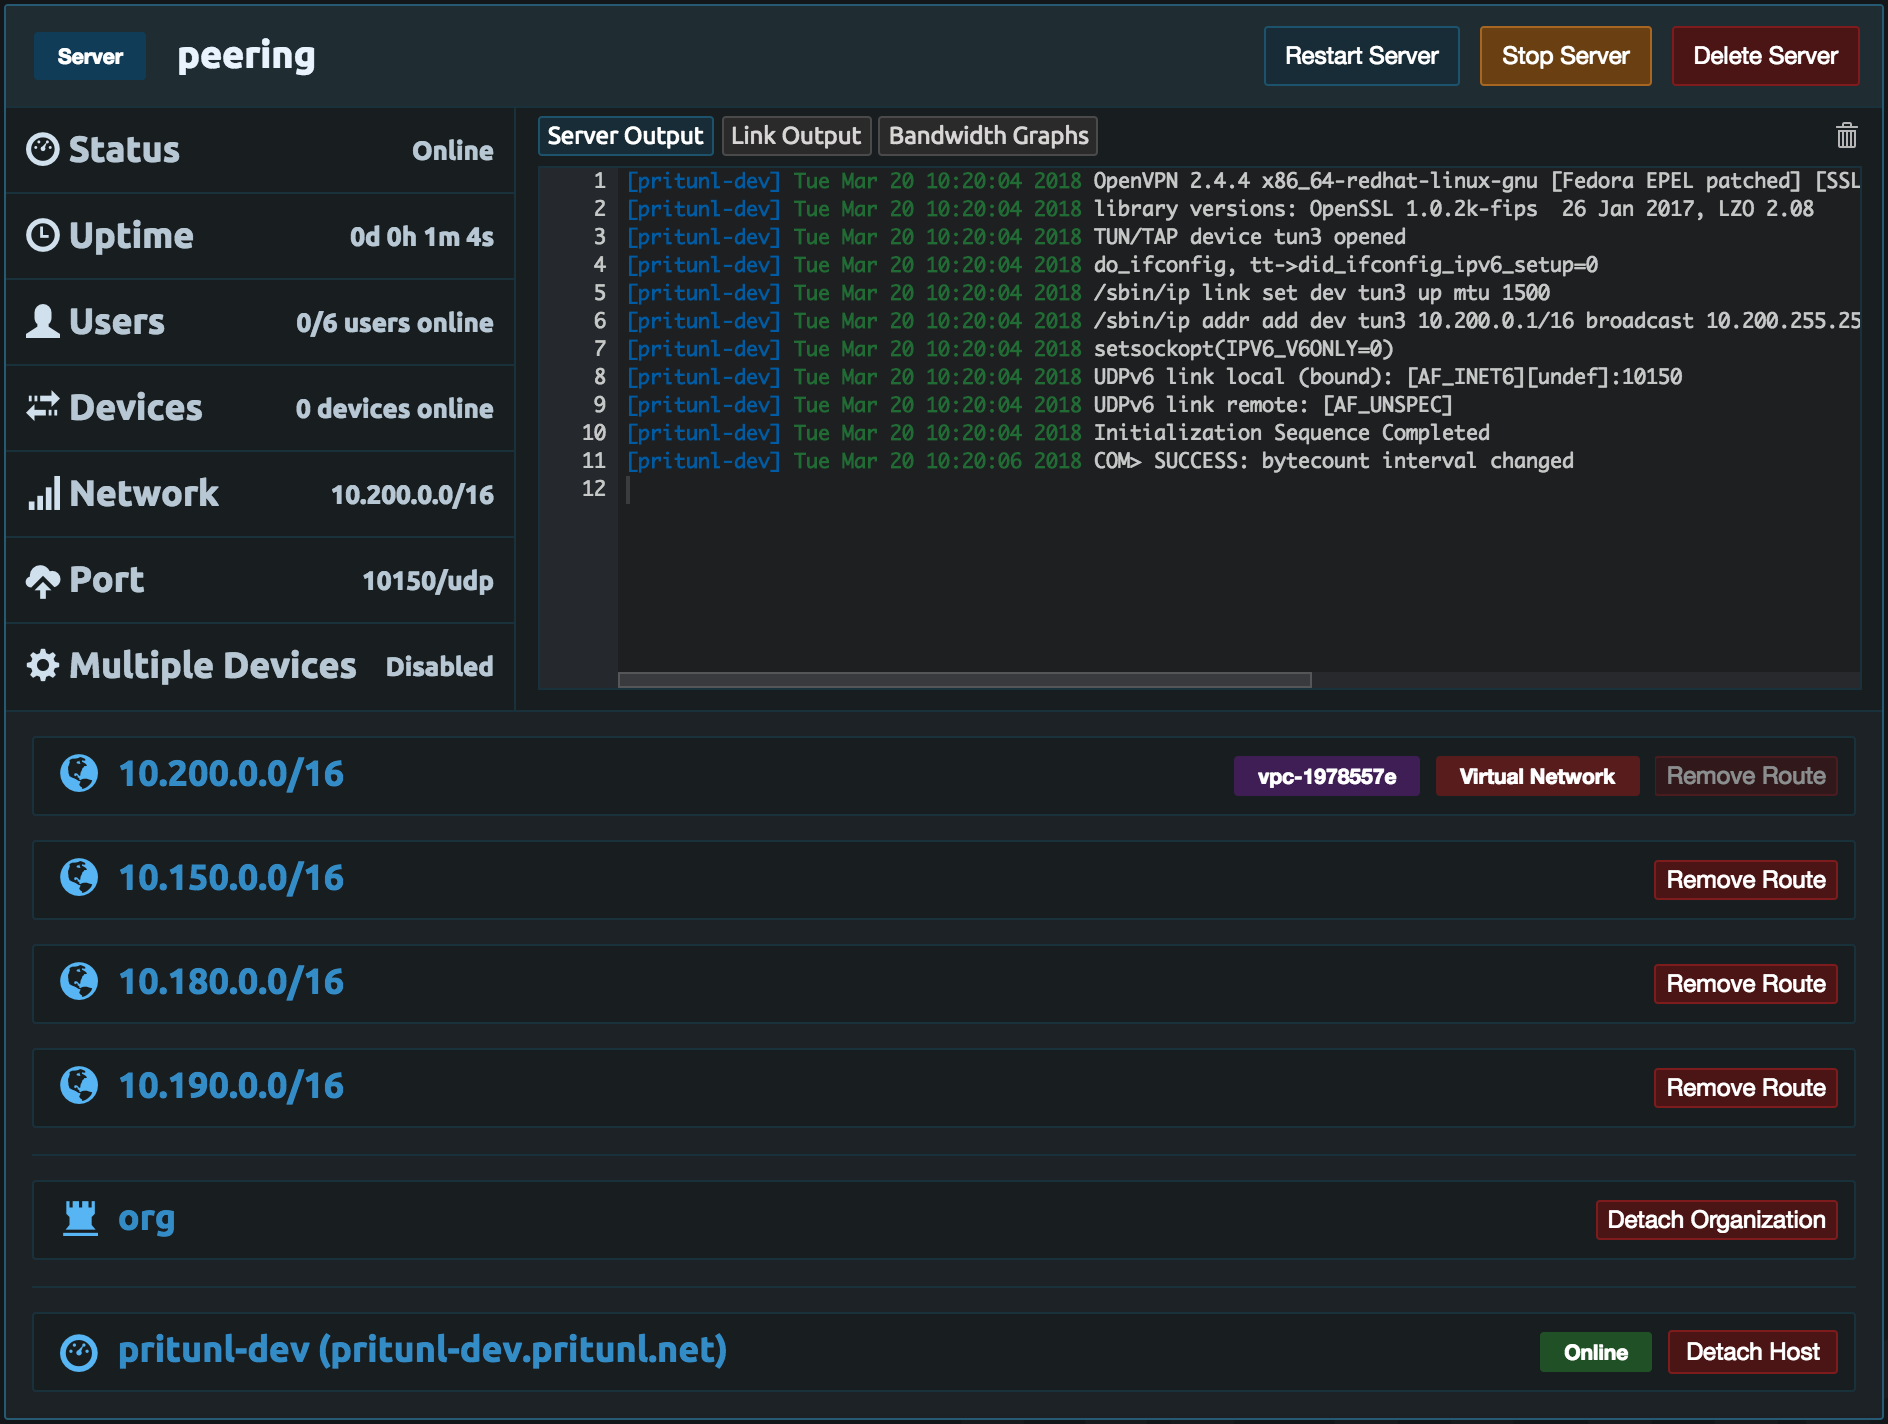
Once connected the client should be able to ping instances in any of the VPCs. The network traffic going to the instances will originate from the clients IP address on the VPNs virtual network.
Replication
This tutorial only showed single link hosts. For high availability multiple link hosts should be configured in different availability zones. When the failover link hosts are configured the status should be shown as Available indicating the link host is available for failover.
Updated 3 months ago
