Vultr Bare Metal
Configure Pritunl Cloud on Vultr Bare Metal
This tutorial will create a single host Pritunl Cloud server on Vultr Bare Metal with public IPv6 addresses for each instance. For multi-host clusters it is recommend to use a dedicated MongoDB Atlas database. Pritunl Cloud will not work on dedicated cloud or other non-Bare Metal servers.
Vultr Bare Metal servers are billed per hour and this test can be run without any long term commitments.
Create Vultr Bare Metal Server
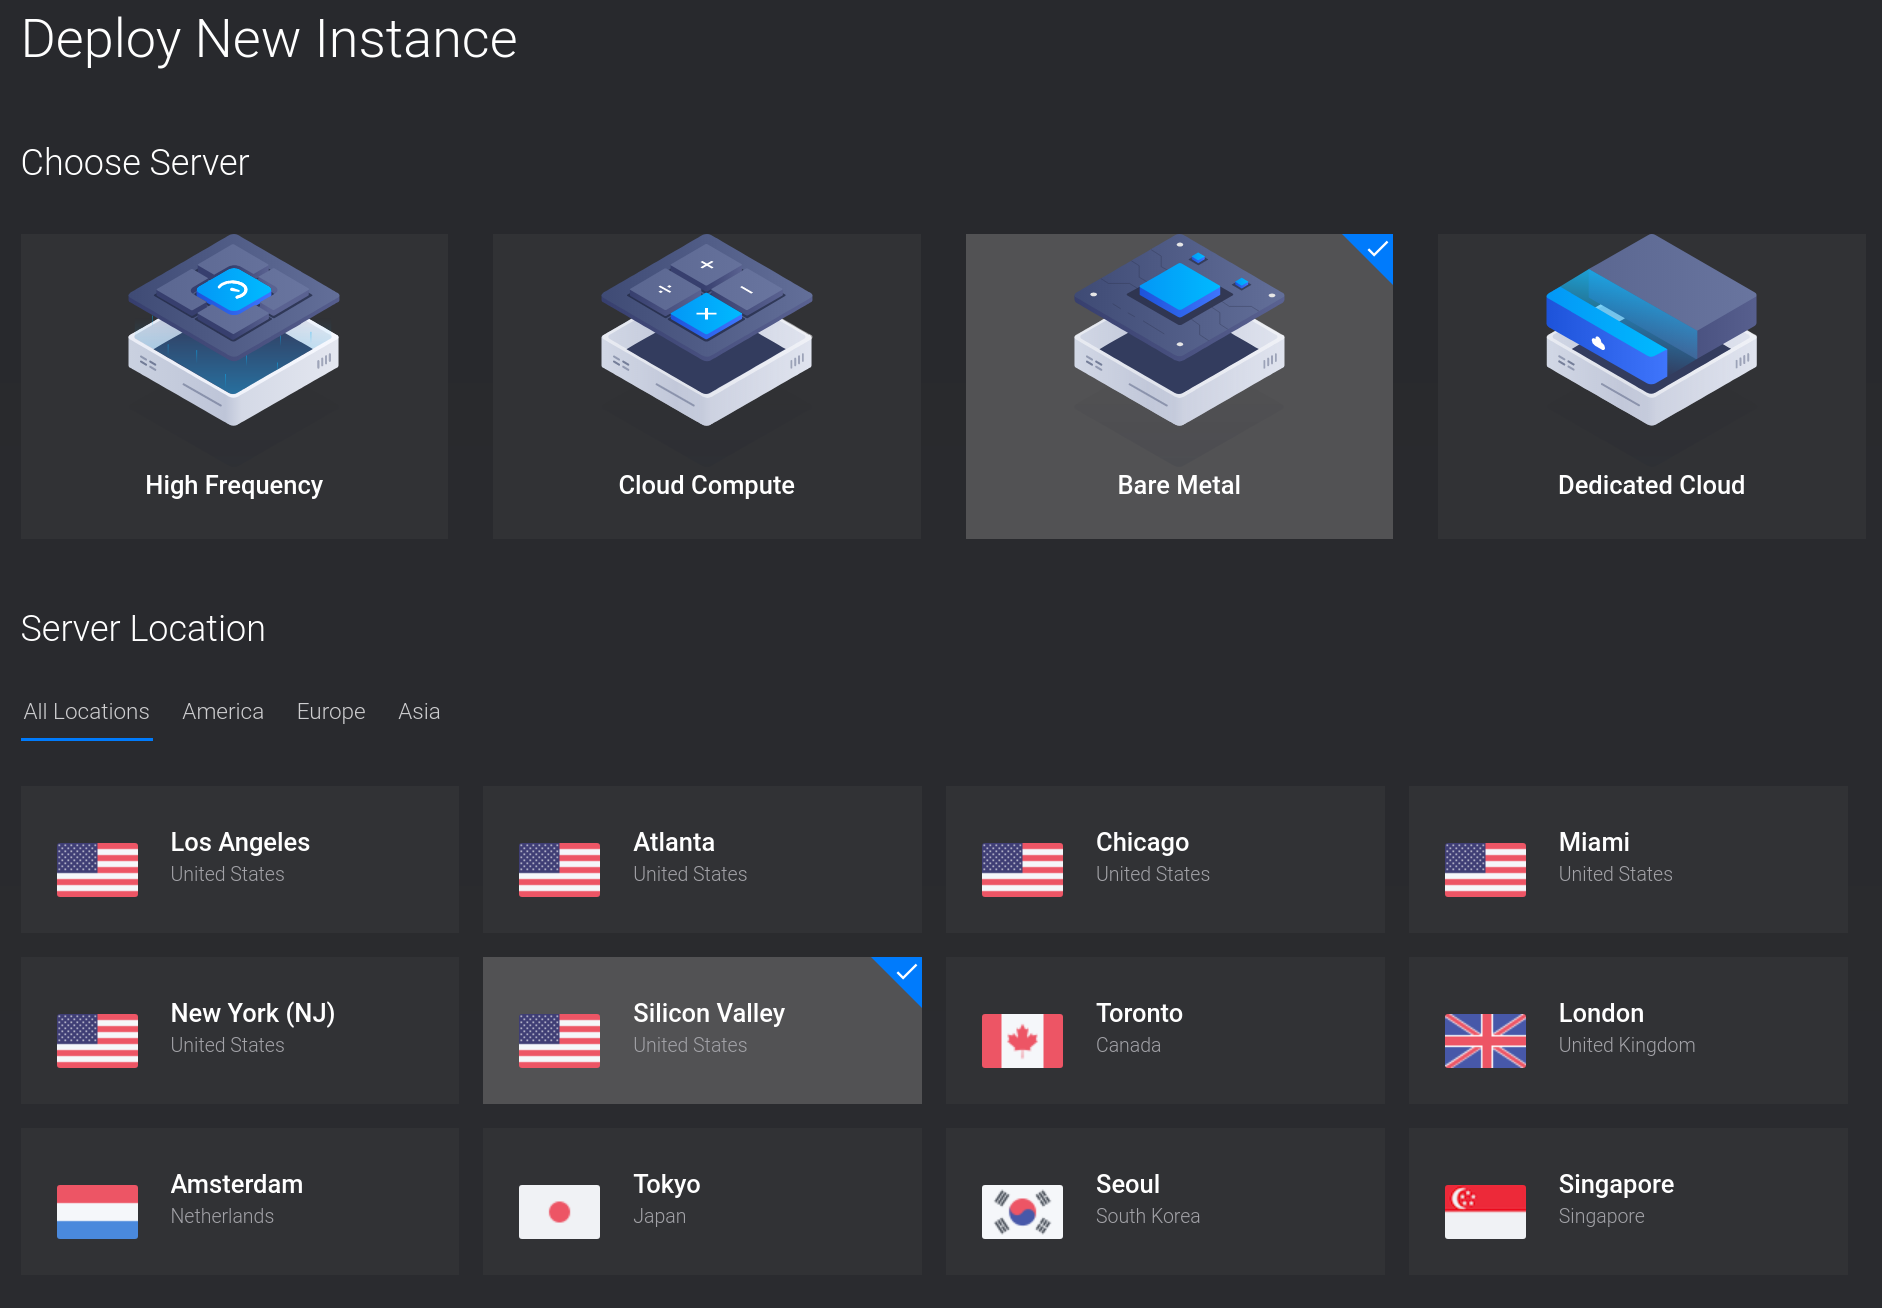
Login to the Vultr management console and click Deploy New Server. Then select Bare Metal and a location for the server.
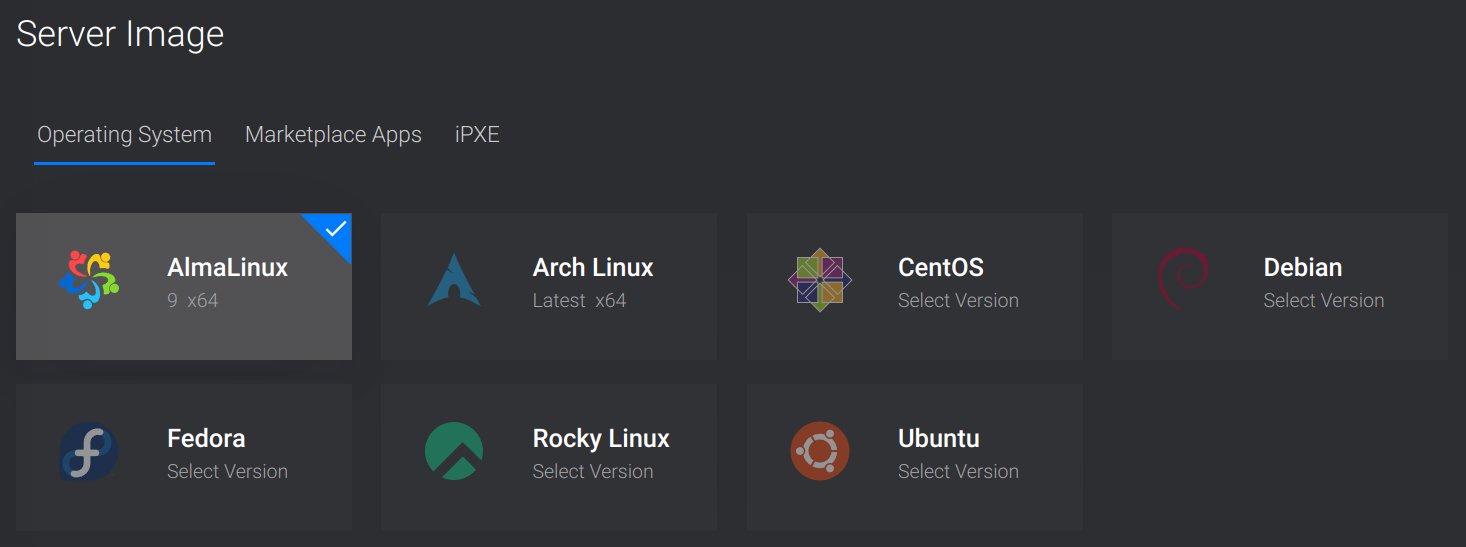
Set the Server Image to AlmaLinux 9.
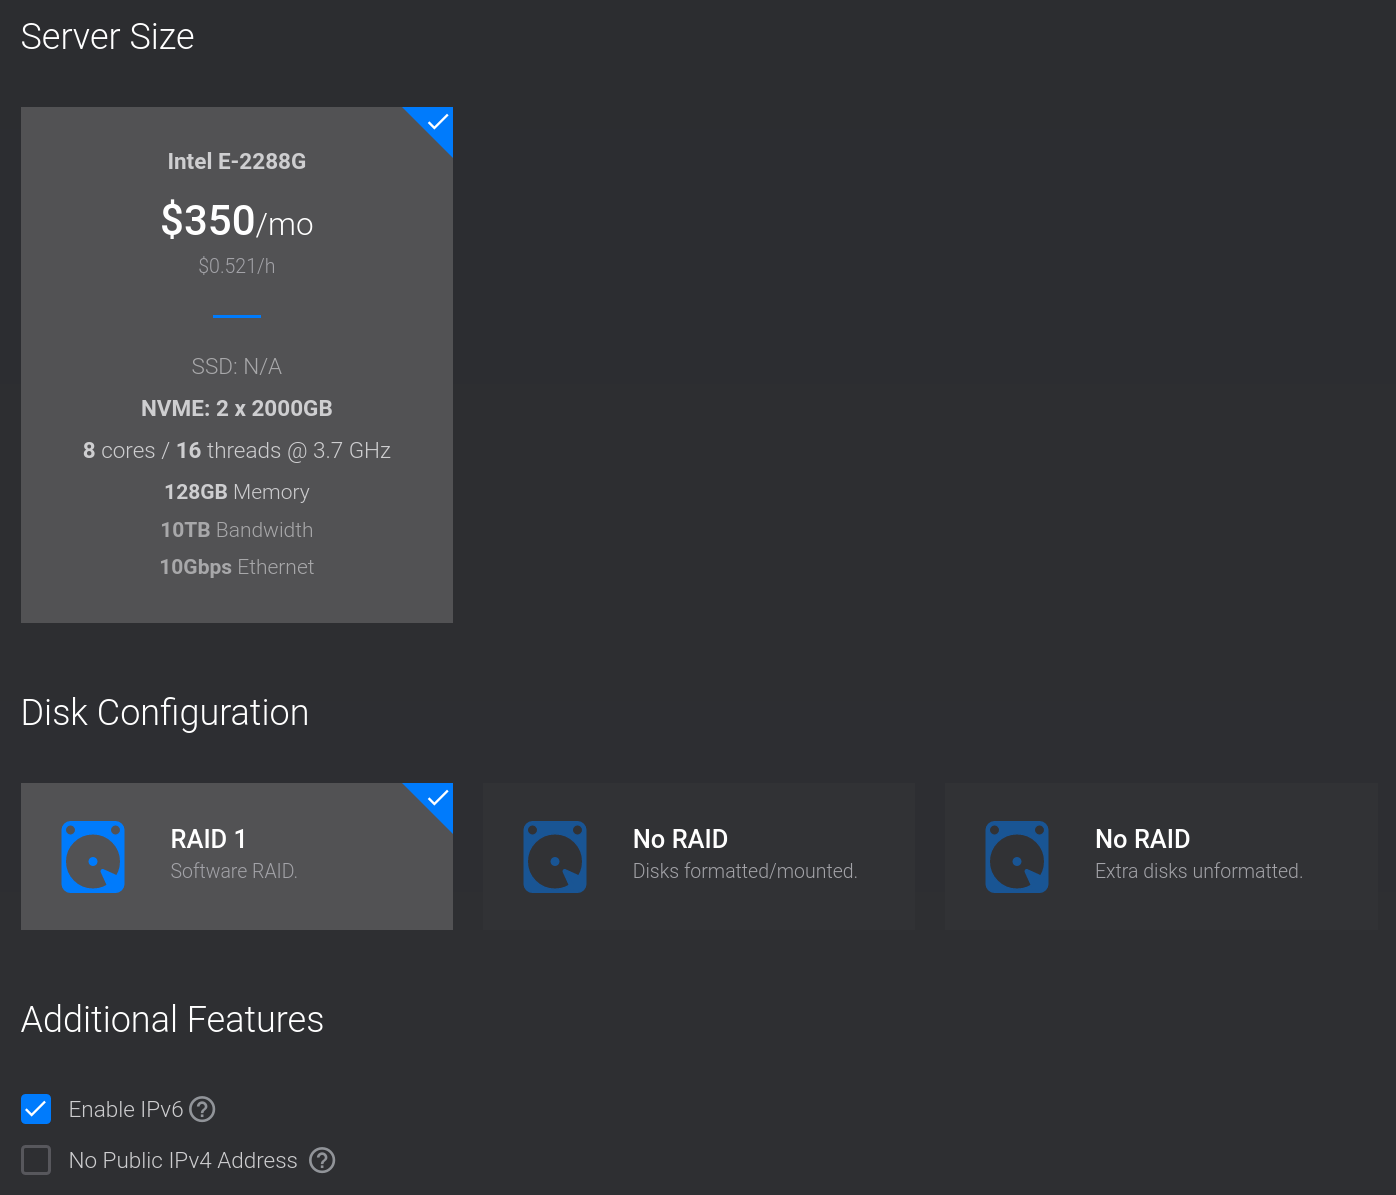
Select a Server Size then set the Disk Configuration to RAID 1. Then select Enable IPv6.
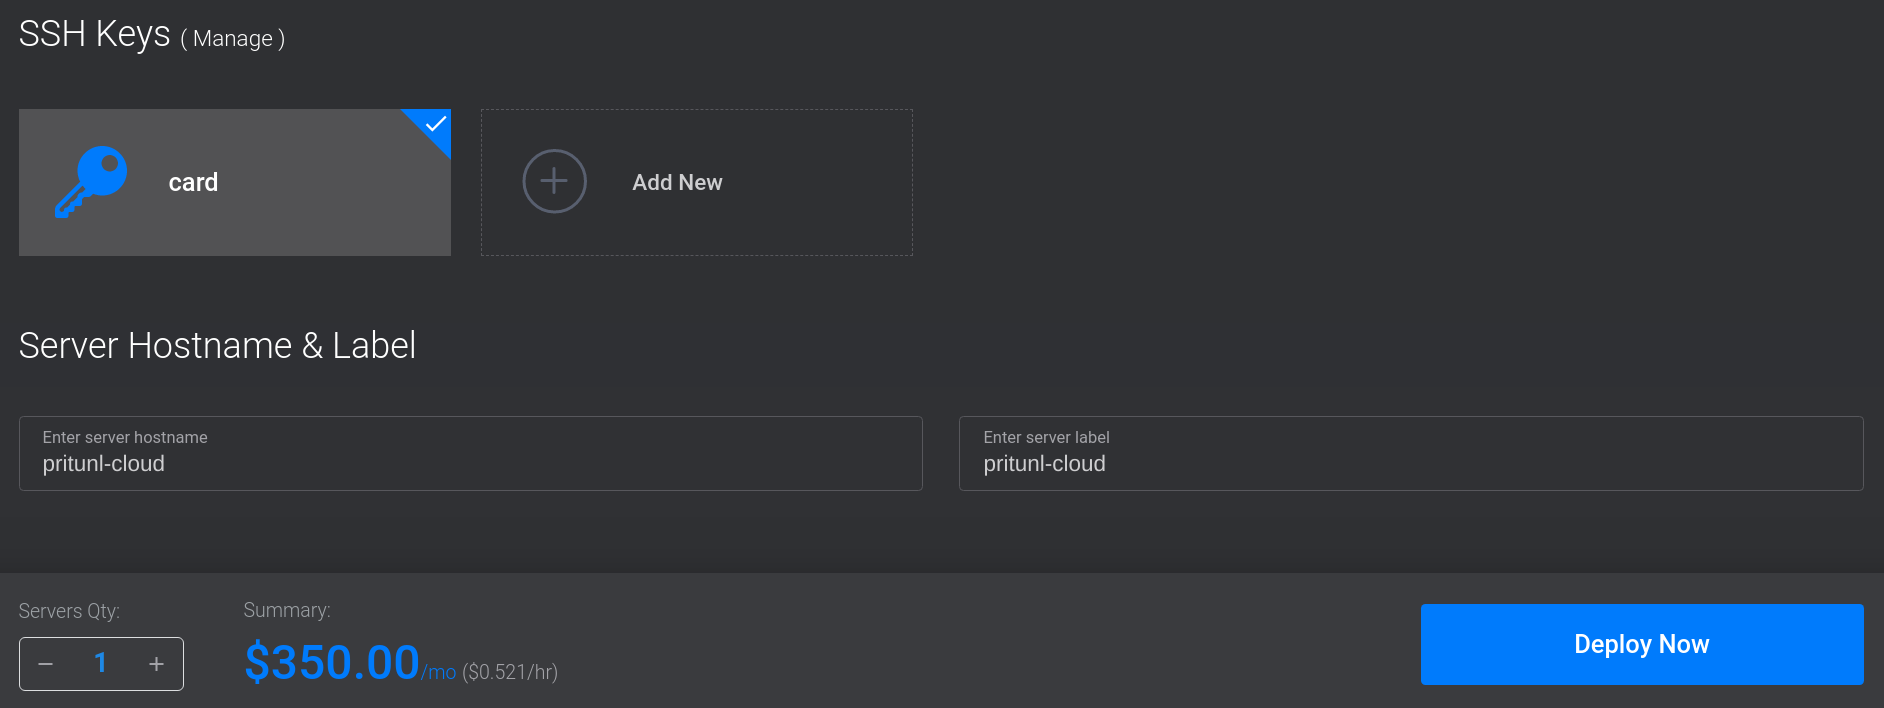
Add an SSH Key and enter a Server Hostname & Label. Then click Deploy Now*.
Install Pritunl Cloud
First update the server and reboot to install the latest kernel before installing Pritunl Cloud.
sudo dnf -y update
sudo reboot
Pritunl Cloud will be installed with Pritunl Cloud Builder which will automate the installation of Pritunl Cloud. Verify the output of the checksum command is pritunl-builder: OK. Refer to the Pritunl Cloud Builder Readme to get the latest version and checksum to use for the commands below.
After running the Pritunl Cloud Builder use the default y response to all prompts.
wget https://github.com/pritunl/pritunl-cloud-builder/releases/download/1.0.2653.32/pritunl-builder
echo "b1b925adbdb50661f1a8ac8941b17ec629fee752d7fe73c65ce5581a0651e5f1  pritunl-builder" | sha256sum -c -

chmod +x pritunl-builder
sudo ./pritunl-builder
After the installation is complete restart the server to apply the system changes.
sudo rebootConfigure Pritunl Cloud
Run the command below to get the default password for the Pritunl Cloud default admin account.
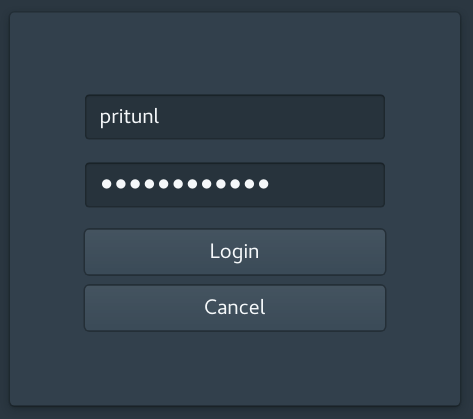
sudo pritunl-cloud default-passwordOpen the IP address of the Pritunl Cloud server in a web browser and enter the username and password from the command above. Then click Login.
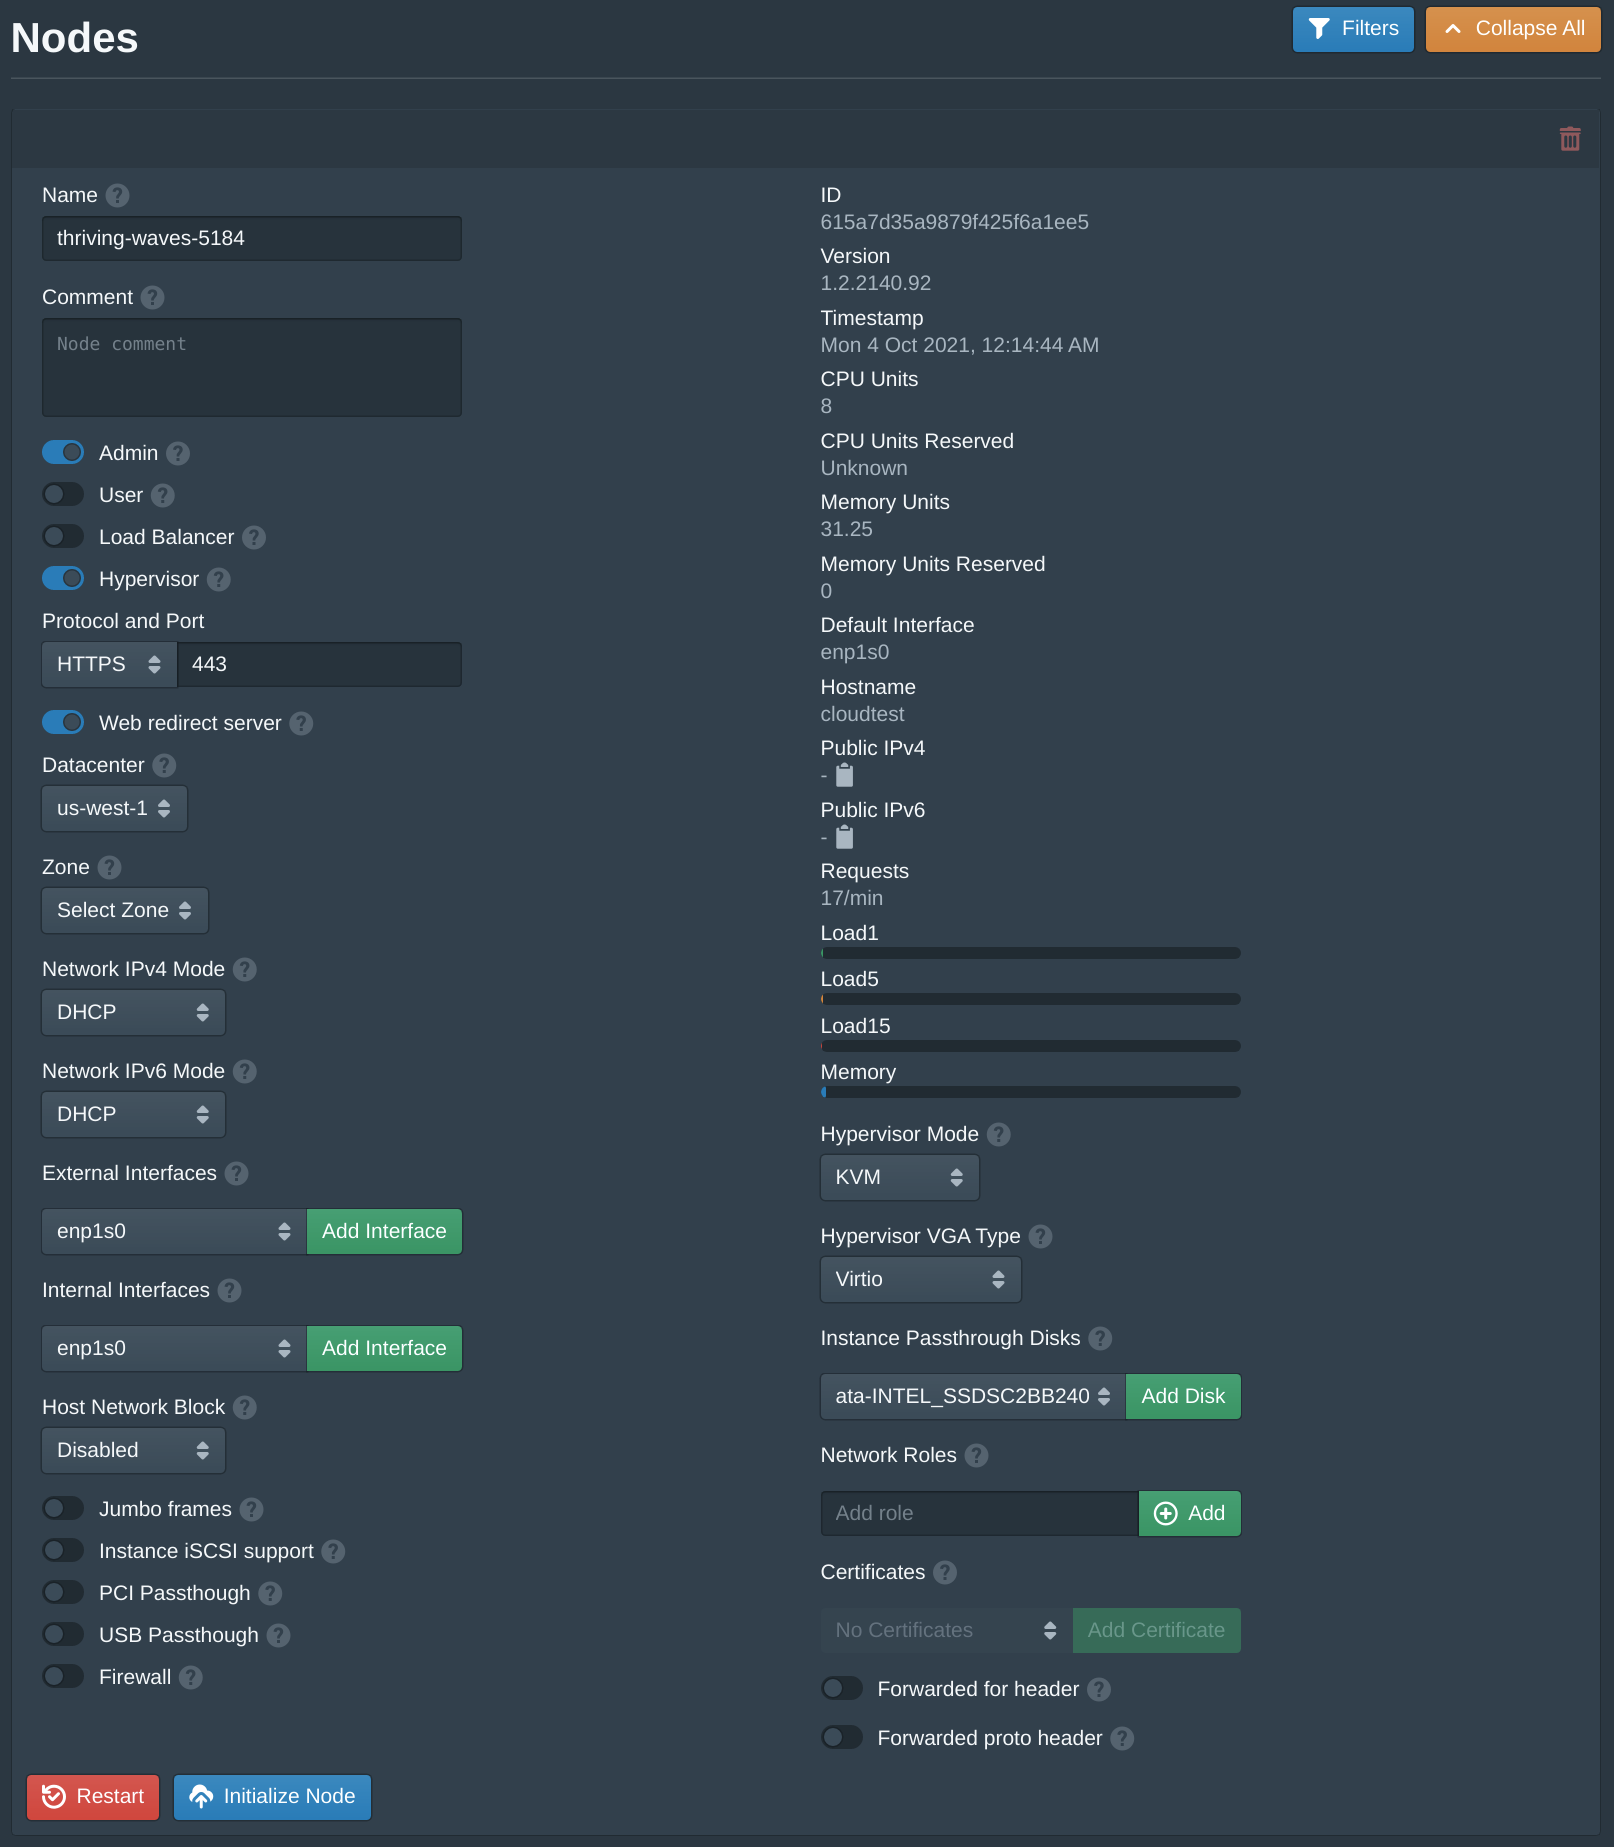
In the Pritunl Cloud web console open the Nodes tab then click Initialize Node under the available node.
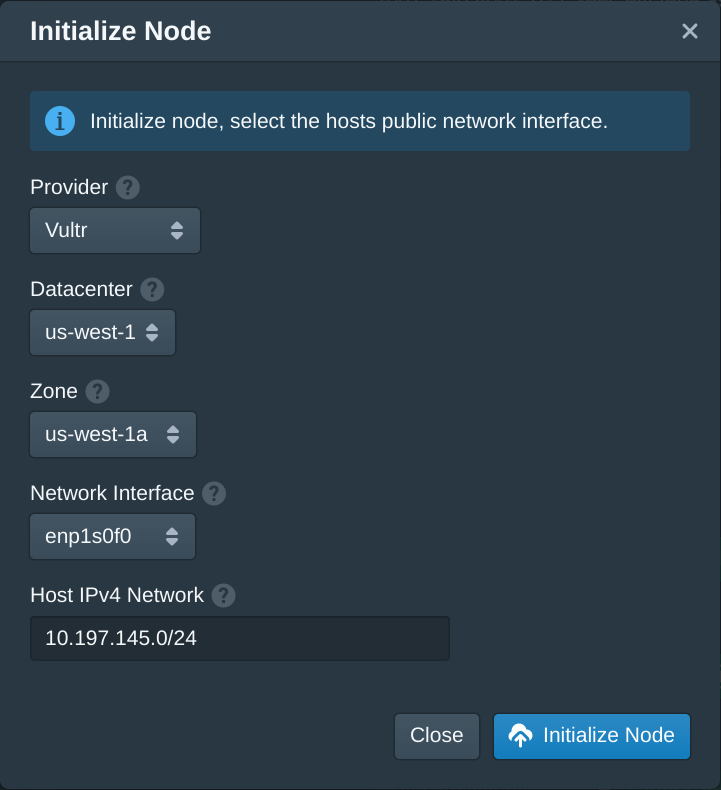
Set the Provider to Vultr. Then set the Datacenter to us-west-1 and the Zone to us-west-1a. These default names can be renamed later. Set the Network Interface to enp1s0f0 or the first available interface.
The Host IPv4 Network is a internal network that exists only on the Pritunl Cloud host. Each instance will be given an IP address on this network and the host will use this IP address to provide internet to the guest instance. It is also the IP address that would be used when configuring a load balancer on the Pritunl Cloud host. When running Pritunl Cloud on a network that has IPv4 addresses a bridged configuration can be used instead. This network will be used to NAT internet traffic to instances that don't have public IPv4 addresses. This network is different from the VPC networks that provide communication only between instances also on that same VPC.
It is recommended to use a different network for each host and a /24 network. Any network can be used, in this example 10.197.145.0/24 is used.
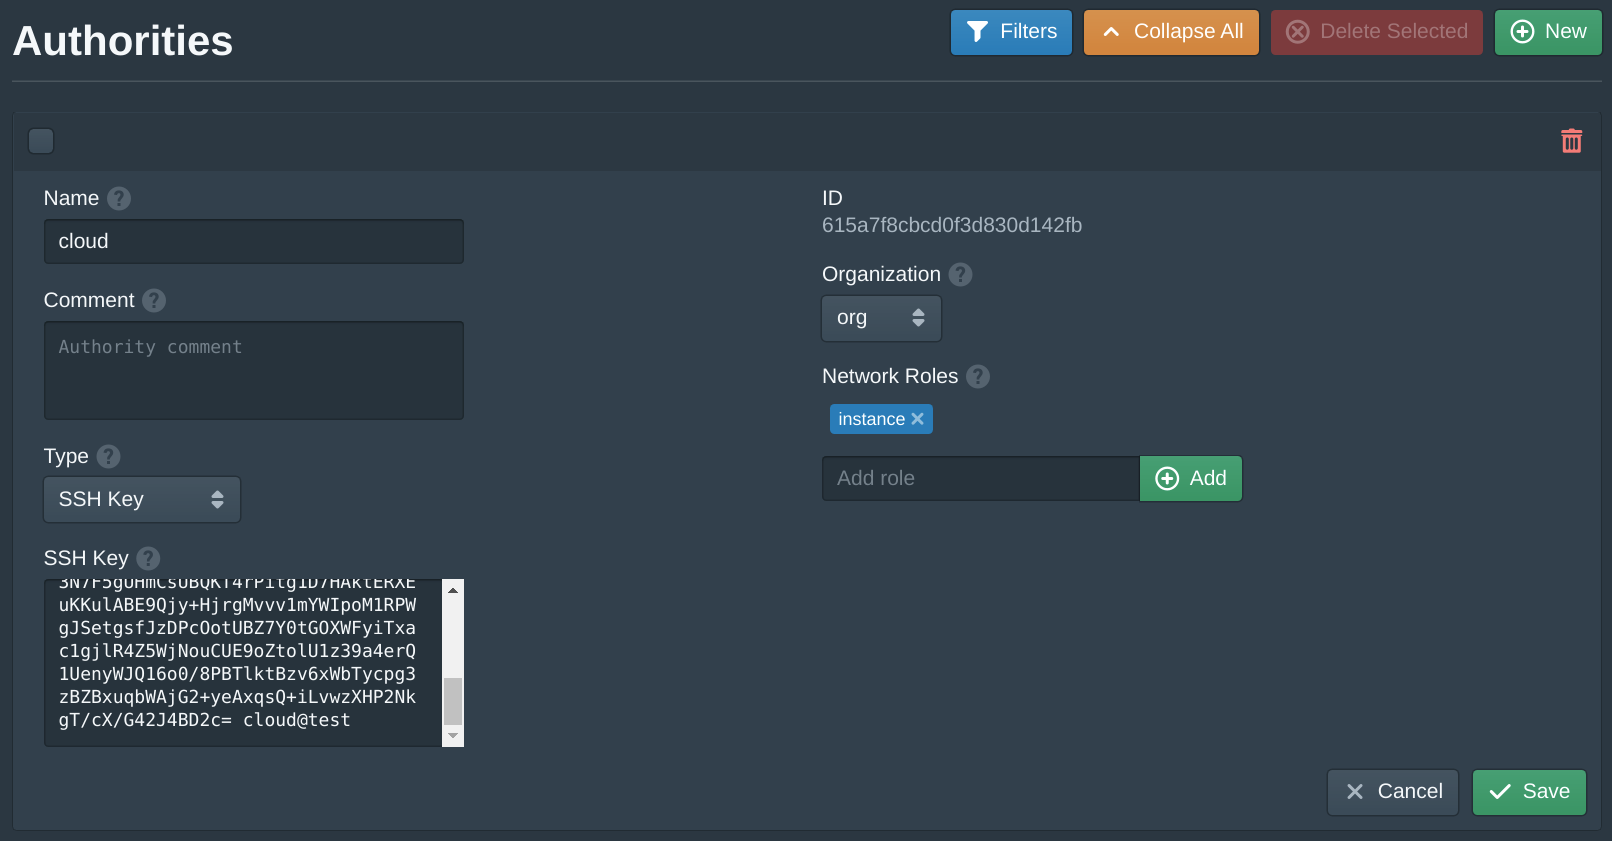
Next open the Authorities tab and set the SSH Key field to your public SSH key. Then click Save.
This default authority will associate an SSH key with instances that share the same instance role. Pritunl Cloud uses roles to match authorities and firewalls to instances.
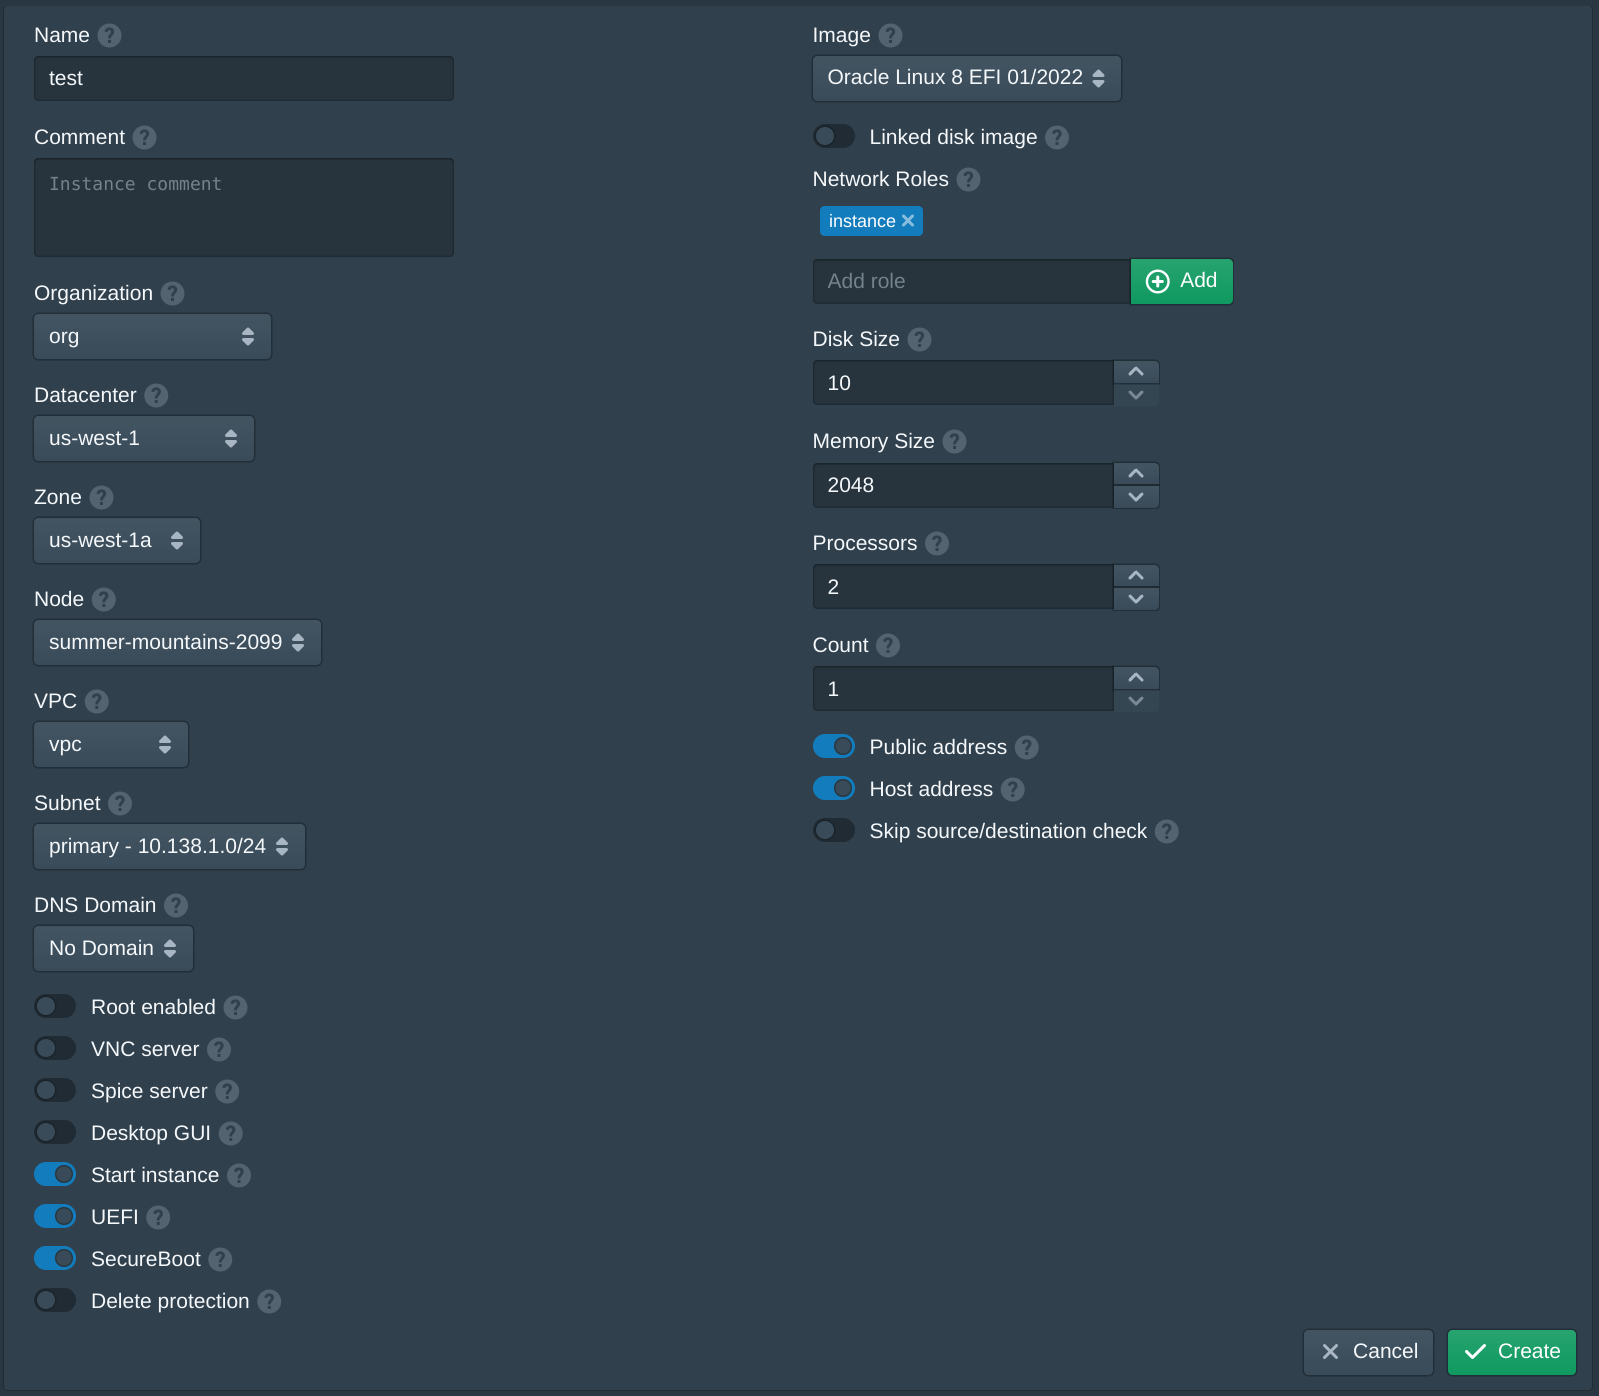
Next open the Instances tab and click New to create a new instance. Set the Name to test, the Organization to org, the Datacenter to us-west-1, the Zone to us-west-1a, the VPC to vpc, the Subnet to primary and the Node to the first available node. Then set the Image to latest version of Oracle Linux 8 EFI. Then enter instance and click Add to the Network Roles, this will associate the default firewall and the authority with the SSH key above. Then click Create. The create instance panel will remain open with the fields filled to allow quickly creating multiple instances. Once the instances are created click Cancel to close the dialog.
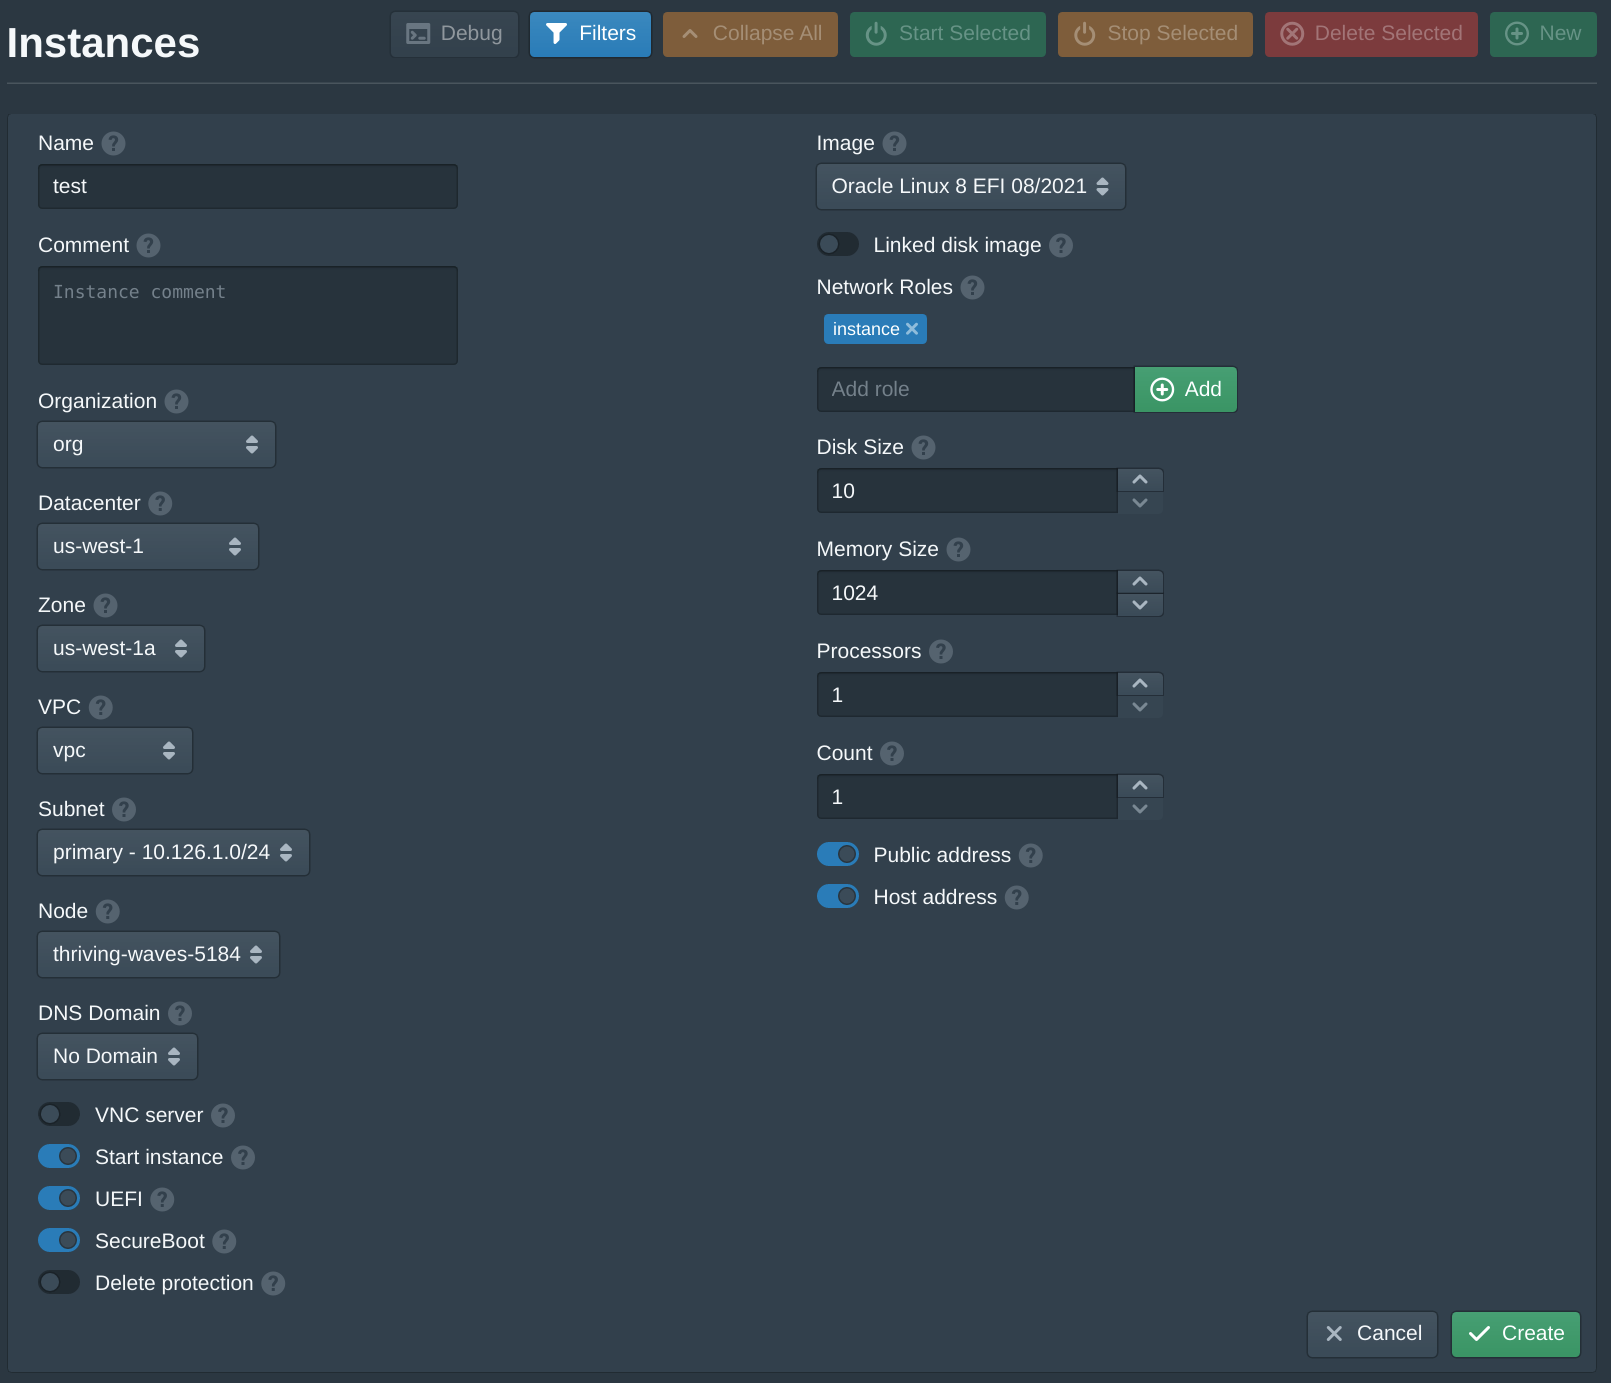
When creating the first instance the instance Image will be downloaded and the signature of the image will be validated. This may take a few minutes, future instances will use a cached image.
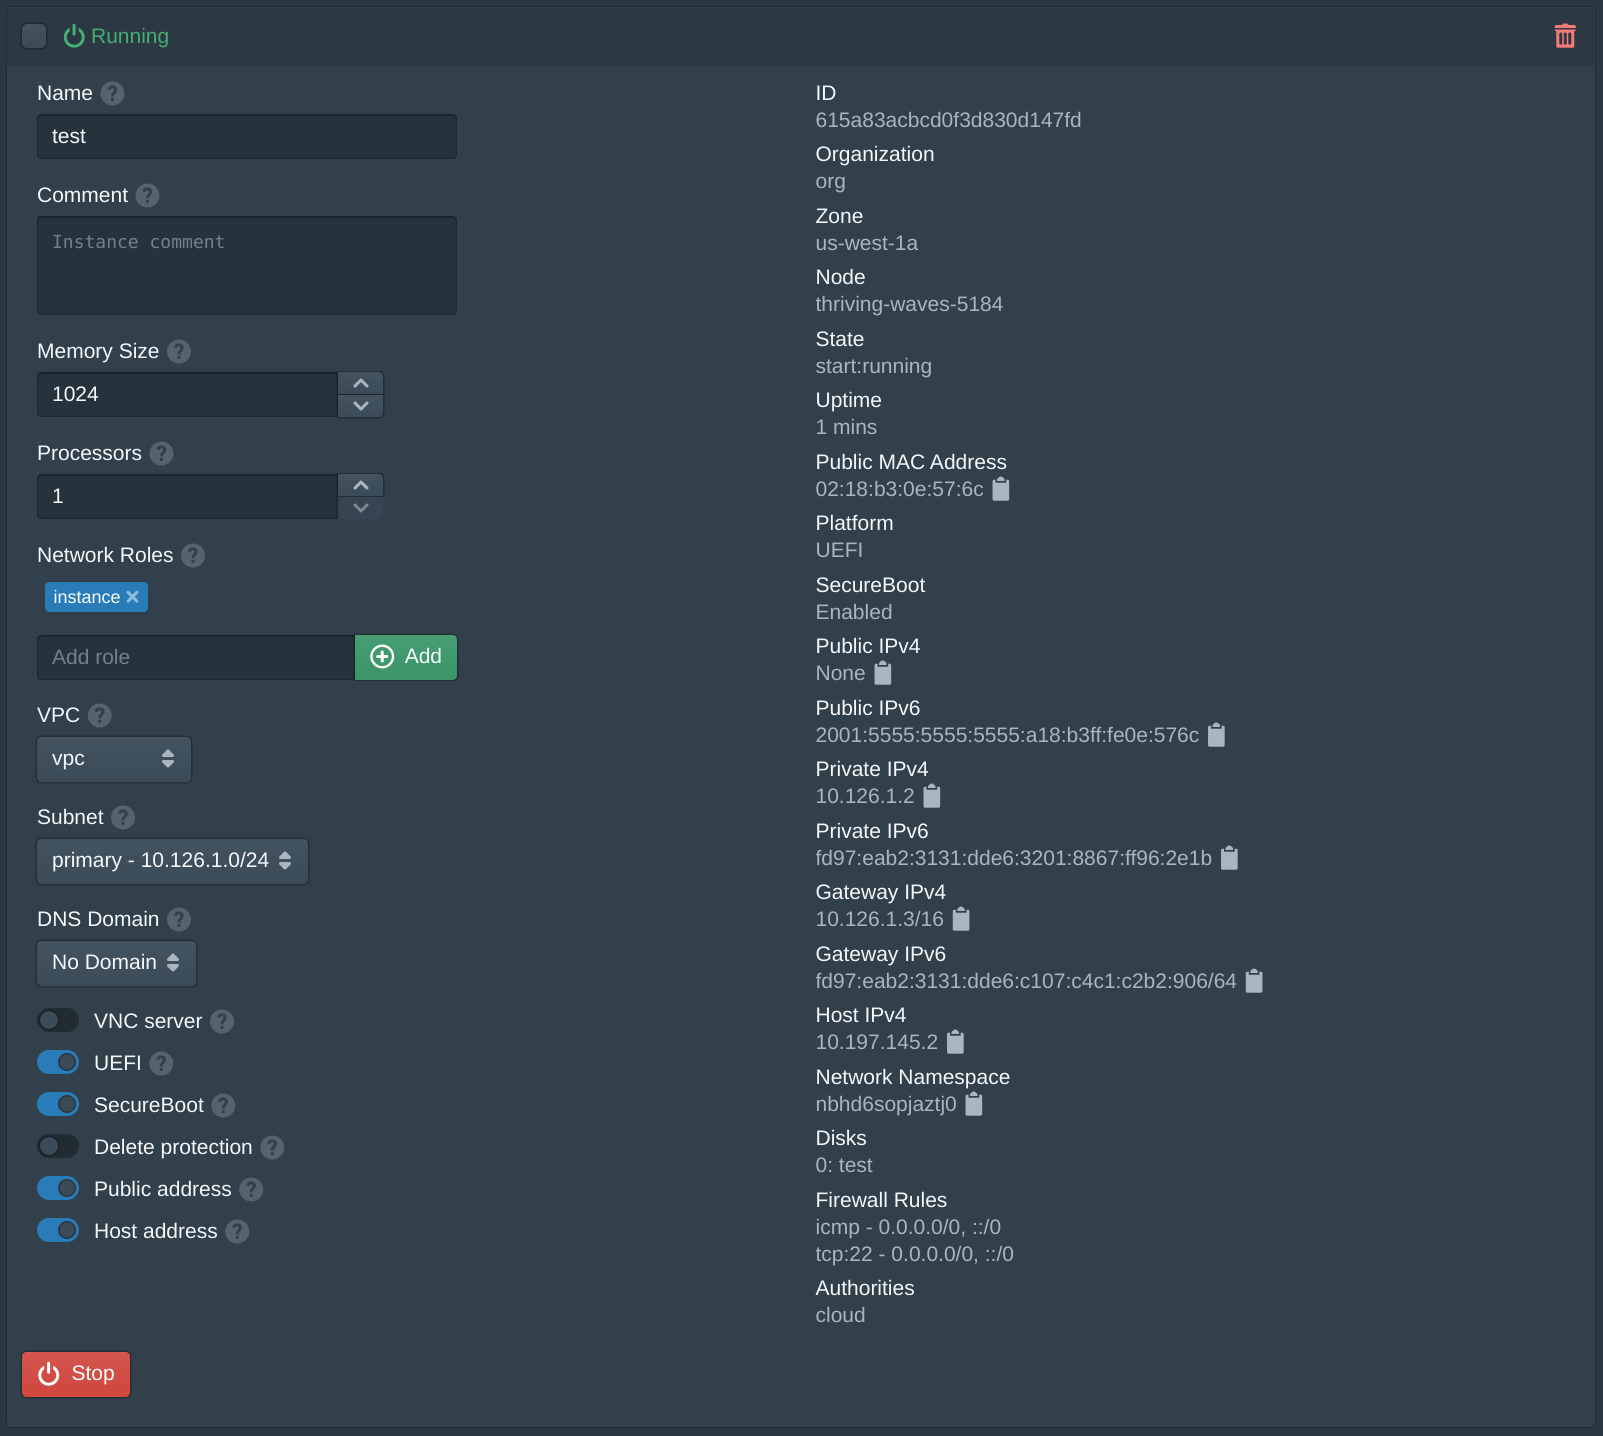
After the instances is running there are 3 relevant IP addresses. The Public IPv6 address is a public IPv6 address supplied by Vultr and can be used to directly access the instance from the internet. The Private IPv4 address is the instance VPC address that can only be used from other instances on the same VPC. The Host IPv4 address is the IP address from the host network, the Pritunl Cloud server can access the instance using this address.
If an instance fails to start refer to the Debugging section.
ssh cloud@2001:5555:5555:5555:a18:b3ff:fe0e:576cIf you do not have an IPv6 internet connection the server can be accessed using an SSH jump host. This method will proxy the SSH connection through the Pritunl Cloud host and then onto the instance host IPv4 address. Replace the example host address below with the Host IPv4 shown on the instance panel above.
ssh -J root@<vultr-server-ip> cloud@10.197.145.2Instance Usage
The default firewall configured will only allow ssh traffic. This can be changed from the Firewalls tab. To provide public access to services running on the instances either the built in load balancer functionality can be used or providers such as Cloud Flare can proxy internet traffic to IPv6 address. When a Cloud Flare DNS record is configured to a Pritunl Cloud IPv6 instance with the proxy enabled all clients will have access to the instance even if the user only has IPv4 internet.
To use the Pritunl Cloud load balancer DNS records will need to be configured for the Pritunl Cloud server. When a web request is received by the Pritunl Cloud server the domain will be used to either route that request to an instance through the load balancer or provide access to the admin console. In the Nodes tab once the Load Balancer option is enabled a field for Admin Domain and User Domain will be shown. These DNS records must point to the Pritunl Cloud server IP and will provide access to the admin console. The user domain provides access to the user web console which is a more limited version of the admin console intended for non-administrator user to manage instance resources. Non-administrator users are limited to accessing resources only within the organization that they have access to.
Add Public IPv4 Addresses
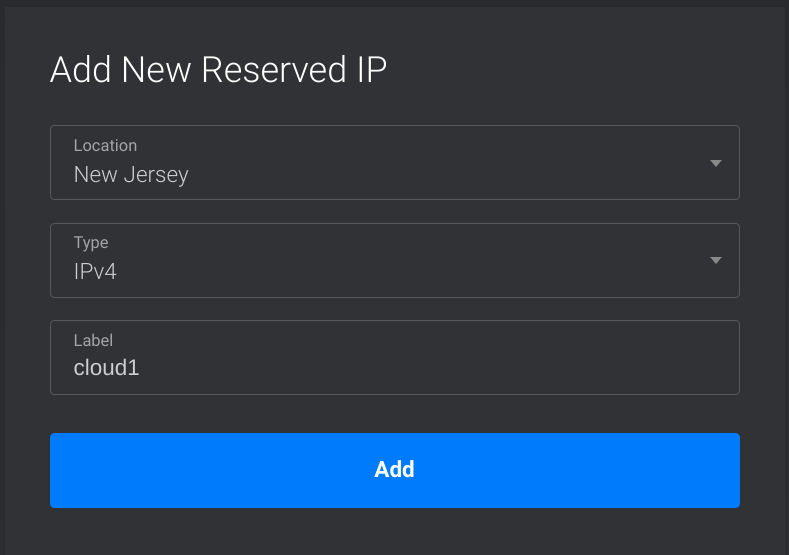
Vultr allows attaching additional IPv4 addresses to bare metal servers. These IP addresses can be used by Pritunl Cloud instances. To add an IPv4 address open the Network tab in the Vultr web console. Then click Add Reserve IP.
Set the Location to match the location of the bare metal server. Then give the IP address a label.
After adding the IP addresses click the edit button for the IP address in the list. Select the bare metal server and click Attach.
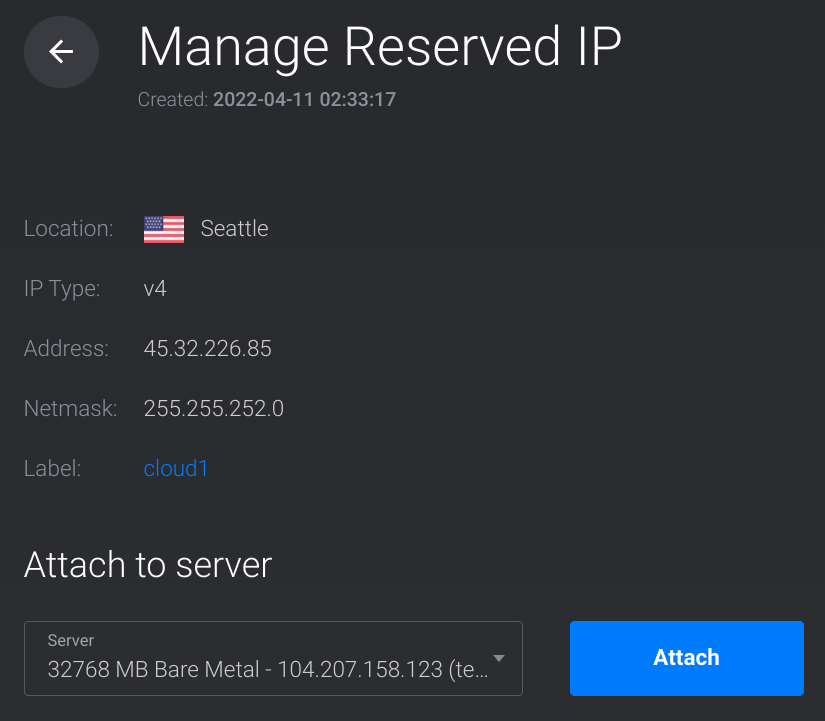
Once the IP is attached open the Settings tab inside the bare metal server page. This will show the IP address along with a netmask and gateway.

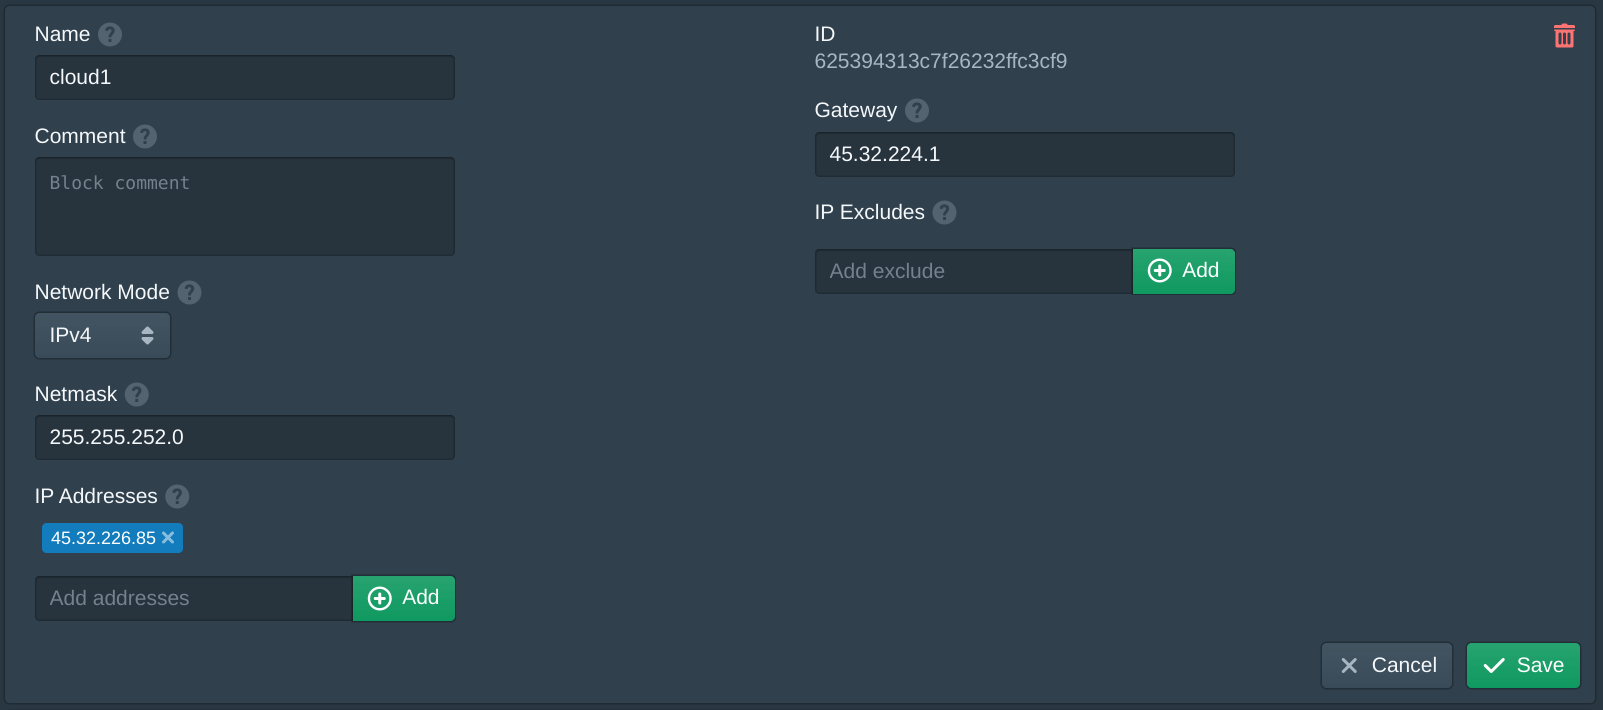
In the Blocks tab of the Pritunl Cloud web console click New. Then set the Name for the IP. Copy the Netmask and Gateway from the earlier page. Then copy the IP Address and click Add to add it to the list. Once done click Save.
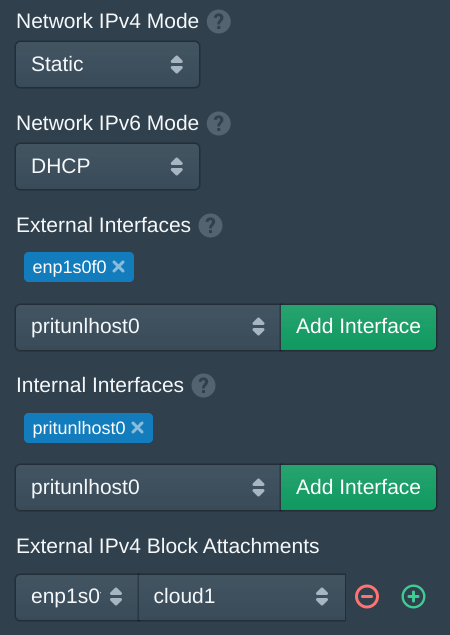
In the Nodes tab change the Network IPv4 Mode to Static. Then in the External IPv4 Block Attachments select the primary network interface. This should match the External Interfaces. Then select the name of the block created previously. Once done click Save.
Open the Instances page and create a new instance. If the Public address option is enabled the server will use the first available public IP from the block attachments. This will give direct network access to the instance from the public IP address.
To add more IPv4 addresses repeat the steps and add an additional block attachment to the node.
Updated 3 months ago
