Kubernetes
Kubernetes cluster on Pritunl Cloud with Rancher
This tutorial will explain configuring Kubernetes on Pritunl Cloud using Rancher. This tutorial will only create one Rancher instance but multiple instances can be created for a high availability production clusters. The tutorial will refer to the public IP address of instance, this IP address will most likely be a local DHCP address assigned by the router on the local network.
Firewall
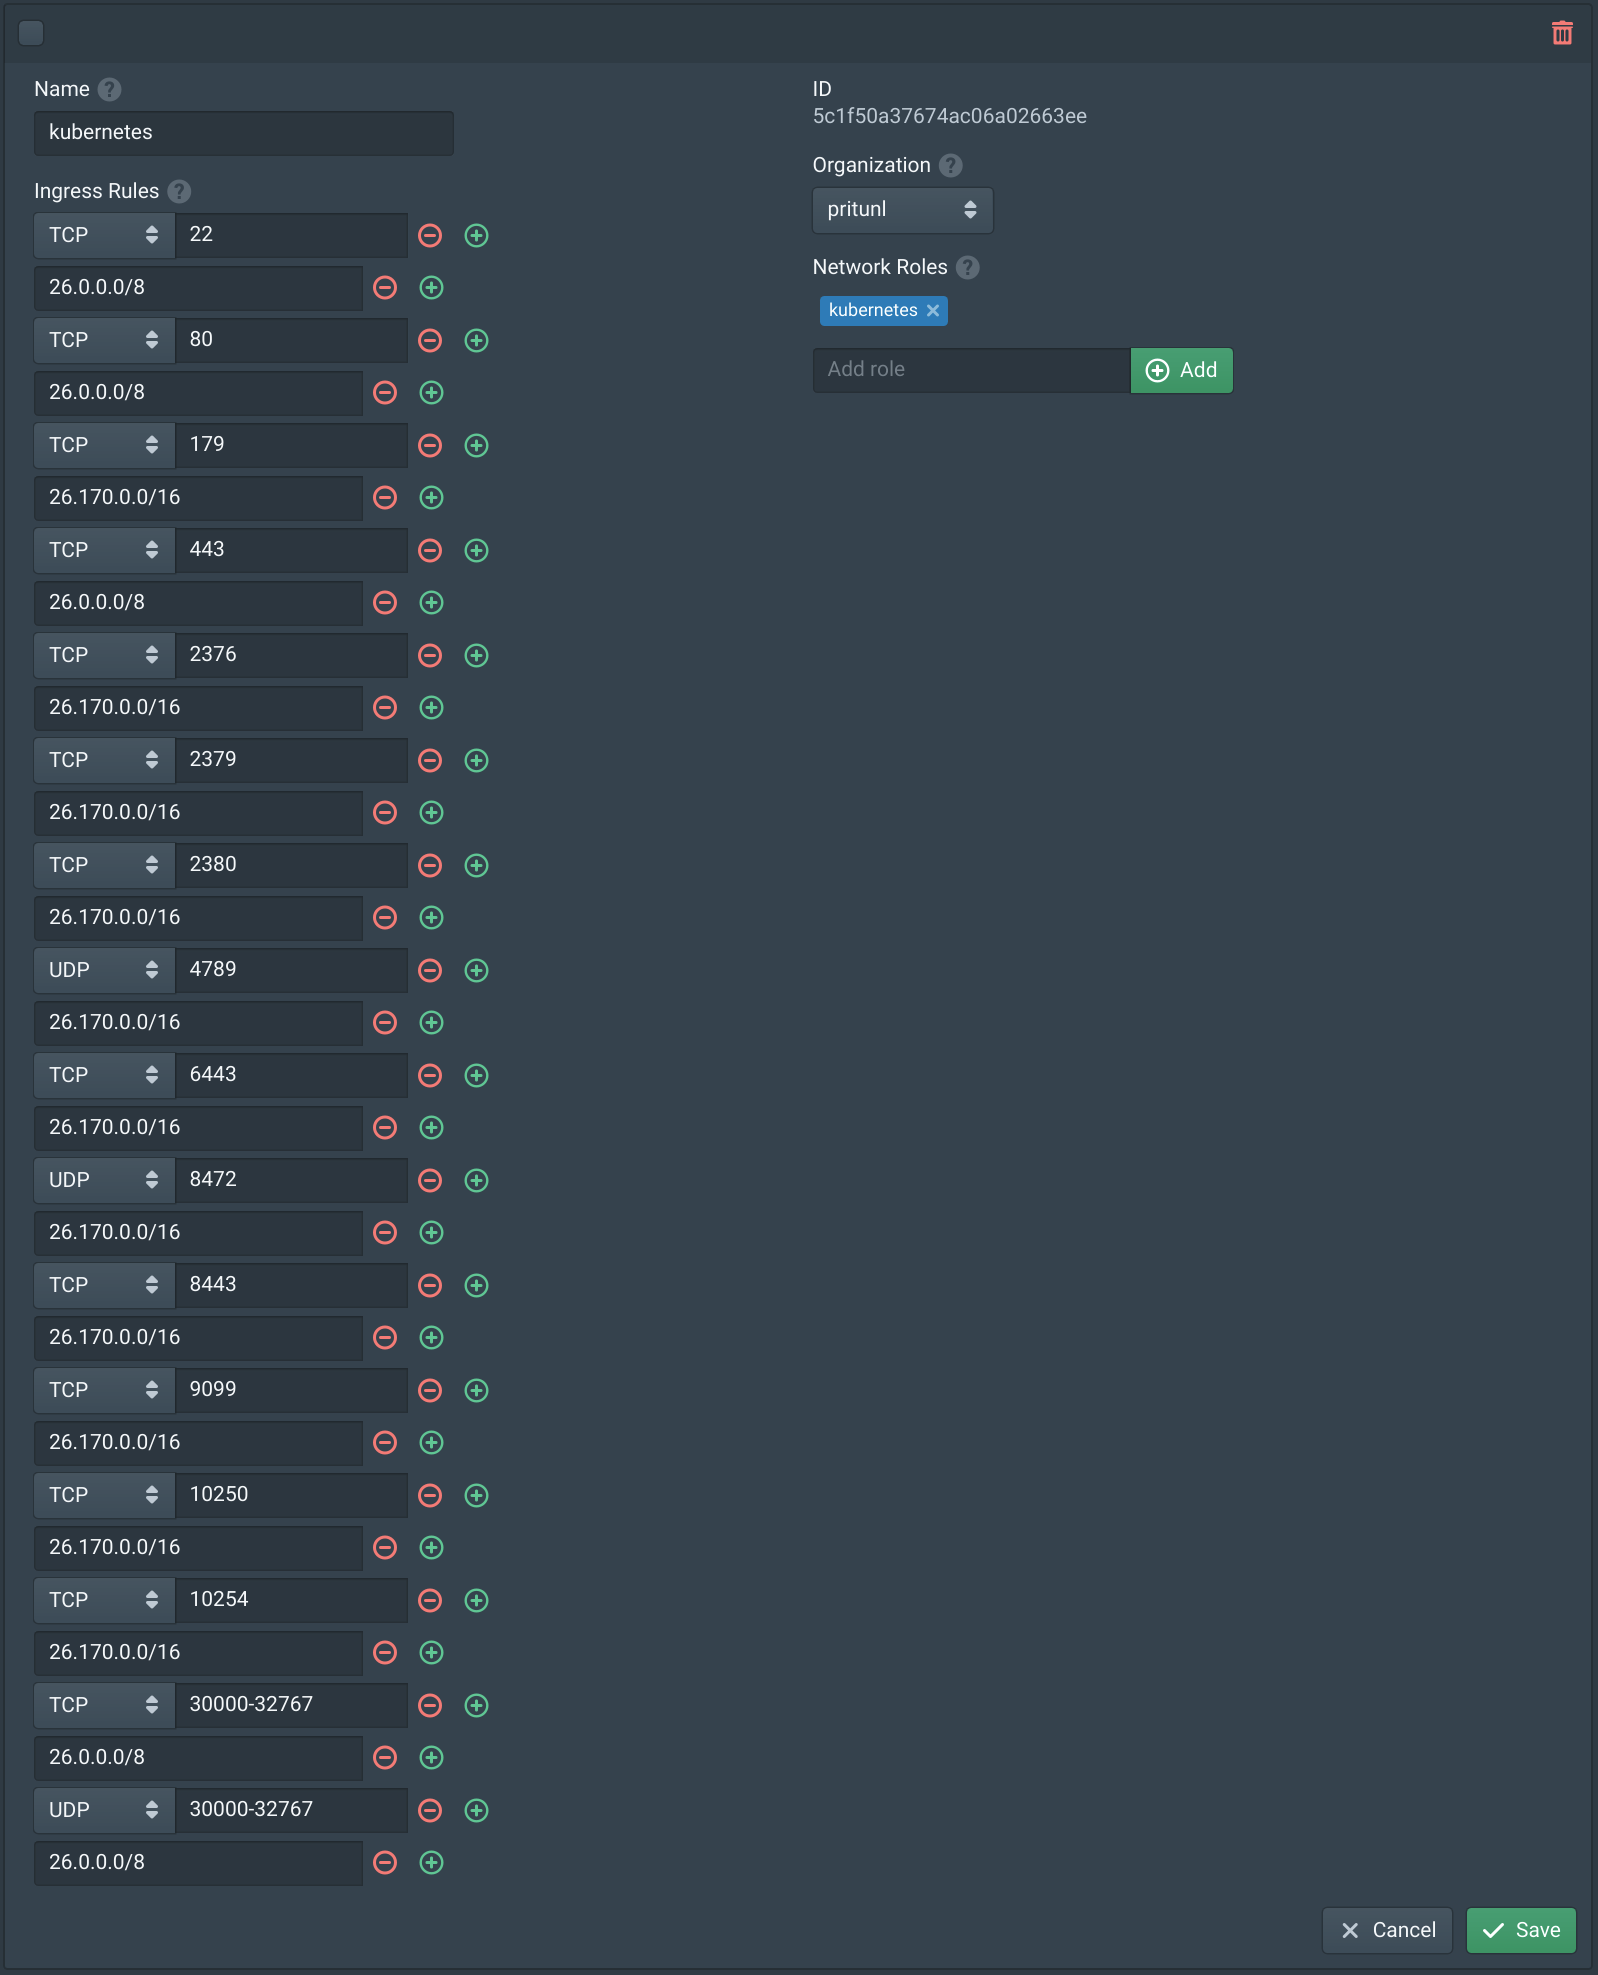
Below is a list of firewall rules required for Kubernetes on Rancher. This firewall can be applied to all the Kubernetes nodes. The <local_network> refers to the network that the instance public IP address is on. The <vpc_network> refers to the VPC network. The port range 30000-32767 is used for the Kubernetes service node ports.
TCP:22
<local_network>
<vpc_network>

TCP:80
<local_network>
<vpc_network>

TCP:443
<local_network>
<vpc_network>

TCP:179
<vpc_network>

TCP:2376
<vpc_network>

TCP:2379
<vpc_network>

TCP:2380
<vpc_network>

UDP:4789
<vpc_network>

TCP:6443
<vpc_network>

UDP:8472
<vpc_network>

TCP:8443
<vpc_network>

TCP:9099
<vpc_network>

TCP:10250
<vpc_network>

TCP:10254
<vpc_network>

TCP:30000-32767
<local_network>
<vpc_network>

UDP:30000-32767
<local_network>
<vpc_network>
Create this firewall and add the tag kubernetes.
Create Instances
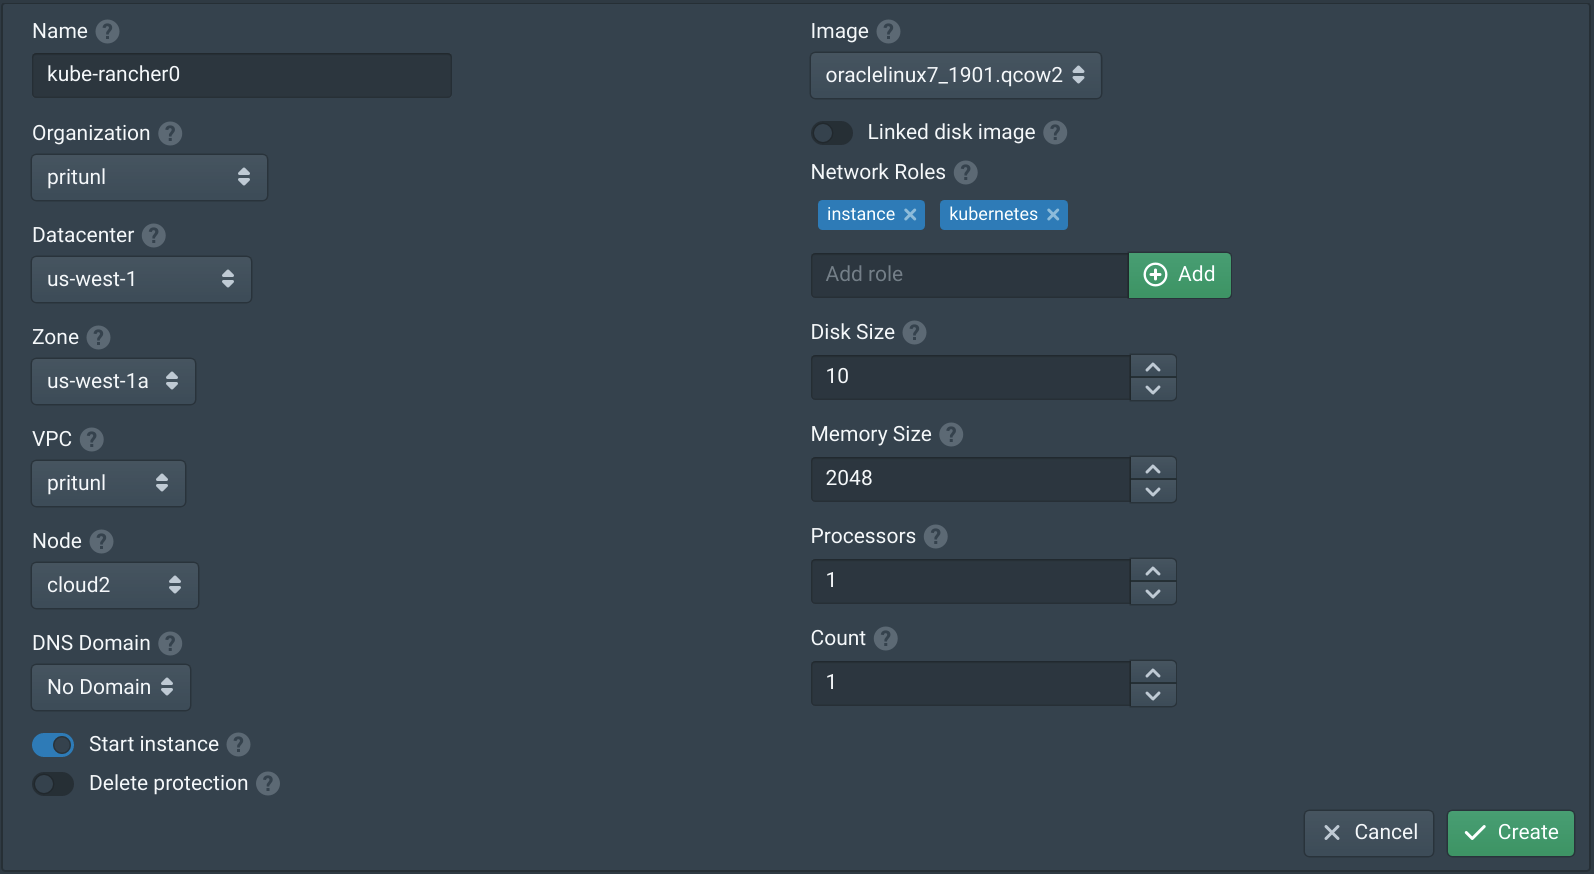
First create the Rancher instance, this instance will be used to launch and manage the Kubernetes cluster. This server will need about 2 GB of RAM. Add the kubernetes role to associate the firewall rules above. Name the instance kube-rancher0.
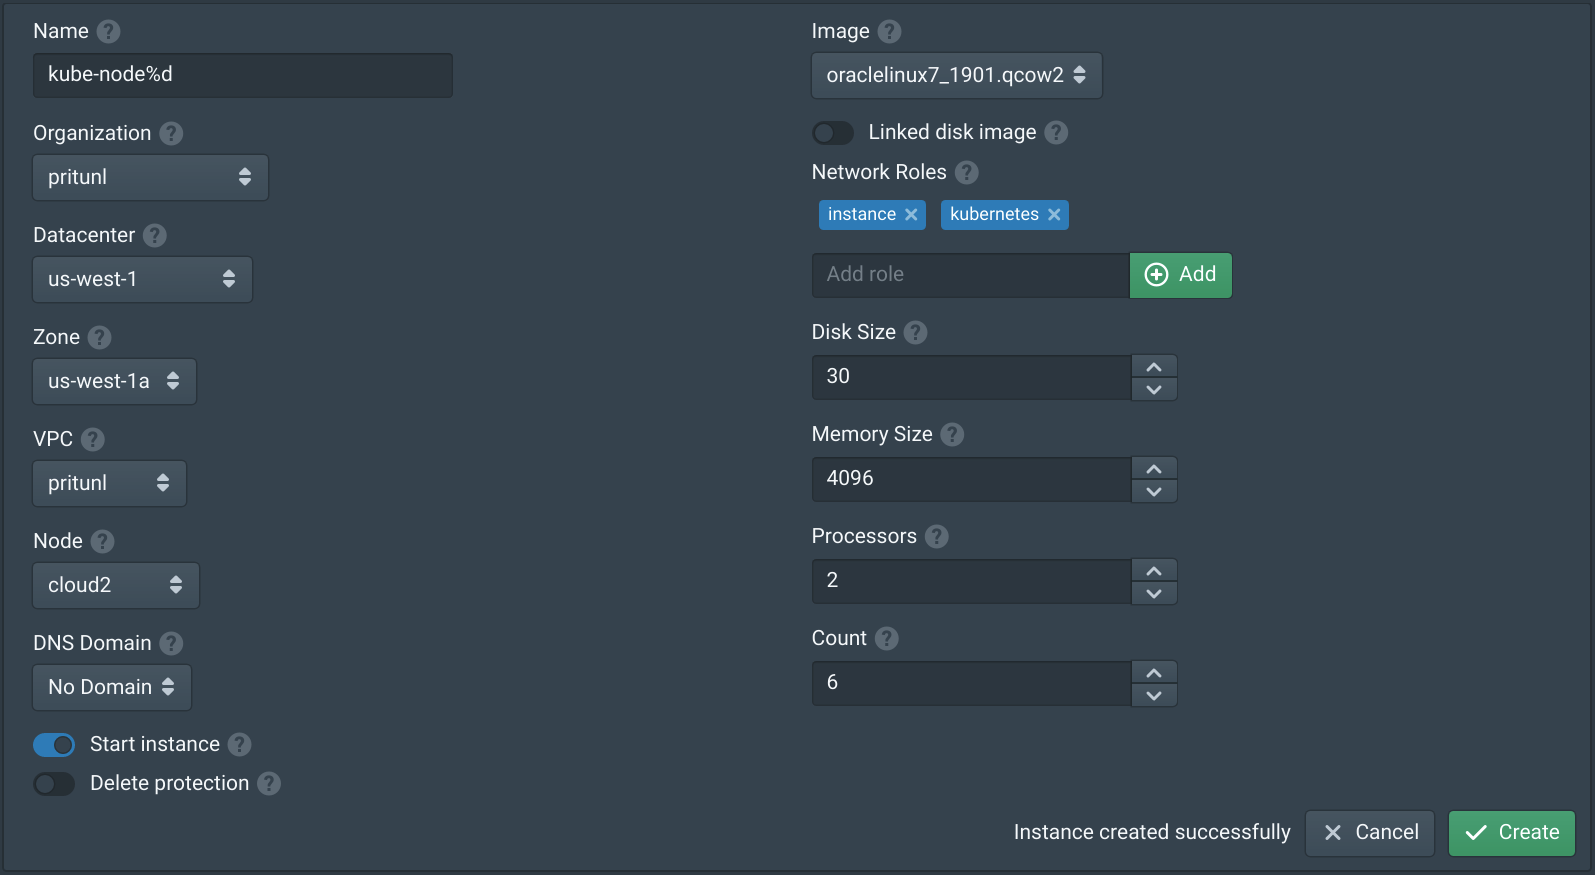
Next create the instances for the Kubernetes cluster. This cluster will use 6 servers with 4 GB RAM and 2 CPUs. The instances should have at least 30 GB of disk space. Add the kubernetes role to associate the firewall rules above. Set the count to 6 and use the name kube-node%d to append the instance number when creating multiple instances.
Install Docker
Connect to all the instances including the rancher instance and run the commands below to install Docker.
sudo sed -i 's/^SELINUX=.*/SELINUX=disabled/g' /etc/selinux/config || true
sudo sed -i 's/^SELINUX=.*/SELINUX=disabled/g' /etc/sysconfig/selinux || true
sudo setenforce 0

sudo yum install -y yum-utils device-mapper-persistent-data lvm2
sudo yum-config-manager --add-repo https://download.docker.com/linux/centos/docker-ce.repo
sudo yum install -y docker-ce

sudo systemctl enable docker
sudo systemctl start docker
Install Rancher
On the kube-rancher0 instance run the command below to install and start Rancher.
sudo docker run -d --restart=unless-stopped -p 80:80 -p 443:443 rancher/rancher:latestWait a few seconds for the Docker image to download and the Rancher server to start.
Configure Rancher
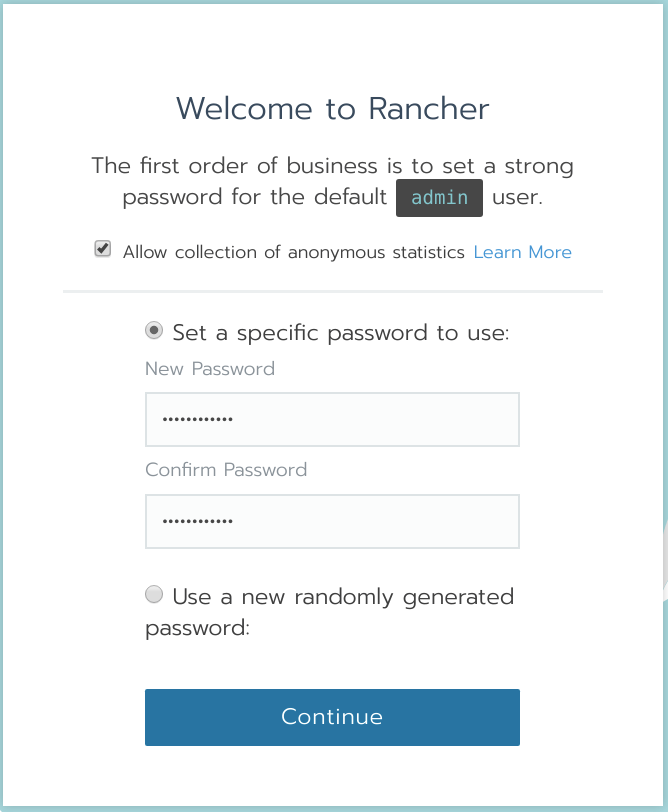
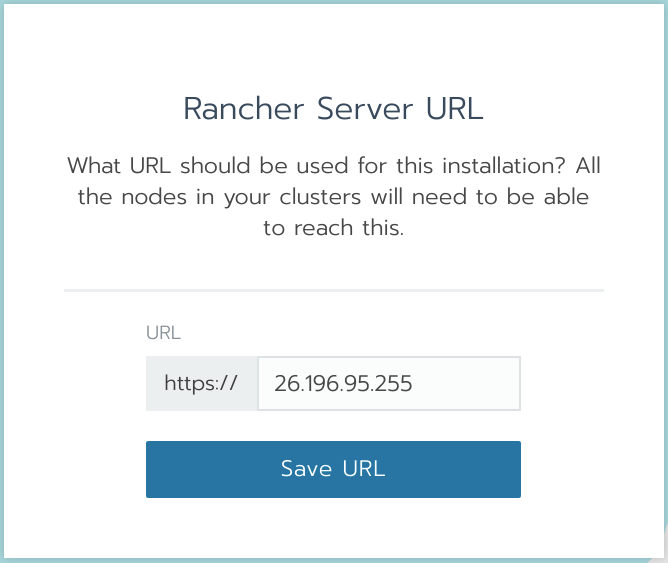
Open https://<rancher_public_ip> in a web browser using the public IP of the kube-rancher0 instance. Then set the password for the admin account.
A DNS entry can be created for the kube-rancher0 instance and configured here otherwise use the public IP of the instance.
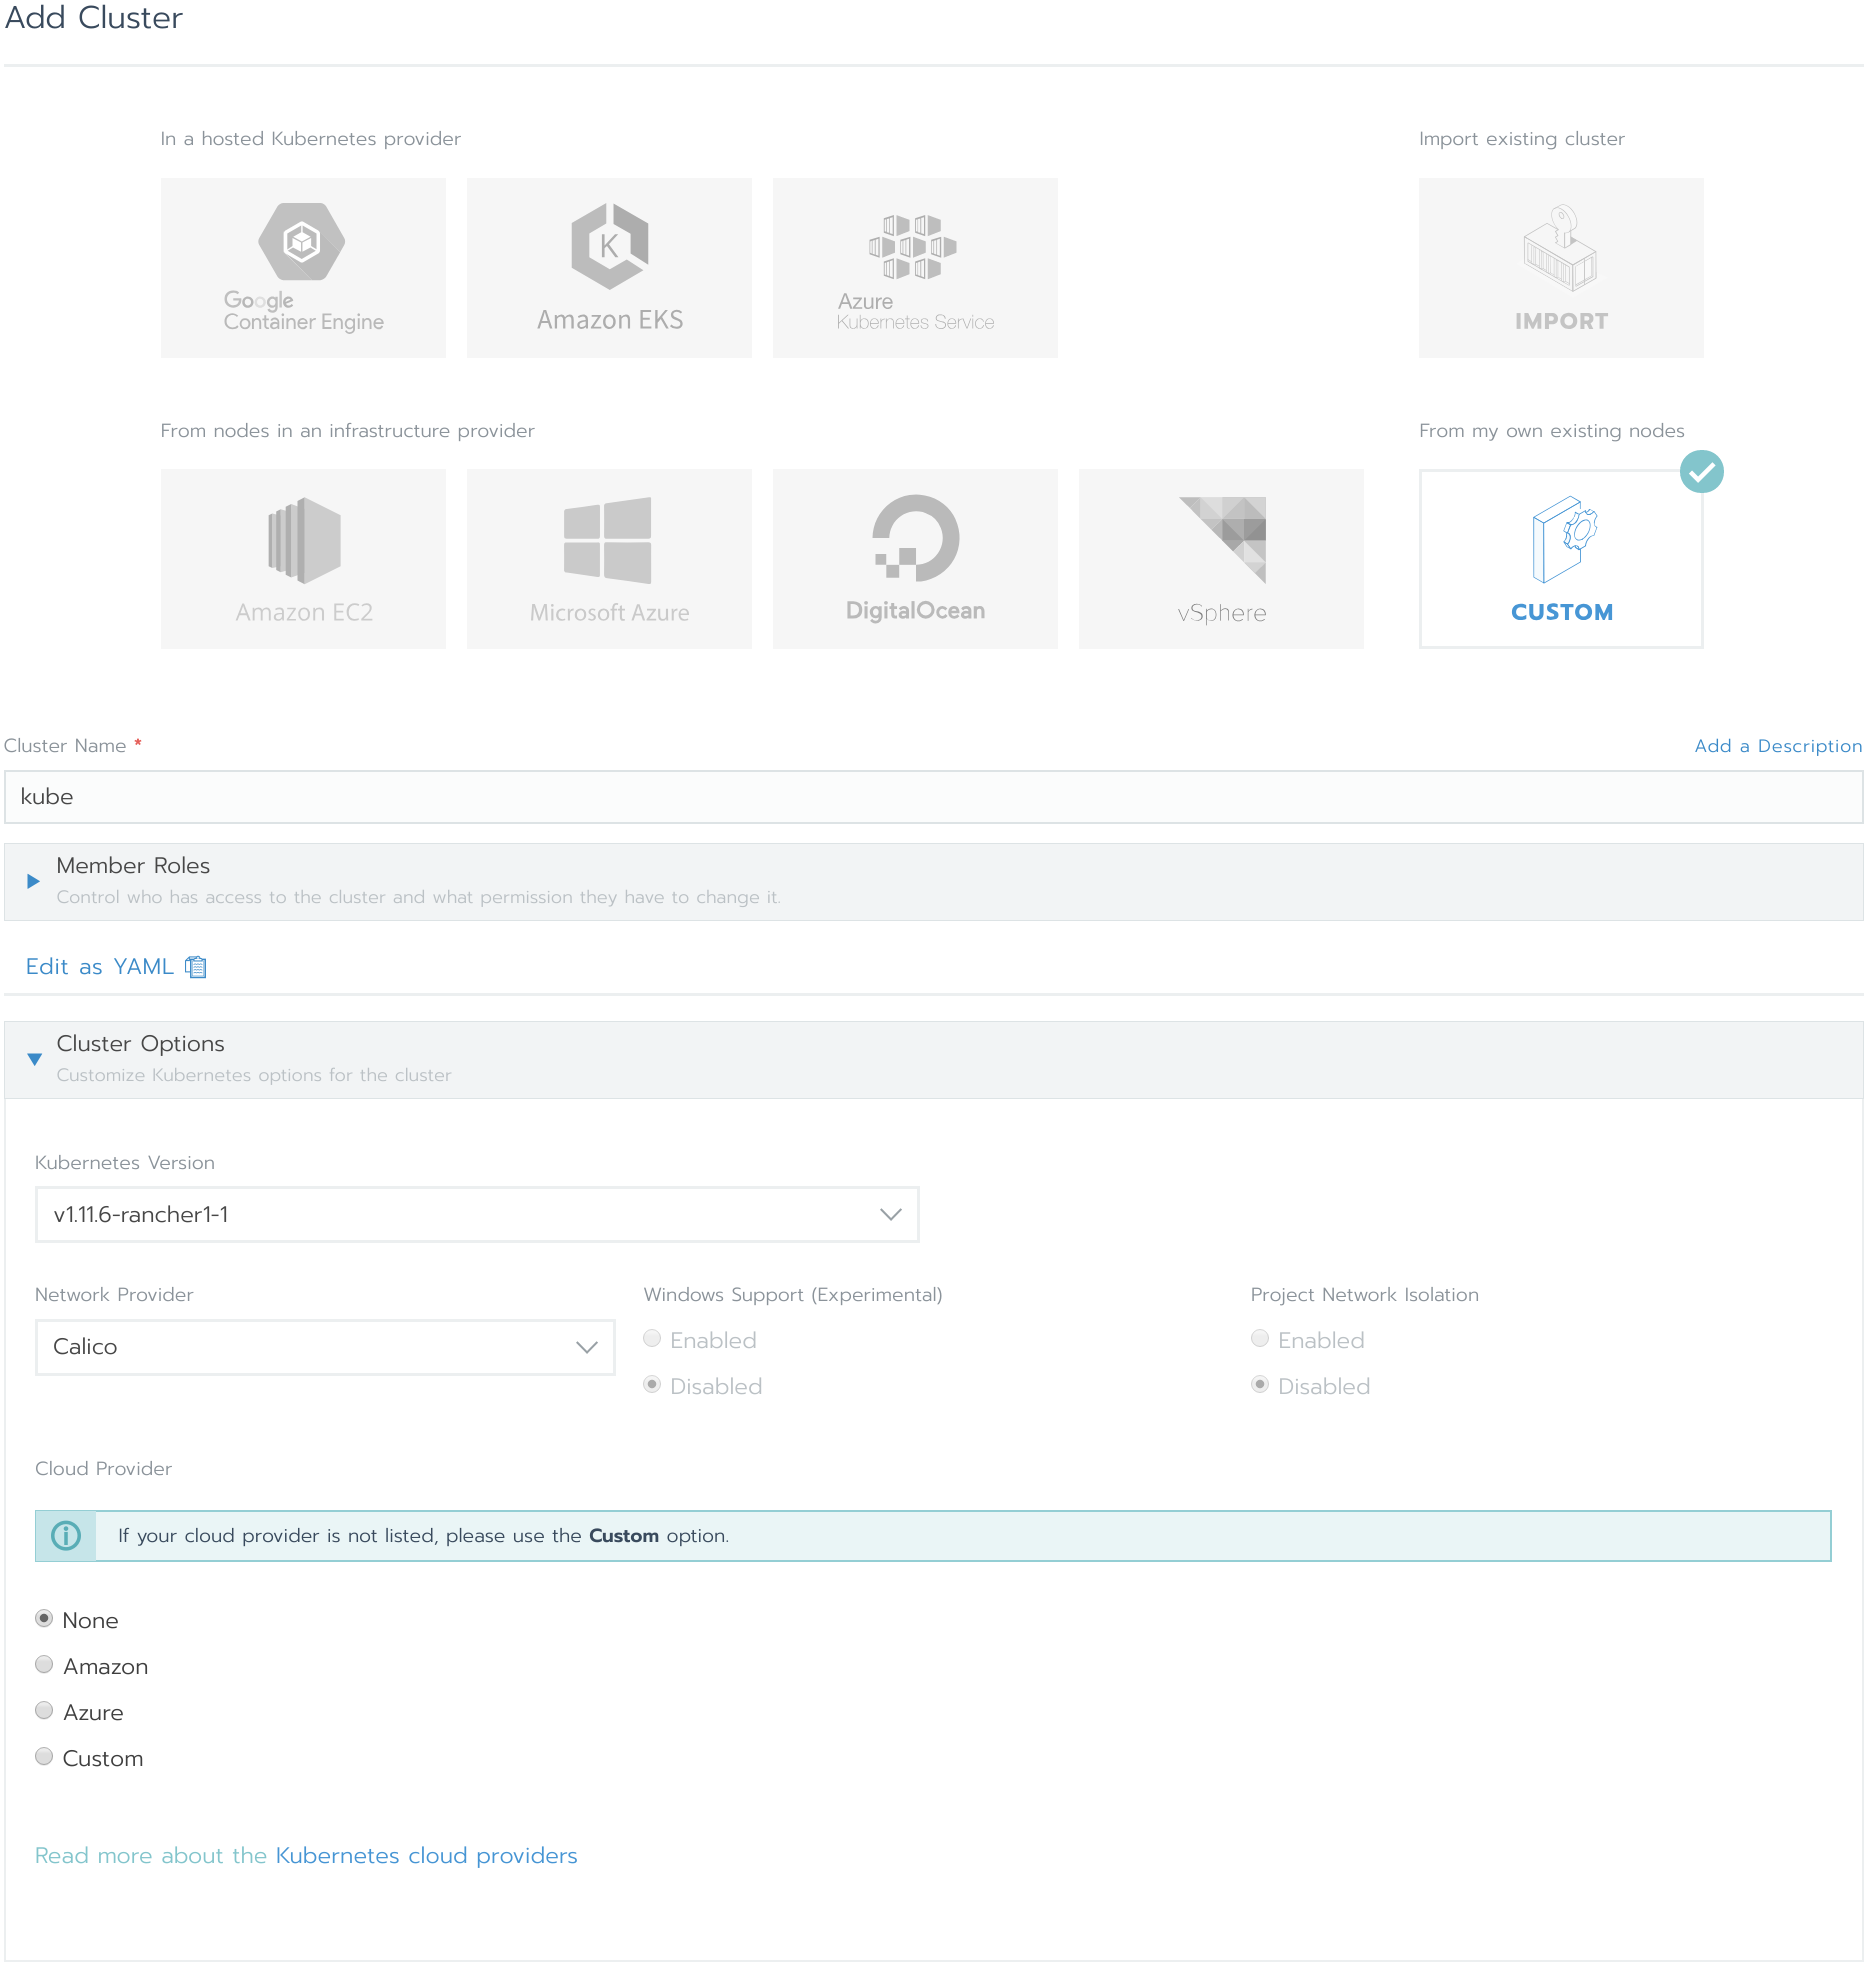
Once done click Add Cluster and select Custom. Set the Cluster Name to kube. In the Cluster Options and Network Provider can be used, this example will use Calico. Then click Next.
The node roles will depend on the size of the cluster, the etcd nodes should use an odd number to maintain quorum. For smaller clusters all the nodes can run all three roles. This 6 instance cluster will use 3 control plane+etcd nodes and 3 worker nodes.
To provision a node select the node roles then set the Public Address to the instance Public IPv4 and the Internal Address to the instance Private IPv4. Then set the Node Name, these options will be placed into the generated command shown below. Once all the options are set copy the command shown and run it on the instance. Then change the options for the next node and run the command. Don't click Done until all nodes are provisioned.
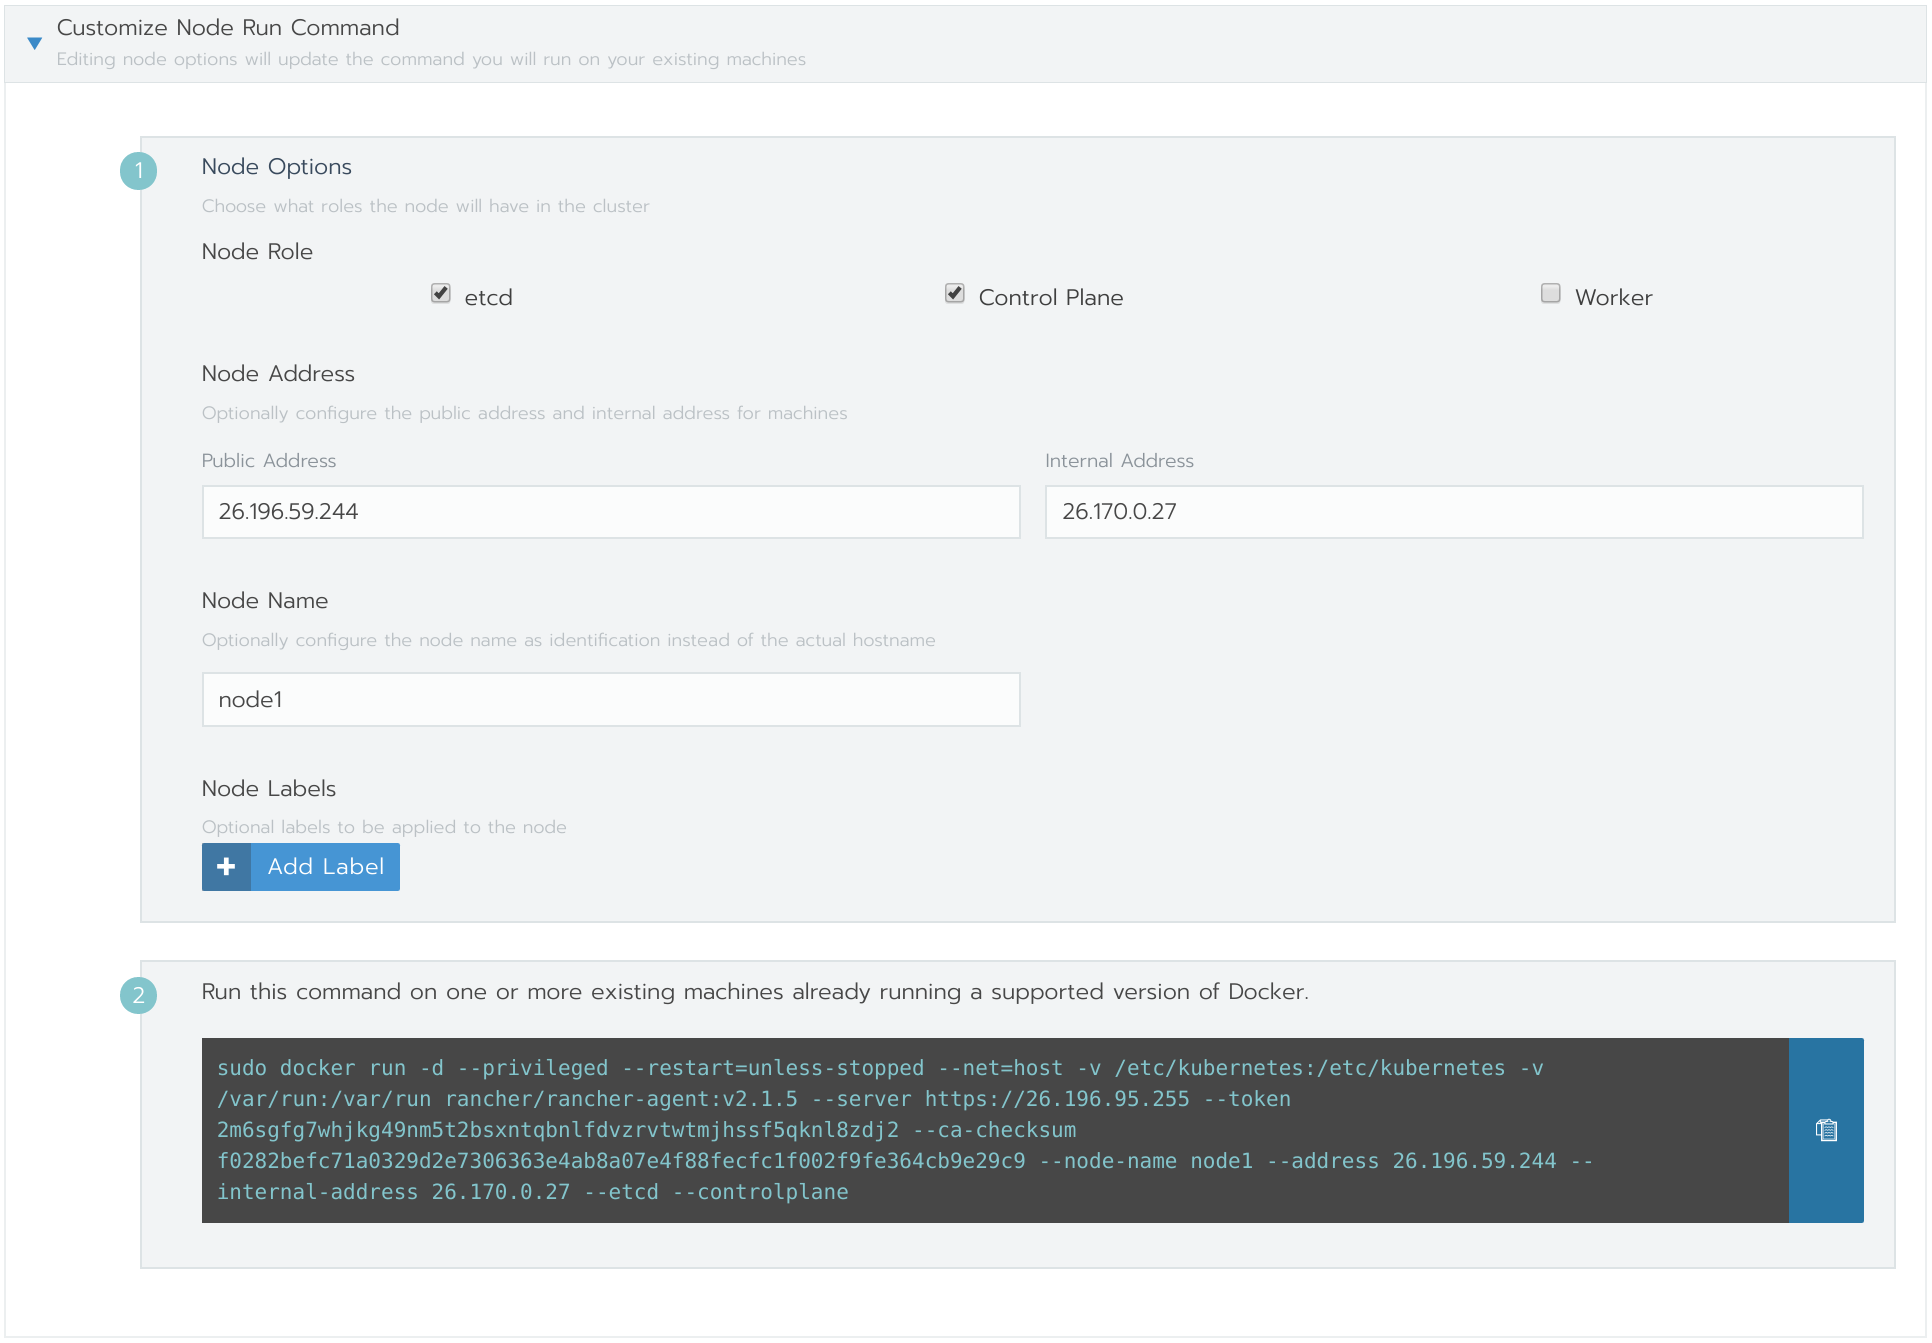
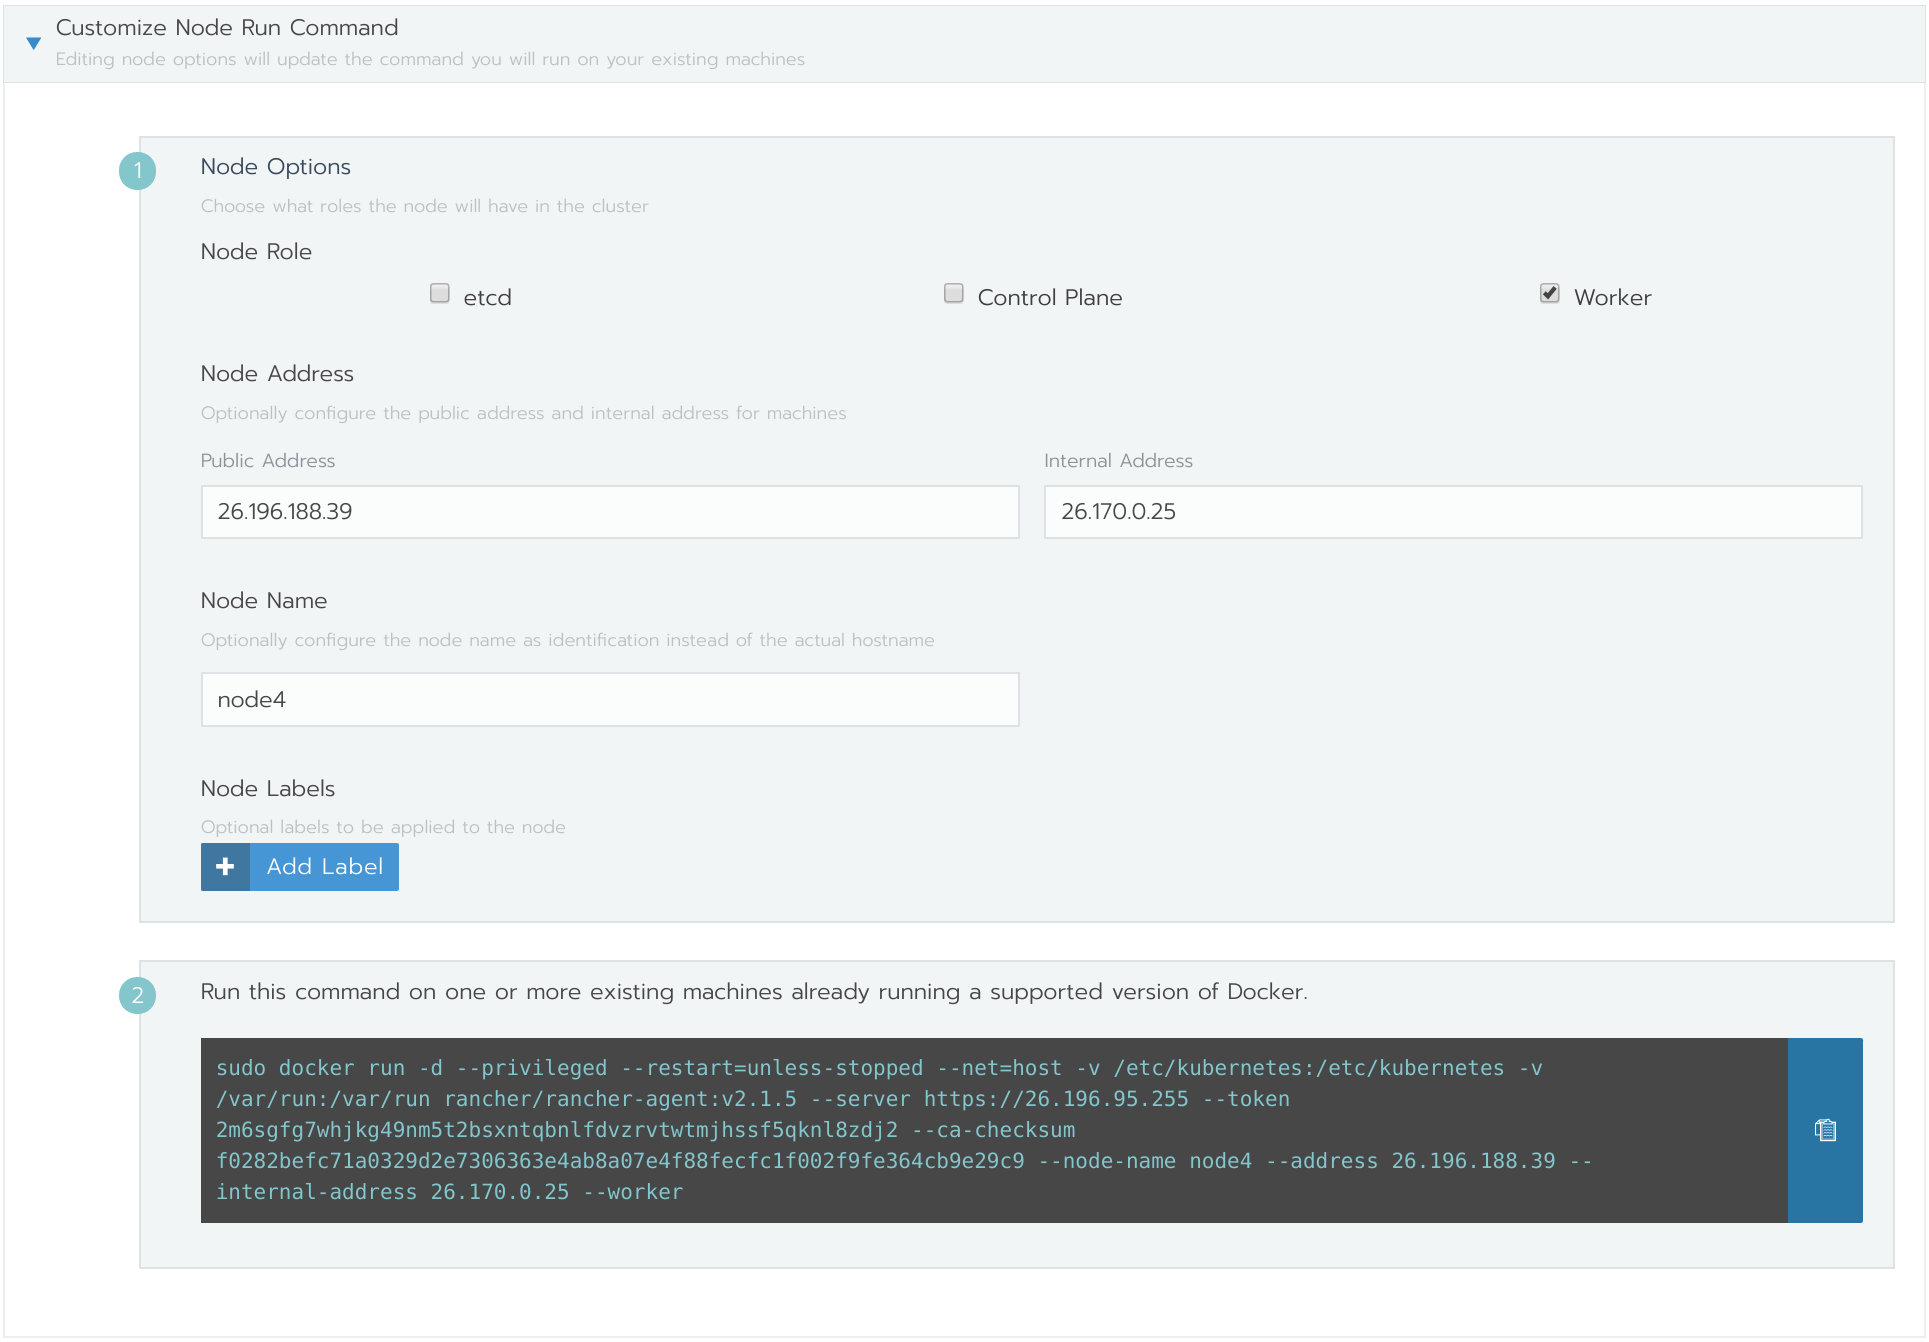
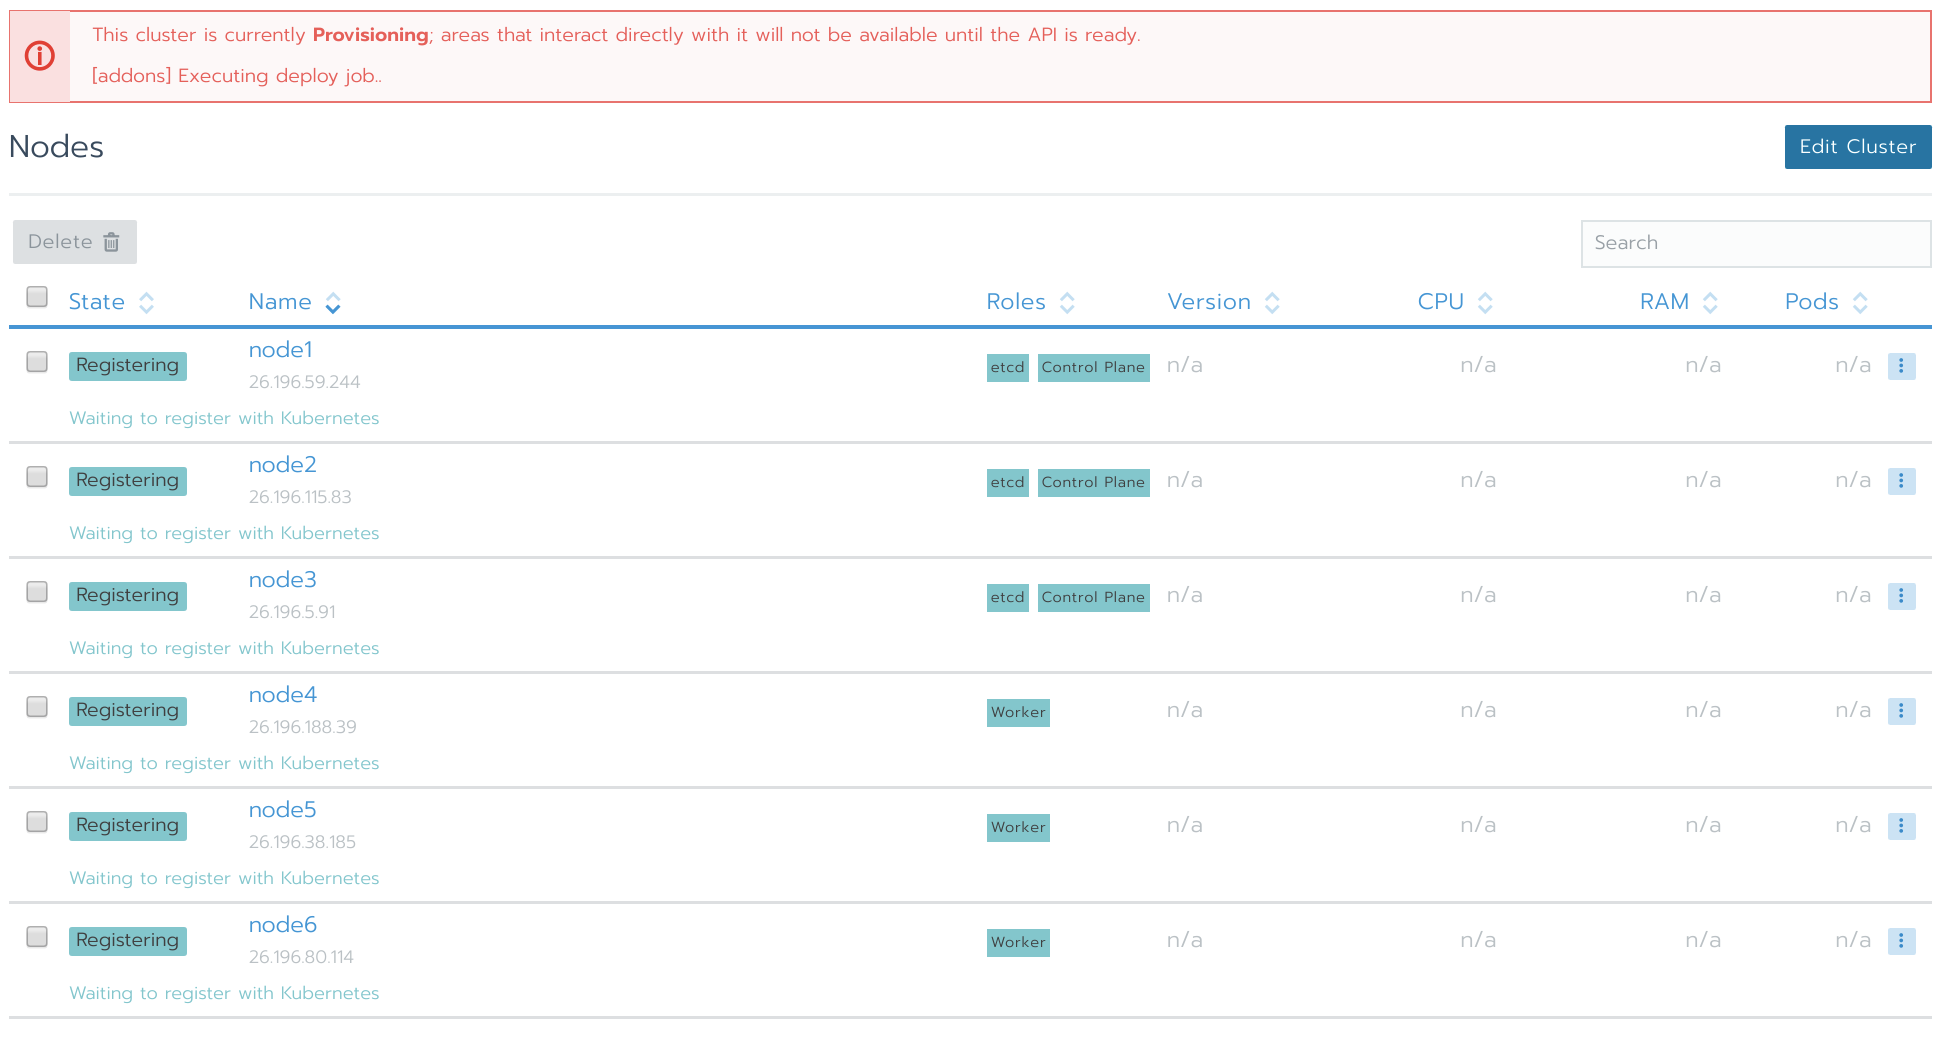
The cluster will take 10-15 minutes to deploy and some errors may be shown in the web console as the cluster is being deployed.
Configure Kubectl
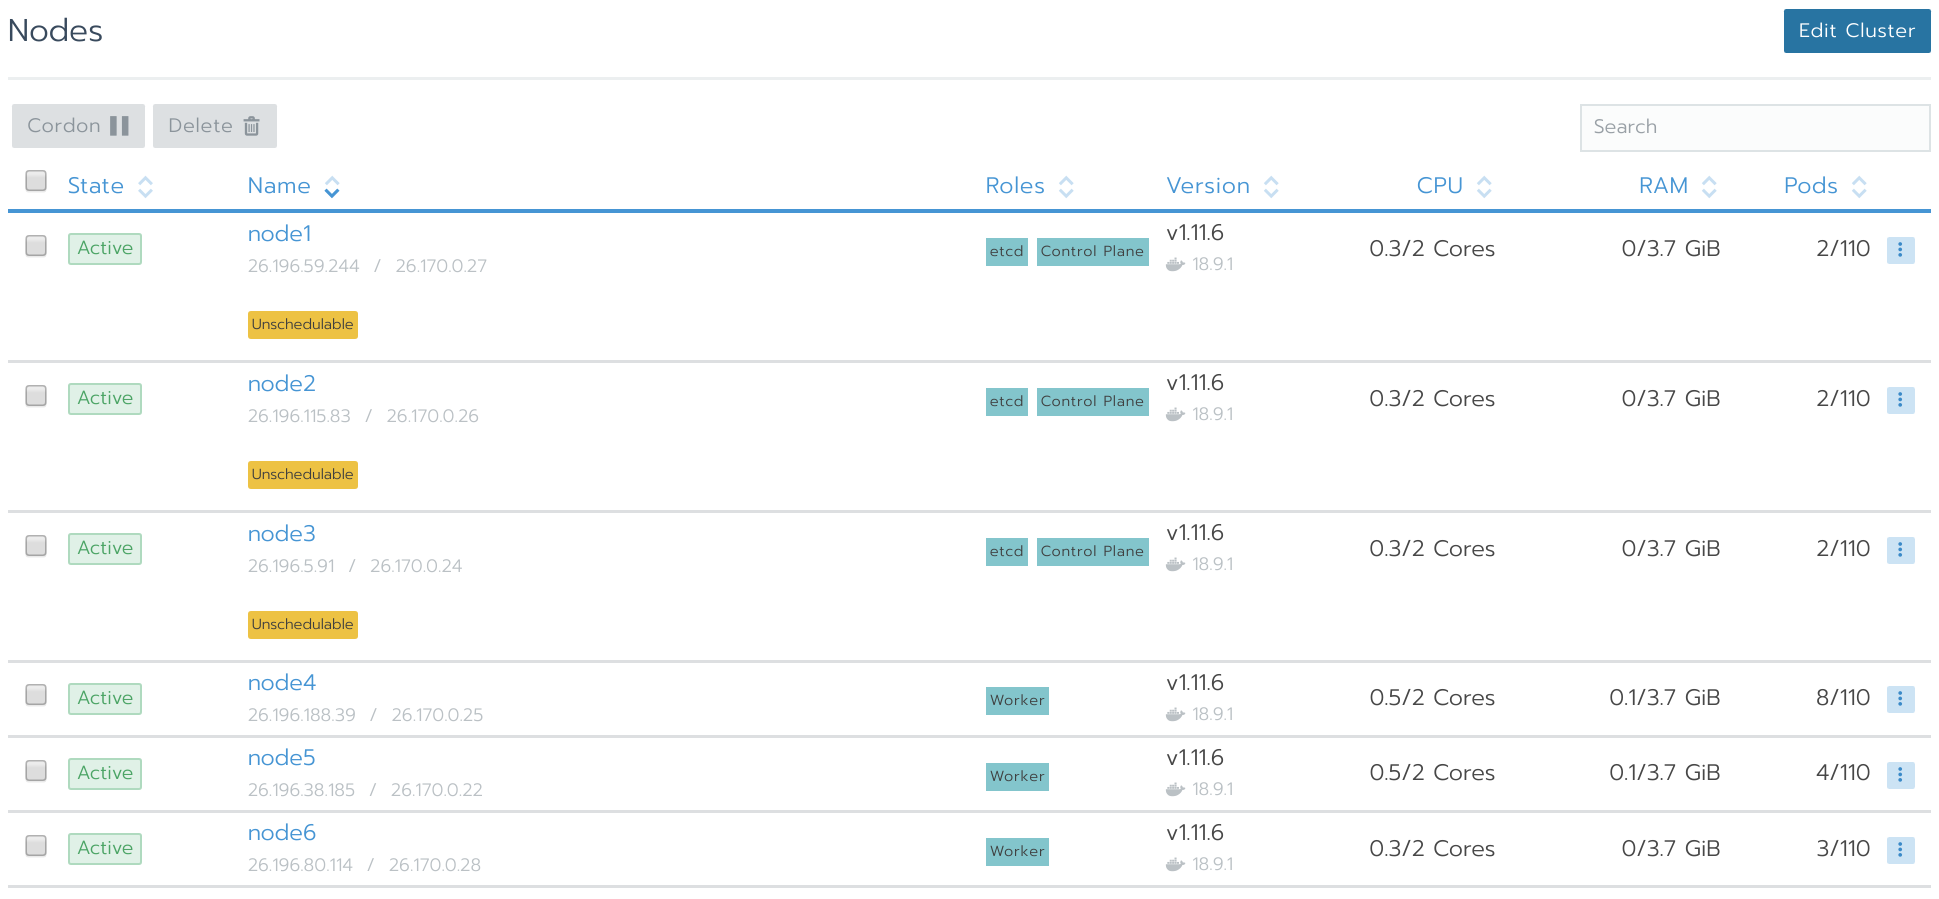
Once the cluster is in the Active state then open the Cluster tab.
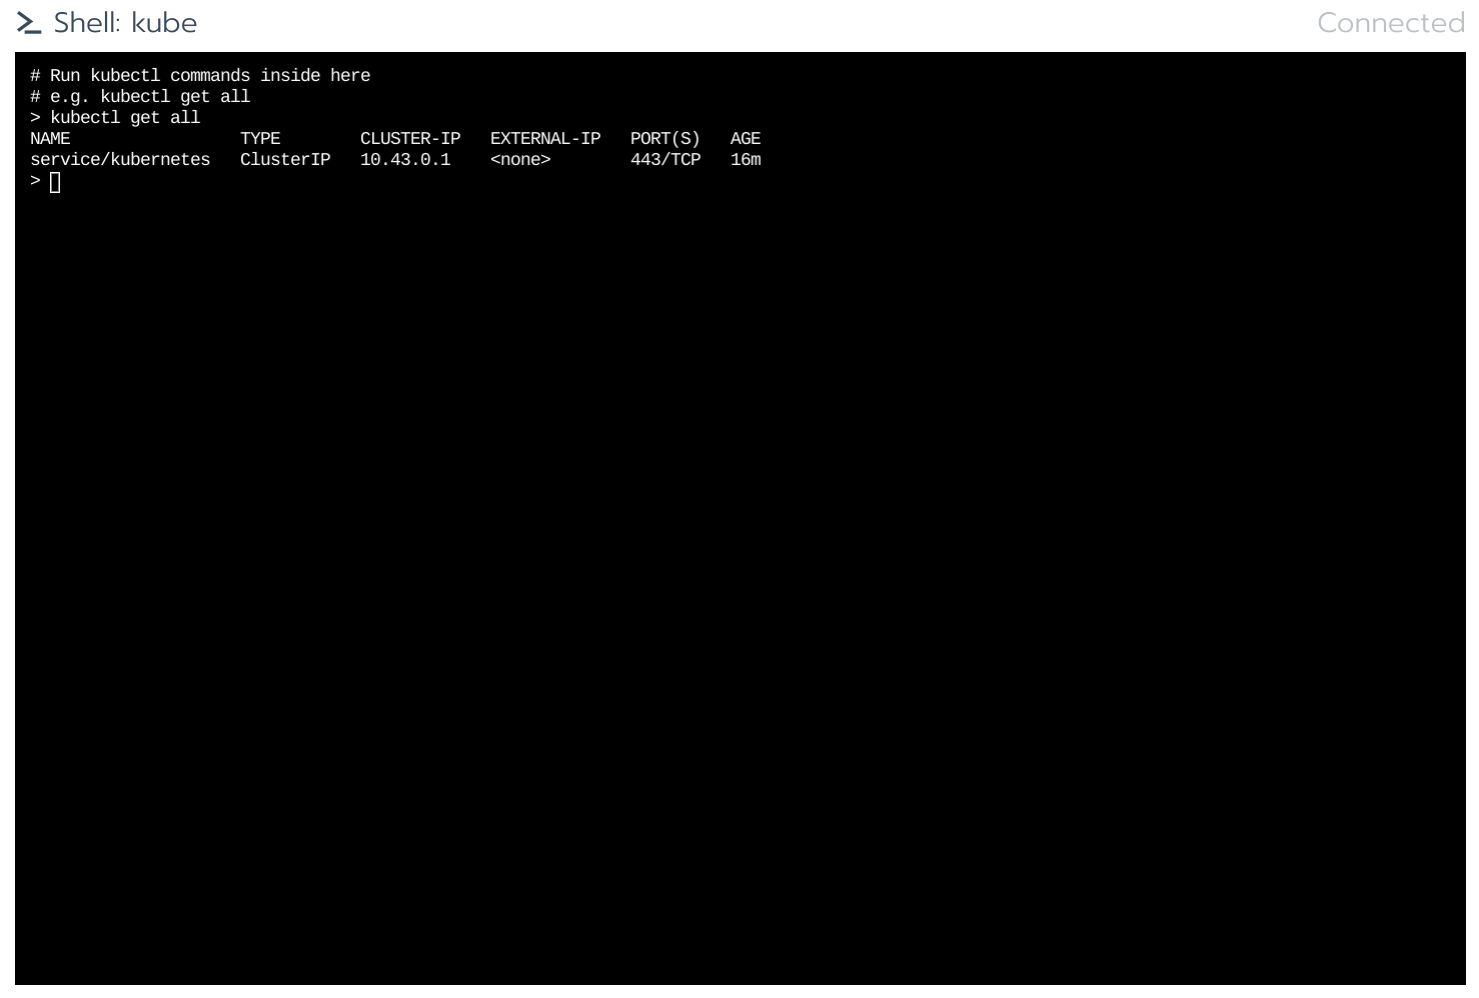
Click Kubeconfig File to get the Kubectl configuration file. A command line can also be opened in the browser with Launch kubectl.
Create Test Service
Use the commands below to create a configuration for an Nginx server with a node port service on port 30080.
tee nginx.yaml << EOF
apiVersion: apps/v1
kind: Deployment
metadata:
  name: nginx
spec:
  selector:
    matchLabels:
      app: nginx
  replicas: 3
  template:
    metadata:
      labels:
        app: nginx
    spec:
      containers:
      - name: nginx
        image: nginx:stable
        ports:
        - containerPort: 80
EOF

tee nginx-svc.yaml << EOF
apiVersion: v1
kind: Service
metadata:
  name: nginx
  labels:
    run: nginx
spec:
  selector:
    app: nginx
  type: NodePort
  ports:
  - name: nginx
    port: 80
    targetPort: 80
    nodePort: 30080
    protocol: TCP
EOF
Then run the commands below to deploy the service.
kubectl create -f nginx.yaml
kubectl create -f nginx-svc.yaml
Once done kubectl get all should show the service running.
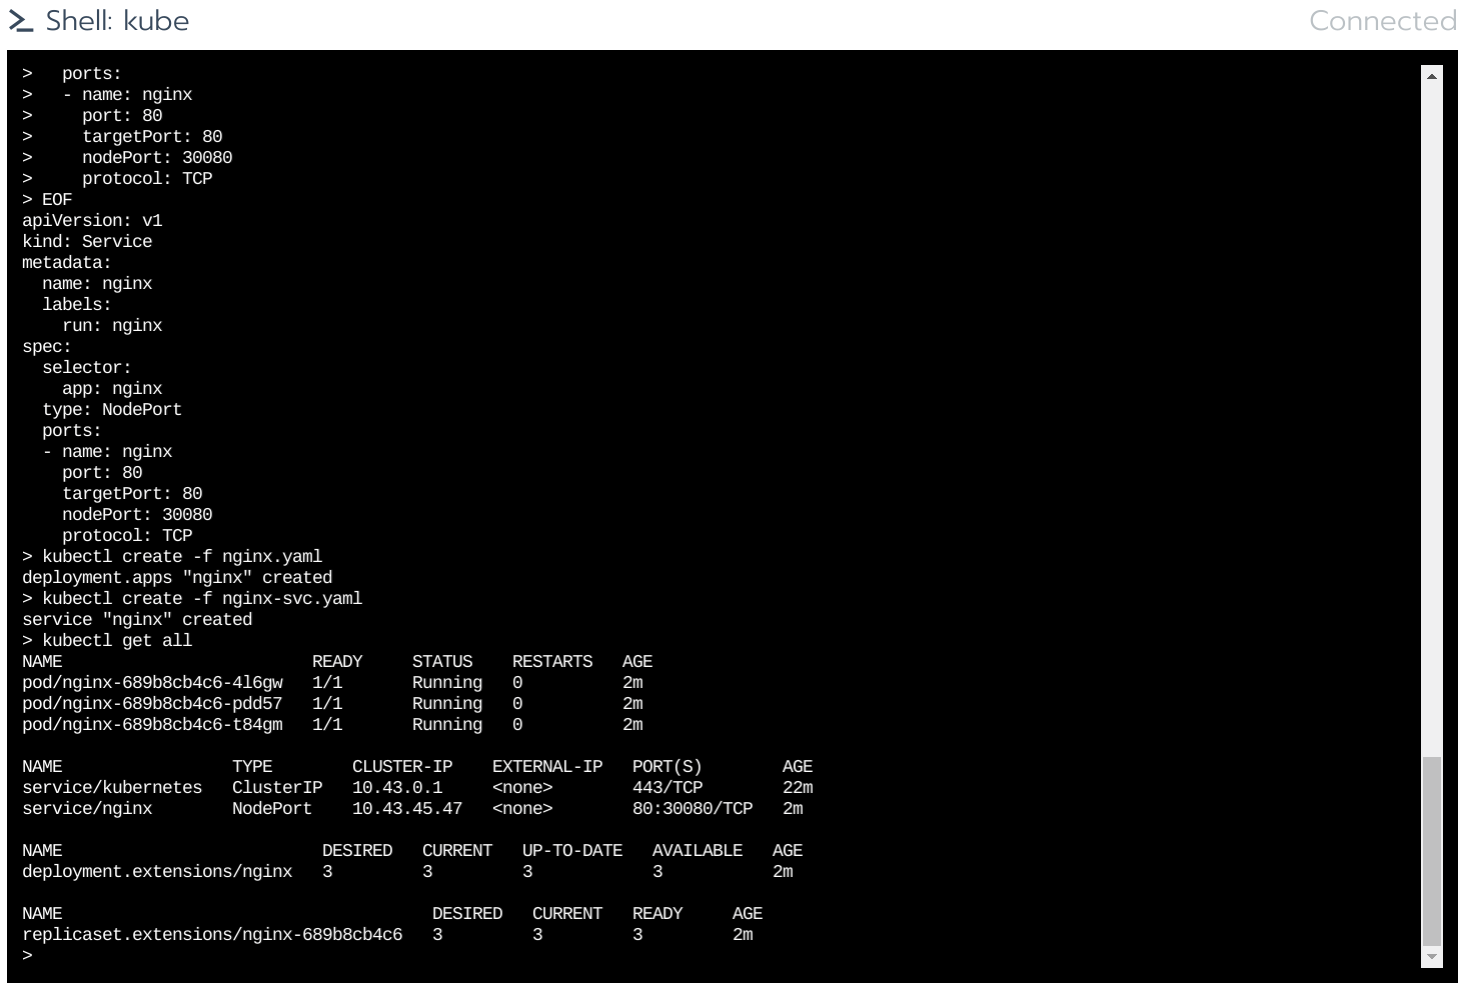
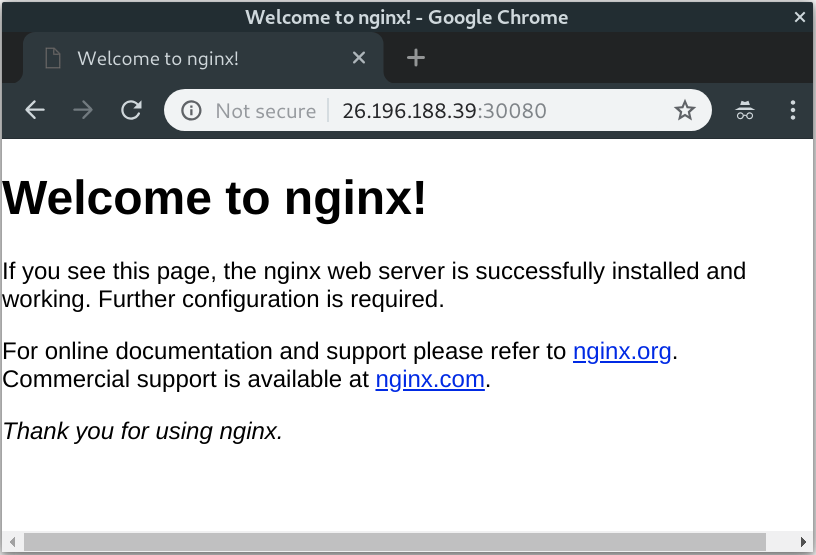
The service should then be accessible on the port 30080.
Updated 3 months ago
