Getting Started SSH
Install and configure Pritunl Zero SSH certificates with two-factor authentication
Pritunl Zero is a zero trust system that provides secure authenticated access to servers without needing to manage authorized SSH keys. Below is a tutorial for installing and configuring a single Pritunl Zero instance.
Refer to the Getting Started Service for securing internal web services with Pritunl Zero.
Refer to the Pritunl Zero Gitlab tutorial for securing Gitlab with Pritunl Zero.
SSH Certificates
SSH certificates are a replacement for managing individual keys stored in ~/.ssh/authorized_keys. Instead of storing individual keys on each server, a public key for a certificate authority is used instead.
For a user to authenticate to a server, the user will first need to obtain a certificate from the certificate authority. In this case, the Pritunl Zero server functions as the certificate authority.
The certificate given by the Pritunl Zero server is issued to the public key of the users SSH key. This is similar to certificate authorities used to verify a domain in a web browser. With web browsers, the web server administrator obtains a certificate for their web server's public key from one of the certificate authorities trusted by the browser, such as LetsEncrypt. When a user visits the website, the web browser will verify the server's public key is valid with one of the trusted certificate authorities.
Similarly, when a user attempts to connect to a server with an SSH certificate, the server will verify the user's public key is valid with the trusted certificate authority. In this case, the only trusted SSH certificate authority will be from the Pritunl Zero server.
The SSH server does not need to have any information about the individual users or the public keys used by the users to authenticate users. When the user connects to the SSH server, the user will provide their public key and the certificate for that public key. The server can determine if the user is permitted to connect by validating the user's certificate with the certificate authority.
This moves the management of permitted users from the individual servers to the Pritunl Zero server. With one central system managing the authentication of individual users, it is simple to handle the SSH access to hundreds or even thousands of servers and users without ever needed to modify servers as access needs change.
When handling authentication for large groups of users, more control over which servers each user has access to is often needed. This is handled by SSH authorized principles which are referenced as roles in Pritunl Zero. Similar to how a web server certificate can apply to multiple domains, an SSH certificate can be valid for multiple principals. When a user retrieves an SSH certificate from Pritunl Zero, all the roles assigned to the user will be set in the certificate's principals. On the server, in addition to configuring the certificate authority, a list of permitted principals will also be configured. When a user attempts to connect, the server will verify that the certificate contains at least one of the permitted principals.
Create DNS Records
Create two DNS records pointing to the public IP address of the Pritunl Zero server. In this tutorial the domains used will be zero.pritunl.org and zero-user.pritunl.org. The first domain will be used to access the management console, and the second domain will be used to access the user console to validate SSH keys. The domains you specify will be different in your own environment.
Configure the Server Firewall
Configure the firewall to open ports 80 and 443. Port 80 must be open to all IP addresses for the Lets Encrypt certificate. Note that IPv6 is fully supported, and servers that have only an IPv6 address can be used to host the Pritunl Zero server.
Install
Pritunl Zero is packaged for several Linux distributions. Installation commands for each distribution are listed below. This will install both MongoDB and Pritunl Zero, and will then start the services. If multiple hosts are being configured, or the MongoDB server is not being run on the same server, skip the steps installing MongoDB.
Follow theMongoDB Authentication documentation for configuring authentication.
sudo tee /etc/yum.repos.d/pritunl.repo << EOF
[pritunl]
name=Pritunl Repository
baseurl=https://repo.pritunl.com/stable/yum/almalinux/9/
gpgcheck=1
enabled=1
gpgkey=https://raw.githubusercontent.com/pritunl/pgp/master/pritunl_repo_pub.asc
EOF

sudo tee /etc/yum.repos.d/mongodb-org.repo << EOF
[mongodb-org]
name=MongoDB Repository
baseurl=https://repo.mongodb.org/yum/redhat/9/mongodb-org/8.0/x86_64/
gpgcheck=1
enabled=1
gpgkey=https://pgp.mongodb.com/server-8.0.asc
EOF

sudo yum -y install pritunl-zero mongodb-org
sudo systemctl start mongod pritunl-zero
sudo systemctl enable mongod pritunl-zero
sudo tee /etc/yum.repos.d/pritunl.repo << EOF
[pritunl]
name=Pritunl Repository
baseurl=https://repo.pritunl.com/stable/yum/oraclelinux/9/
gpgcheck=1
enabled=1
gpgkey=https://raw.githubusercontent.com/pritunl/pgp/master/pritunl_repo_pub.asc
EOF
sudo tee /etc/yum.repos.d/mongodb-org.repo << EOF
[mongodb-org]
name=MongoDB Repository
baseurl=https://repo.mongodb.org/yum/redhat/9/mongodb-org/8.0/x86_64/
gpgcheck=1
enabled=1
gpgkey=https://pgp.mongodb.com/server-8.0.asc
EOF
sudo yum -y install pritunl-zero mongodb-org
sudo systemctl start mongod pritunl-zero
sudo systemctl enable mongod pritunl-zerosudo tee /etc/apt/sources.list.d/pritunl.list << EOF
deb [ signed-by=/usr/share/keyrings/pritunl.gpg ] https://repo.pritunl.com/stable/apt noble main
EOF
sudo tee /etc/apt/sources.list.d/mongodb-org.list << EOF
deb [ signed-by=/usr/share/keyrings/mongodb-server-8.0.gpg ] https://repo.mongodb.org/apt/ubuntu noble/mongodb-org/8.0 multiverse
EOF
curl -fsSL https://raw.githubusercontent.com/pritunl/pgp/master/pritunl_repo_pub.asc | sudo gpg -o /usr/share/keyrings/pritunl.gpg --dearmor --yes
curl -fsSL https://www.mongodb.org/static/pgp/server-8.0.asc | sudo gpg -o /usr/share/keyrings/mongodb-server-8.0.gpg --dearmor --yes
sudo apt update
sudo apt --assume-yes install pritunl-zero openvpn mongodb-org
sudo systemctl start mongod pritunl-zero
sudo systemctl enable mongod pritunl-zeroIncrease Open File Limit (Optional)
Increasing the open file limit will allow more idle/active HTTP connections and improve the reliability of the server. Run the commands below and restart the server.
sudo sh -c 'echo "* hard nofile 100000" >> /etc/security/limits.conf'
sudo sh -c 'echo "* soft nofile 100000" >> /etc/security/limits.conf'
sudo sh -c 'echo "root hard nofile 100000" >> /etc/security/limits.conf'
sudo sh -c 'echo "root soft nofile 100000" >> /etc/security/limits.conf'
Configure MongoDB (Optional)
If multiple hosts are being run or MongoDB is run on a different server the MongoDB URI must be set. The command below will set the MongoDB URI. The service then needs to be restarted using the distributions init system. The MongoDB URI should be quoted.
sudo pritunl-zero mongo "mongodb://user:pass@domain.mongo:27017/pritunl-zero?ssl=true&authSource=admin"Initial Login
Open the web console running on HTTPS port 443. Run sudo pritunl-zero default-password to get the default password.
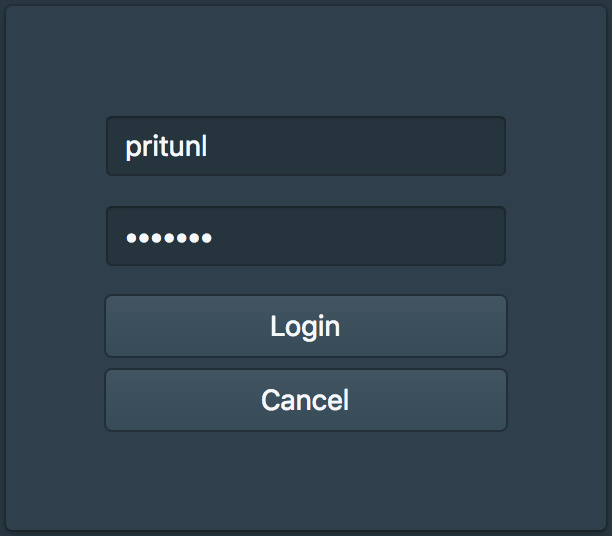
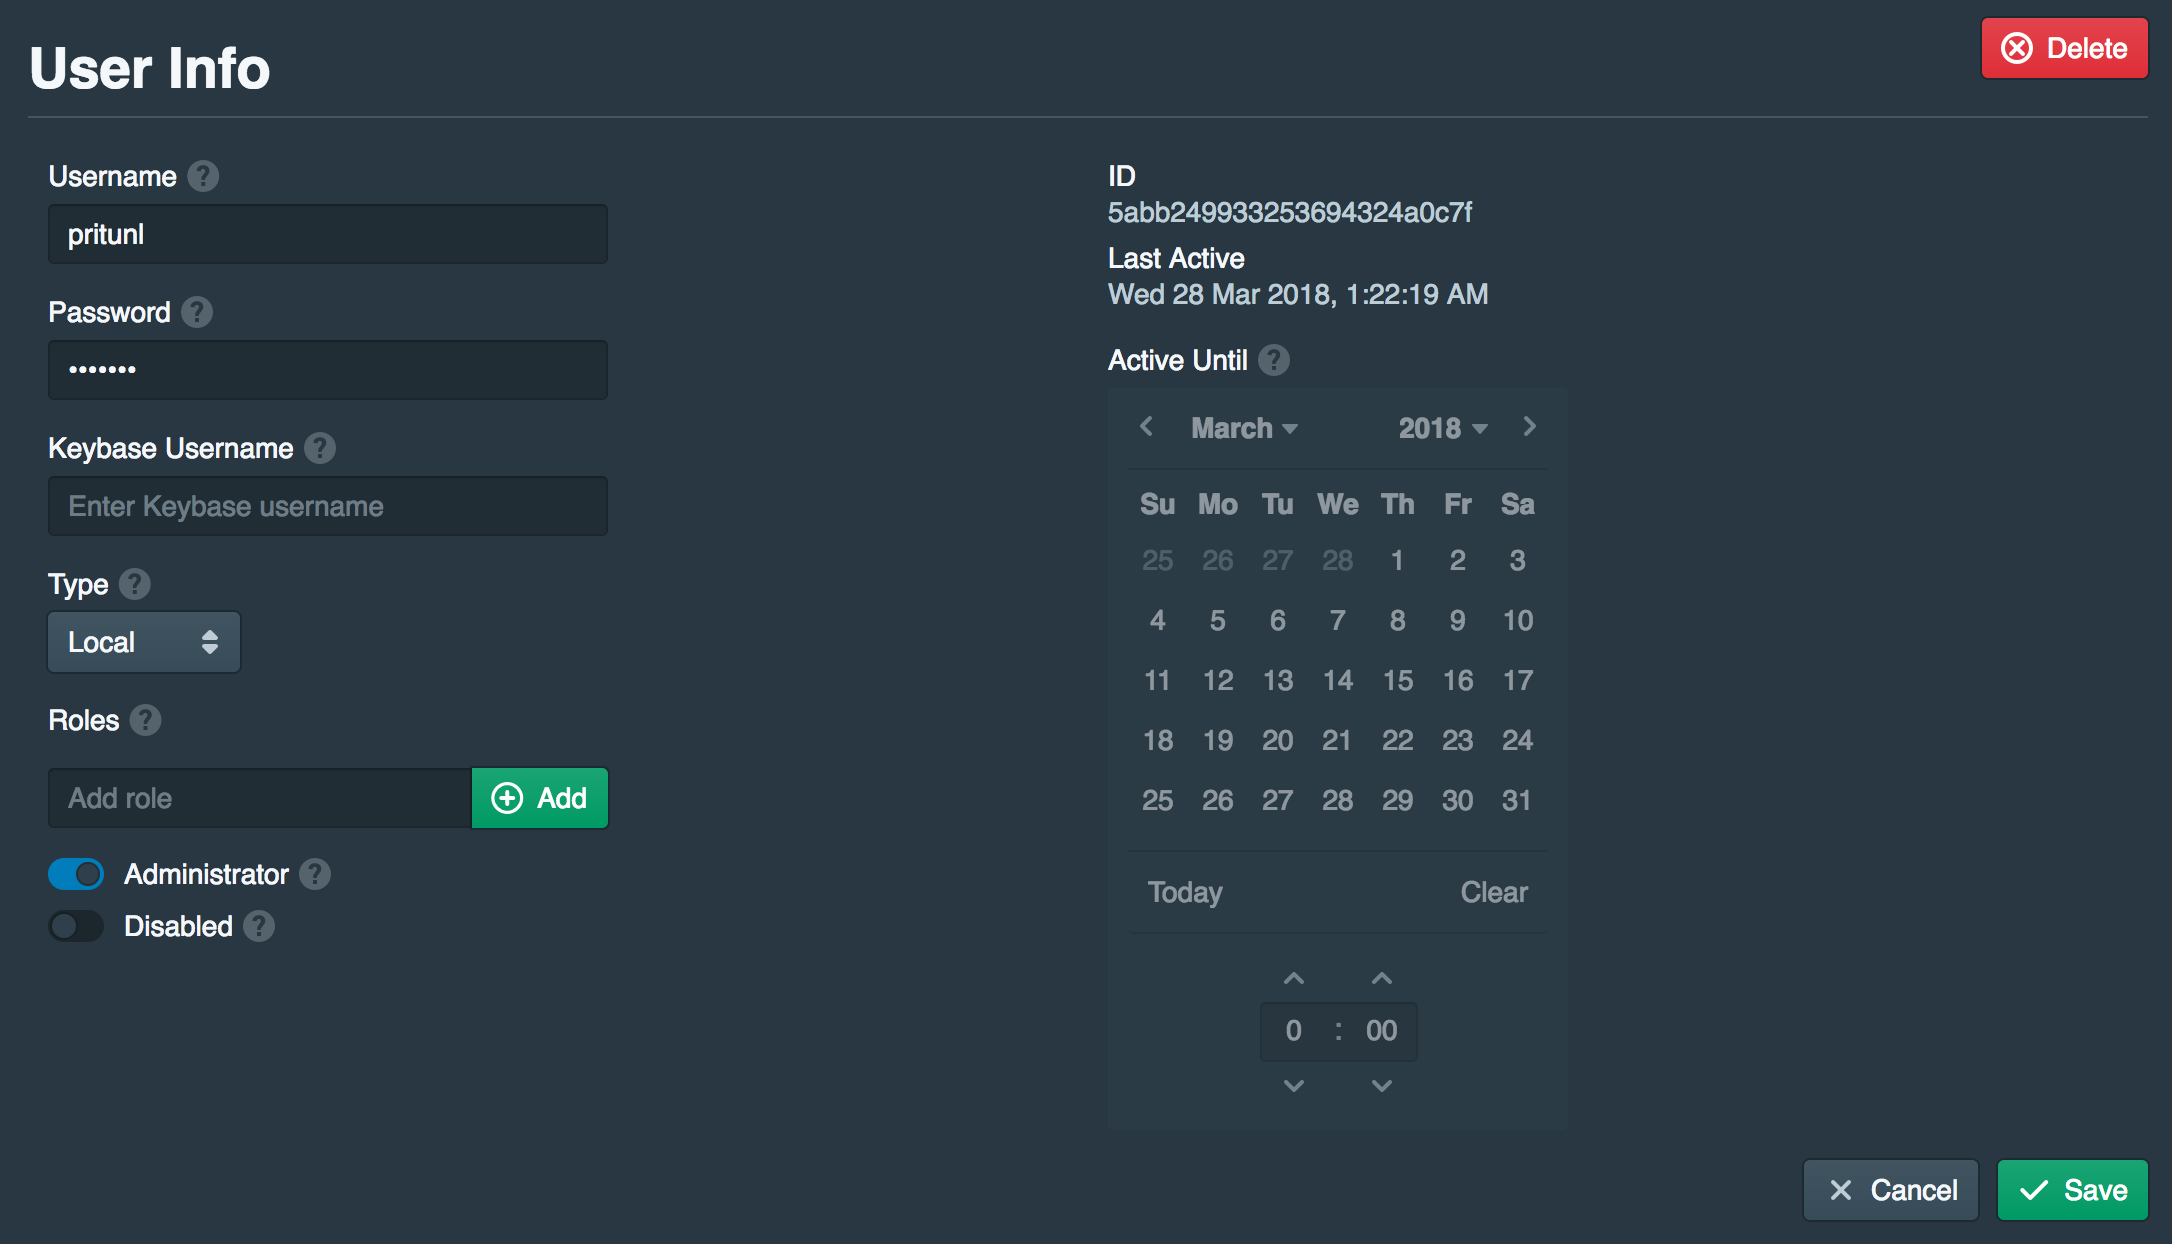
Open the Users tab and edit the pritunl user. Then set a password and click Save.
Create Certificate
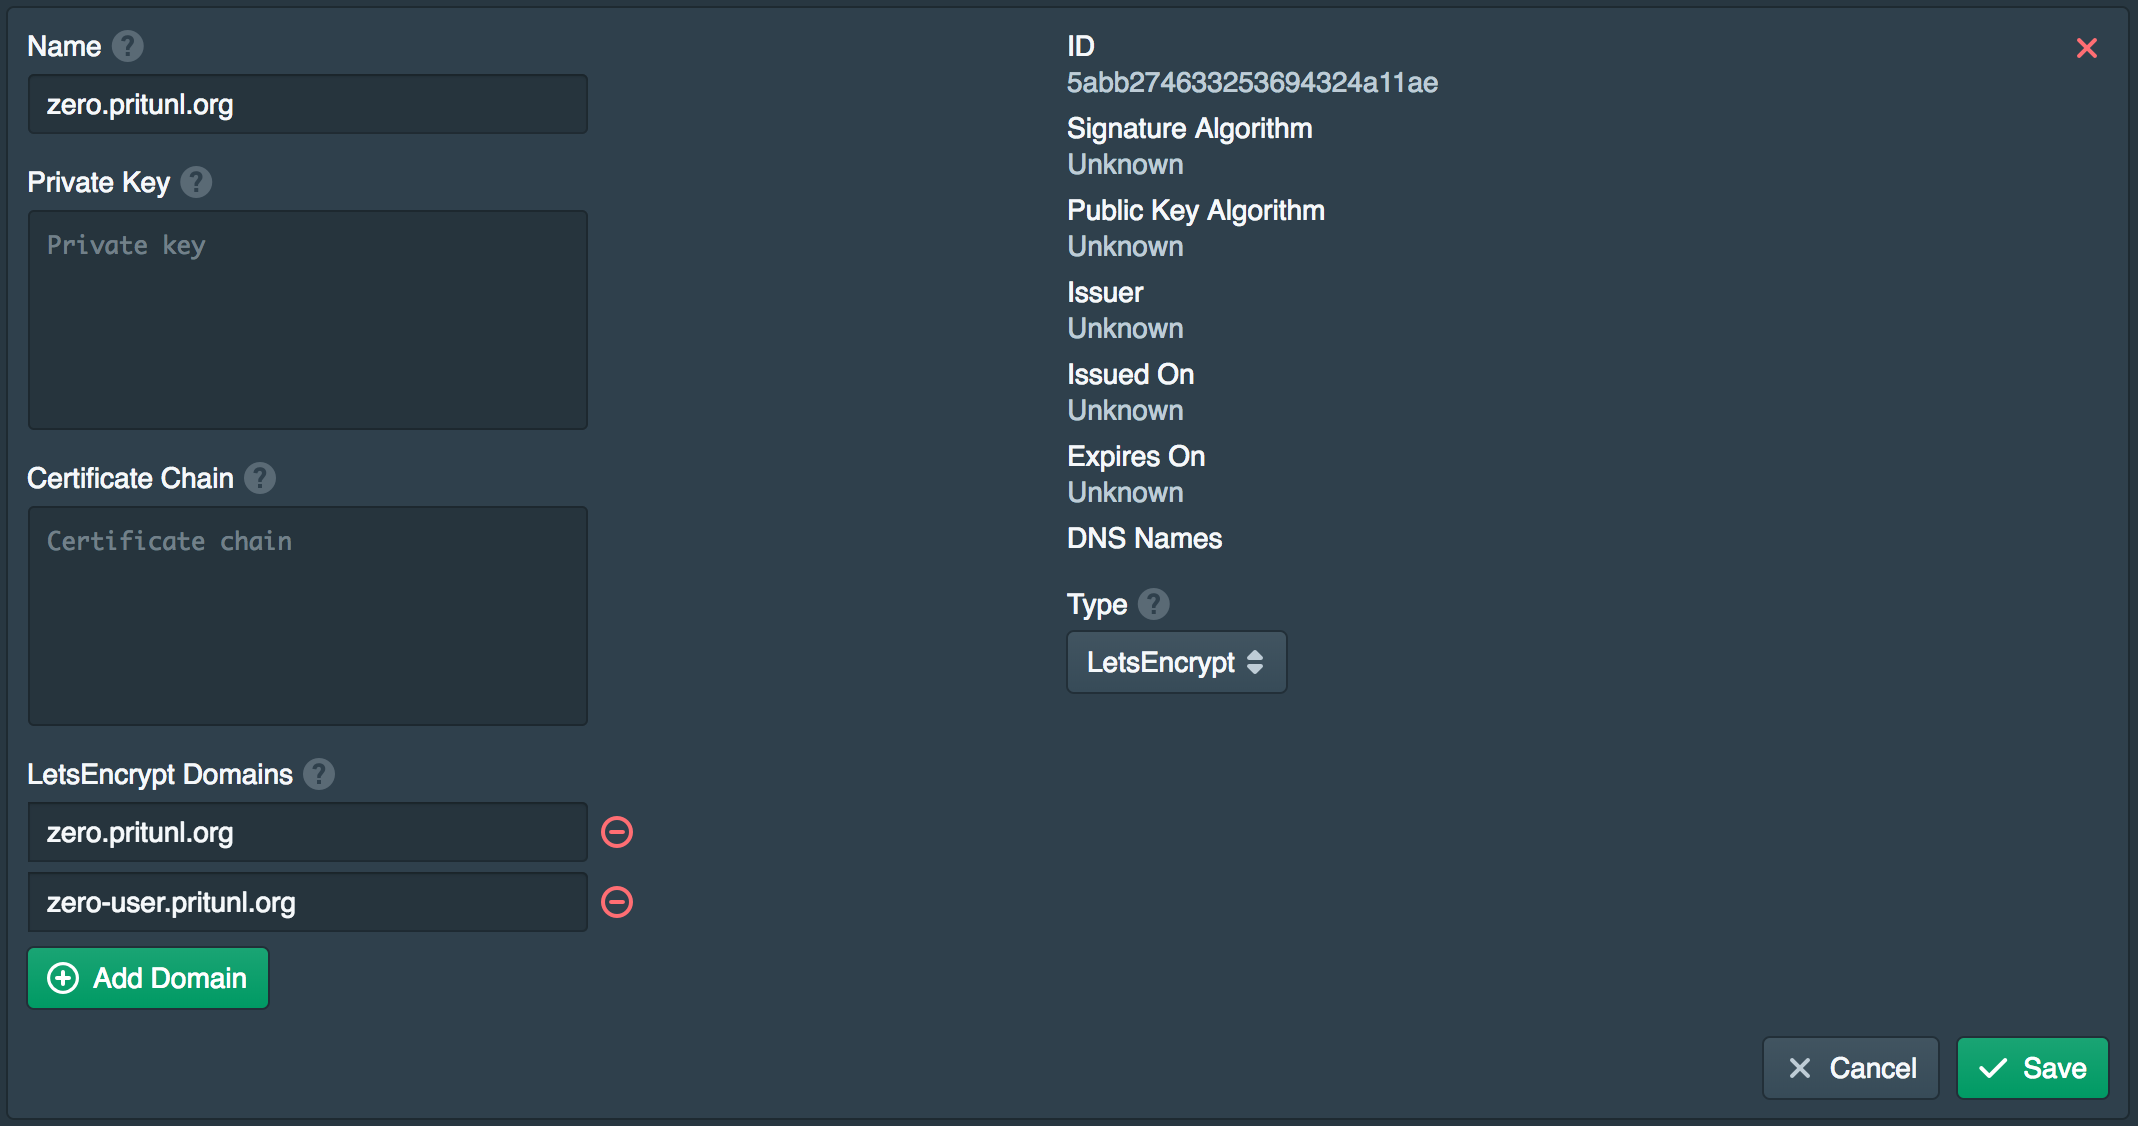
Open the Certificates tab and and click New. Set the Name to the domain in this example zero.pritunl.org. The set the Type to LetsEncrypt. Click Add Domain twice and set the domains configured earlier in this example zero.pritunl.org and zero-user.pritunl.org. This will require the DNS for these domains to be pointing to this server, and port 80 must be open on the server as well. Click Save and wait for the server to retrieve the certificate from LetsEncrypt. If an error occurs you likely need to wait a few minutes for the DNS changes to become available to the LetsEncrypt servers. More information about any errors will be available in the Logs tab.
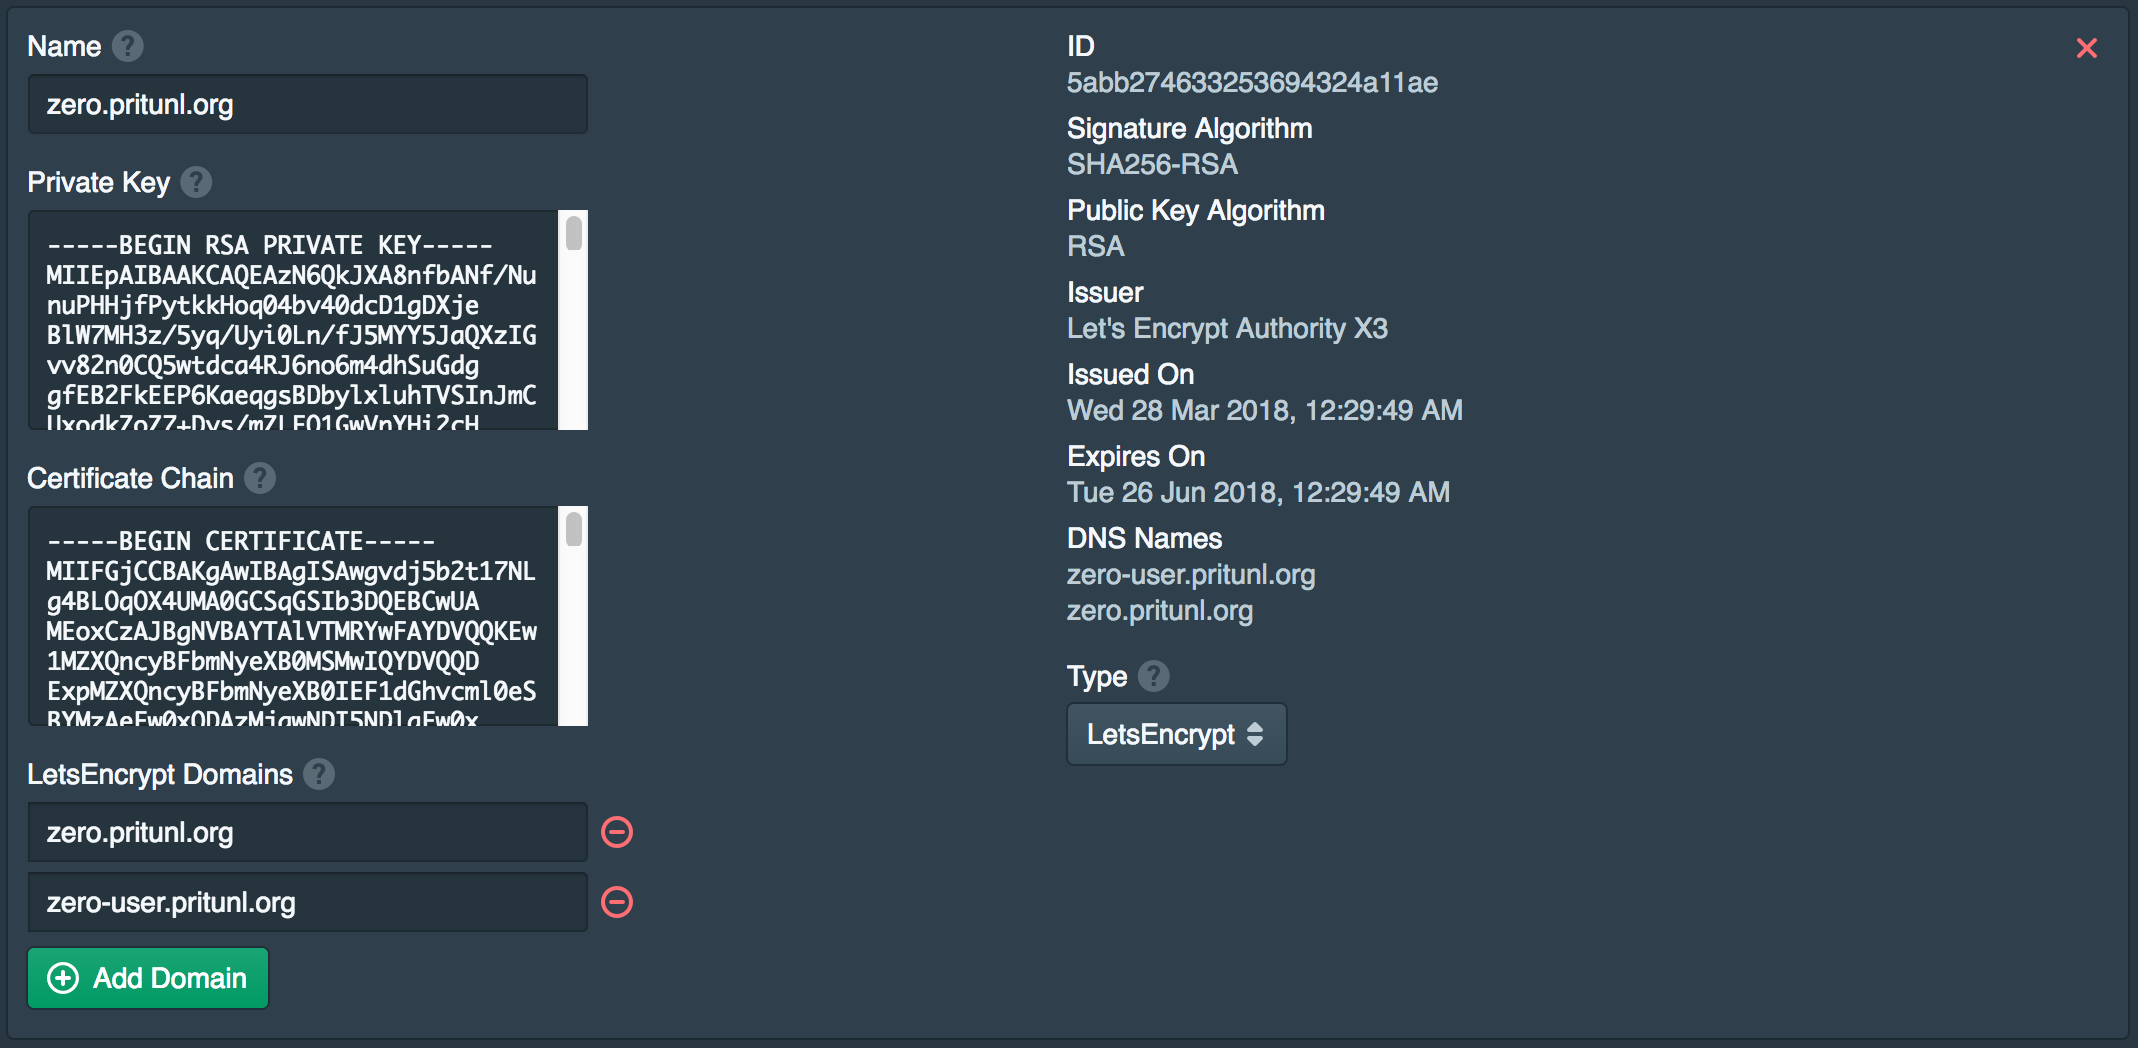
After saving, both the domains should be listed under the DNS Names.
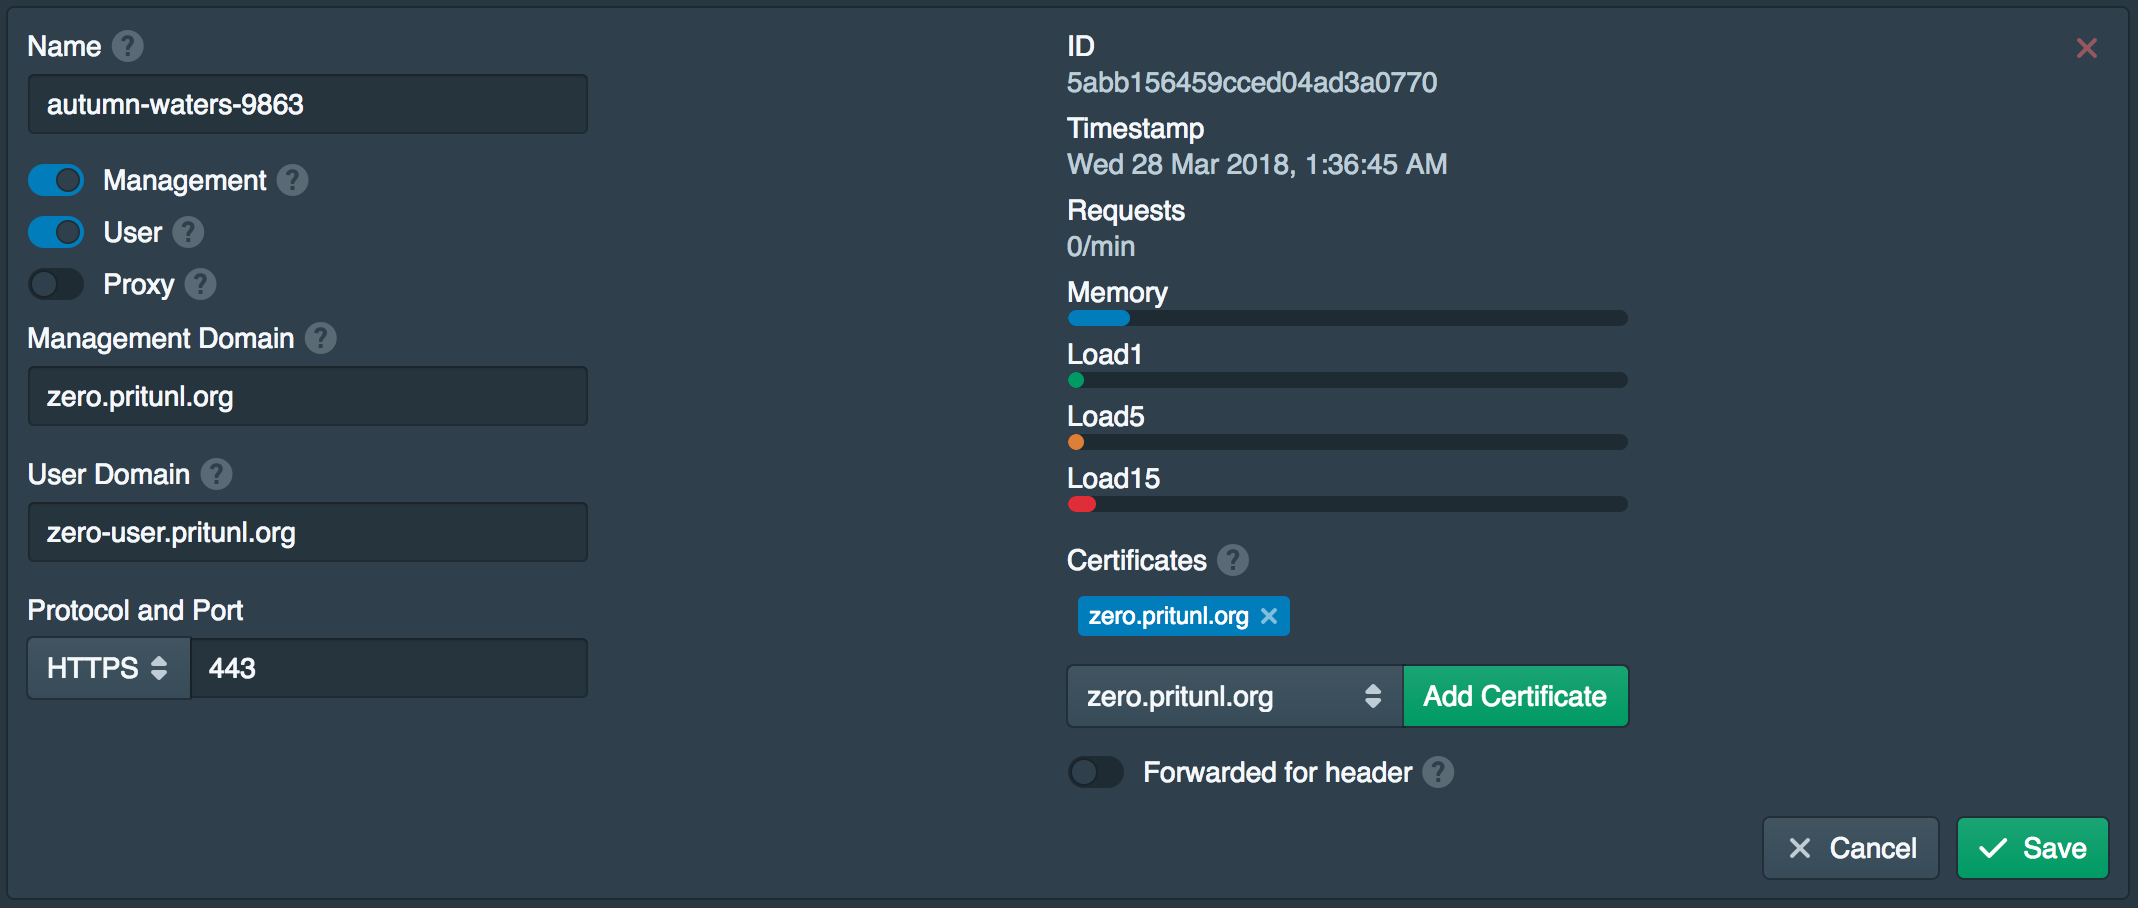
Next, go to the Nodes tab and enable Management and User. Once done set the Management Domain to the first domain from above and the User Domain to the second one. Then click Add Certificate to add the certificate from above to the node. Then click Save and wait a few seconds for the web server to reload the certificate then refresh the page. You may need to close and reopen the tab for Chrome to correctly show the certificate as valid. If the domain is configured incorrectly the node can become inaccessible, if this occurs remove /etc/pritunl-zero.json and restart the pritunl-zero service. This will create a new node and the old node can be removed.
Create Authority
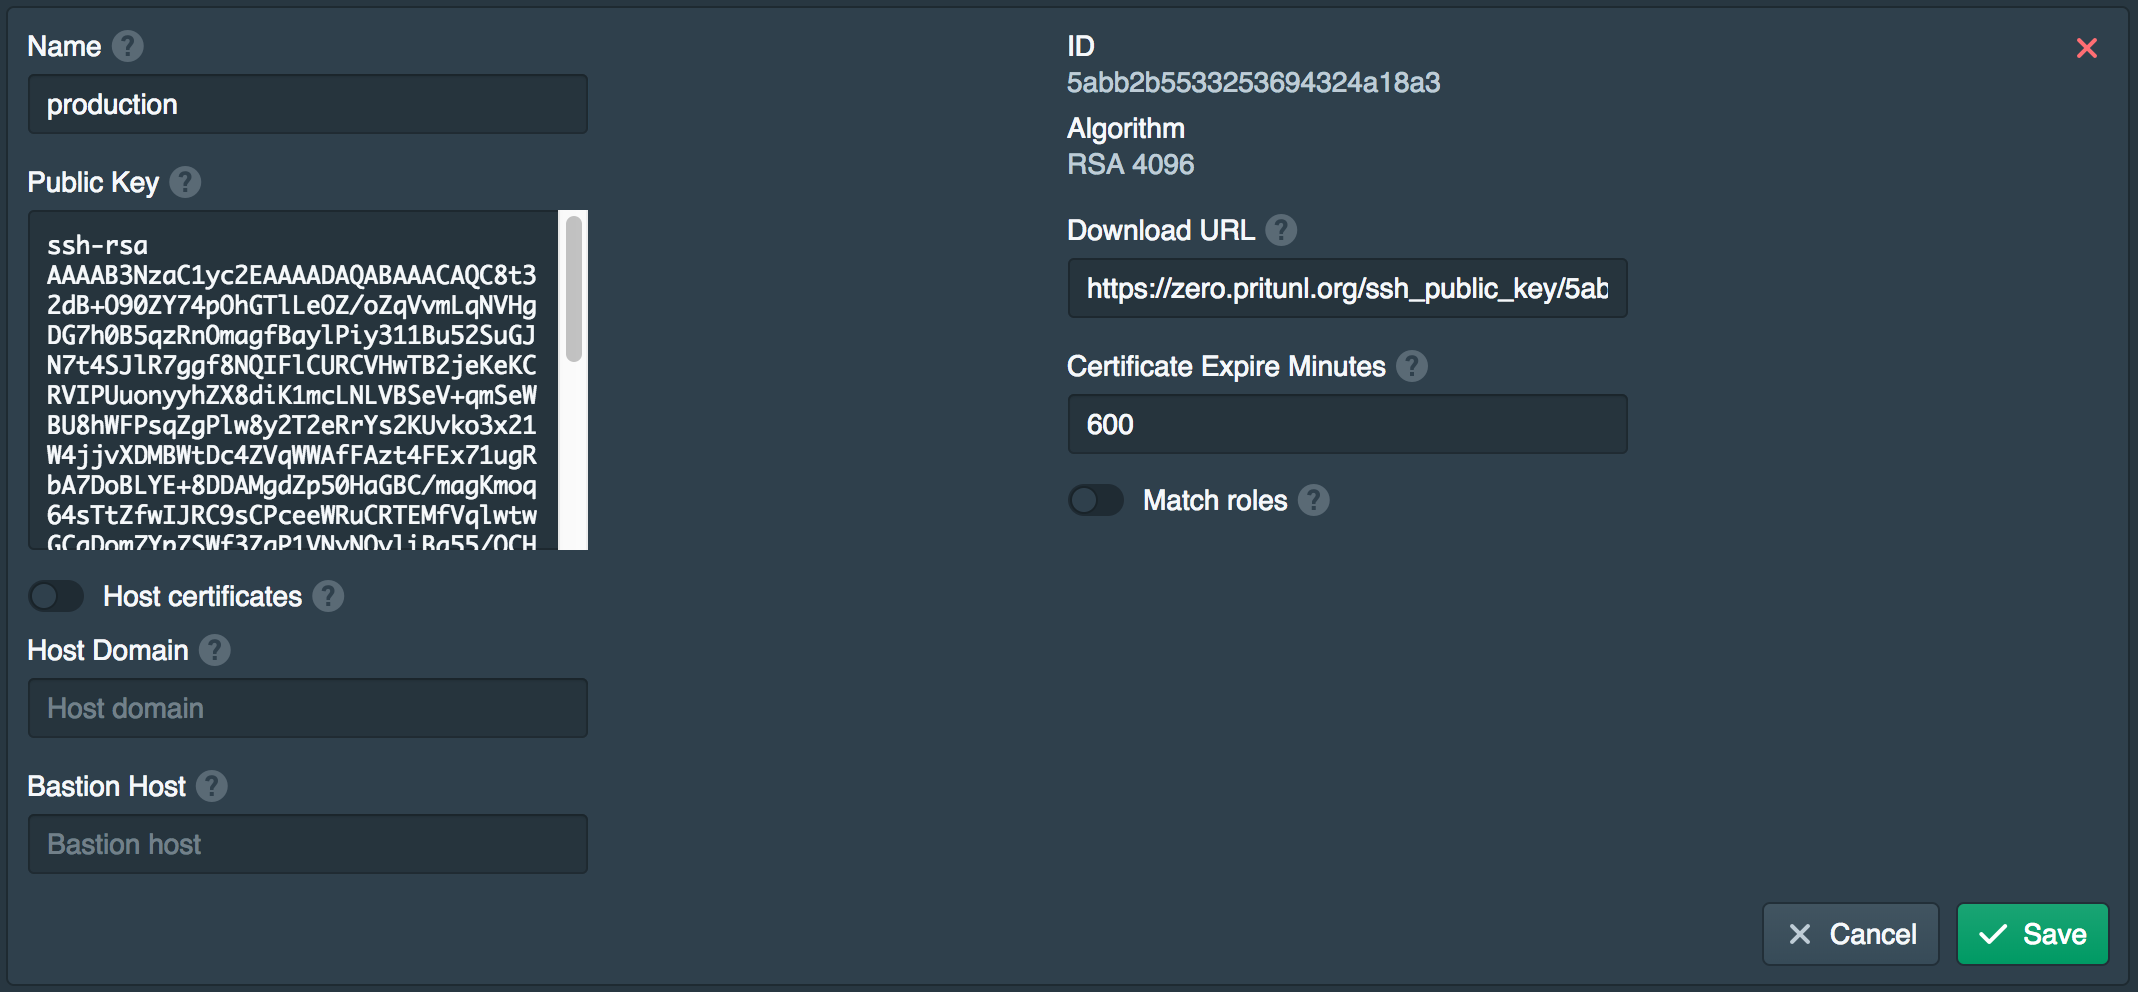
Open the Authorities tab and click New. Set the Name to production. Leave the other fields empty and click Save. An additional authority can be created for development servers.
Create User
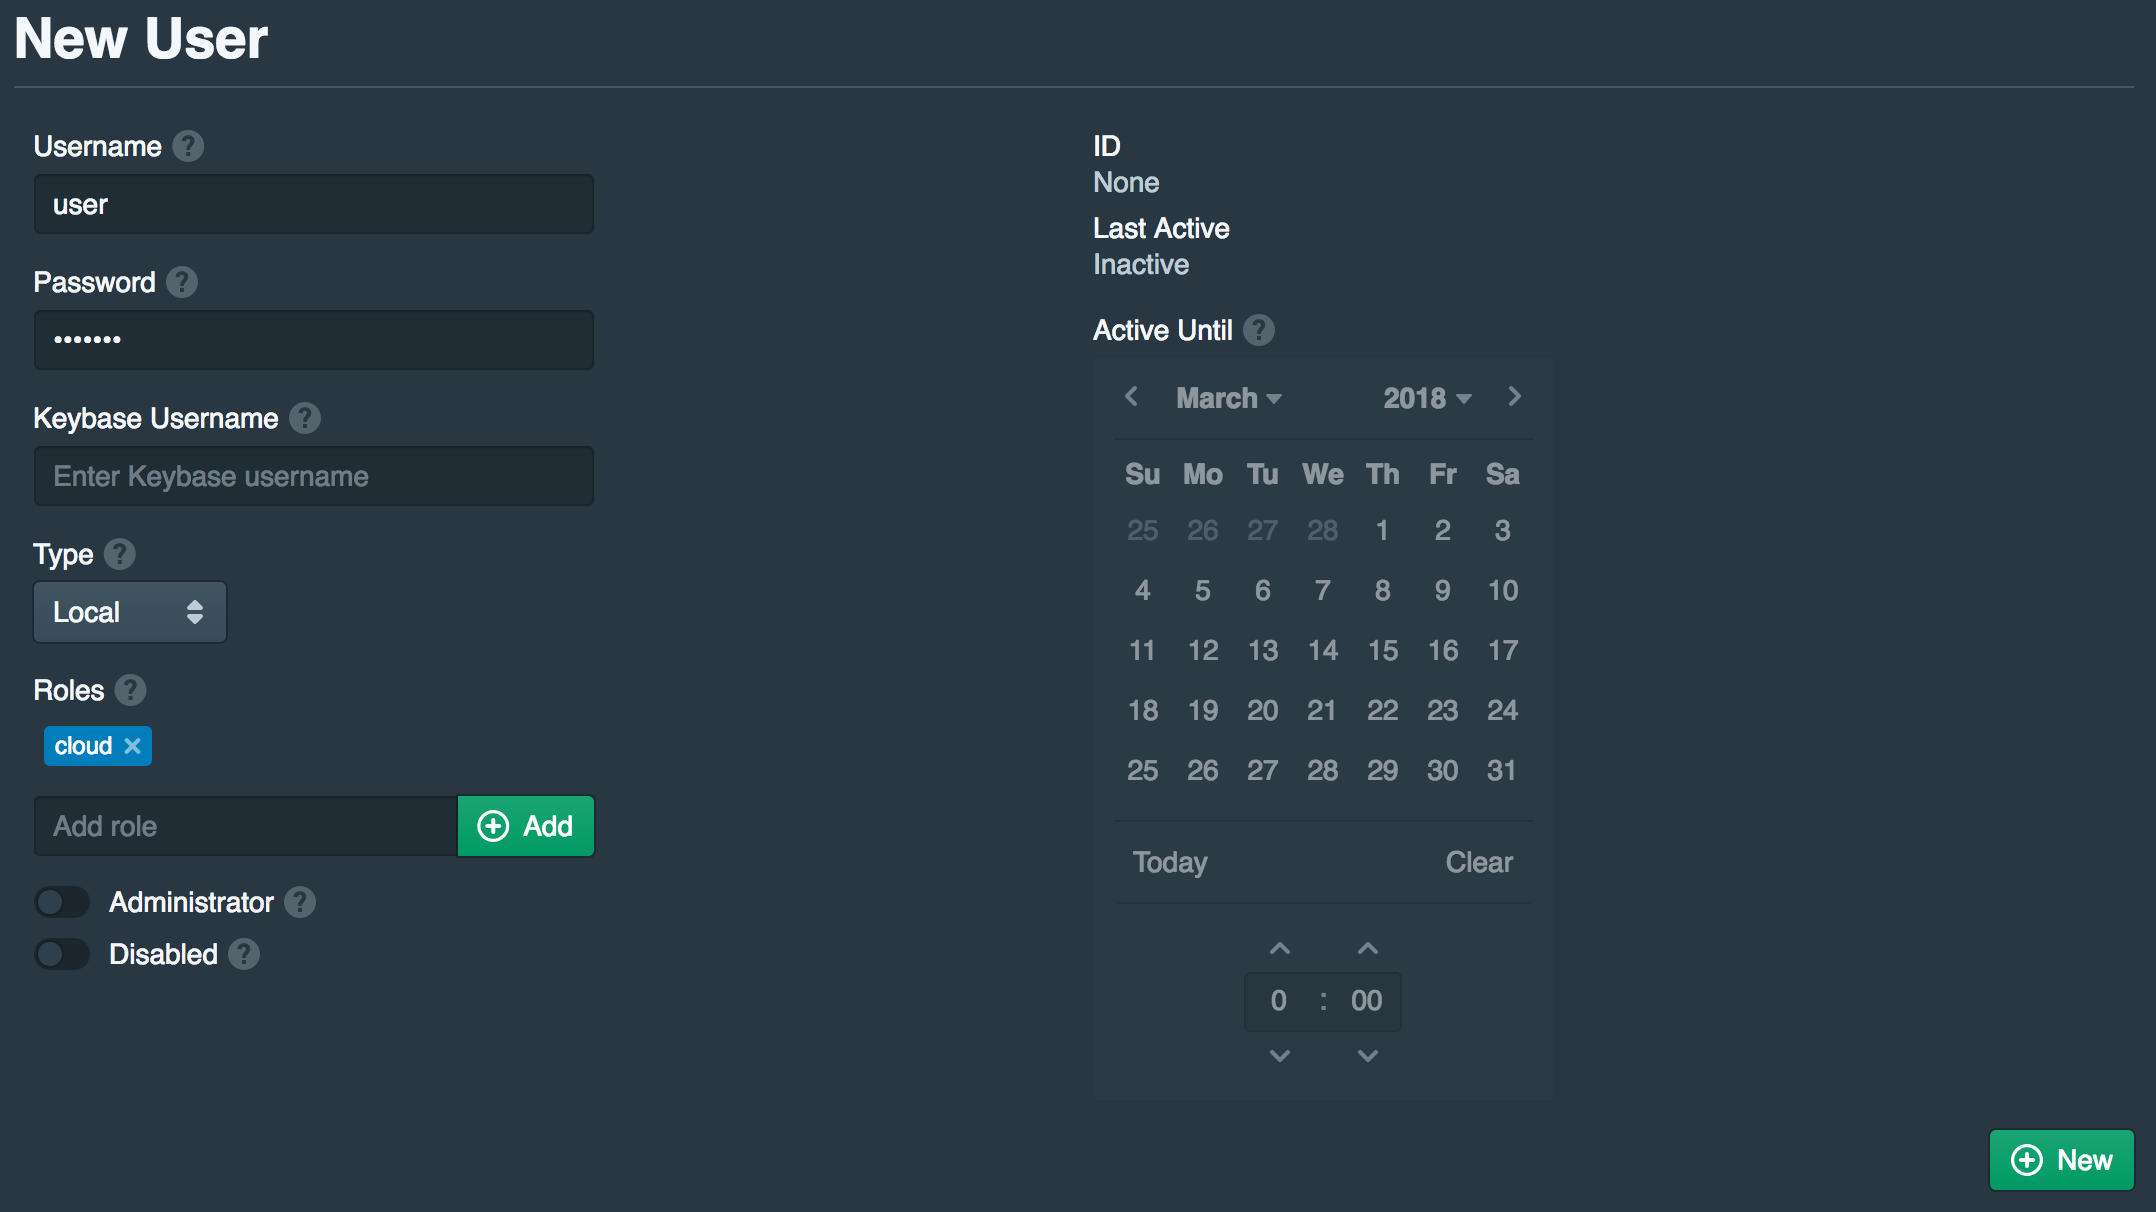
Open the Users tab and click New. Set the Username to user and set a Password. Then add cloud to the Roles. Once done click New.
Configure Duo Two-Factor Authentication (Optional)
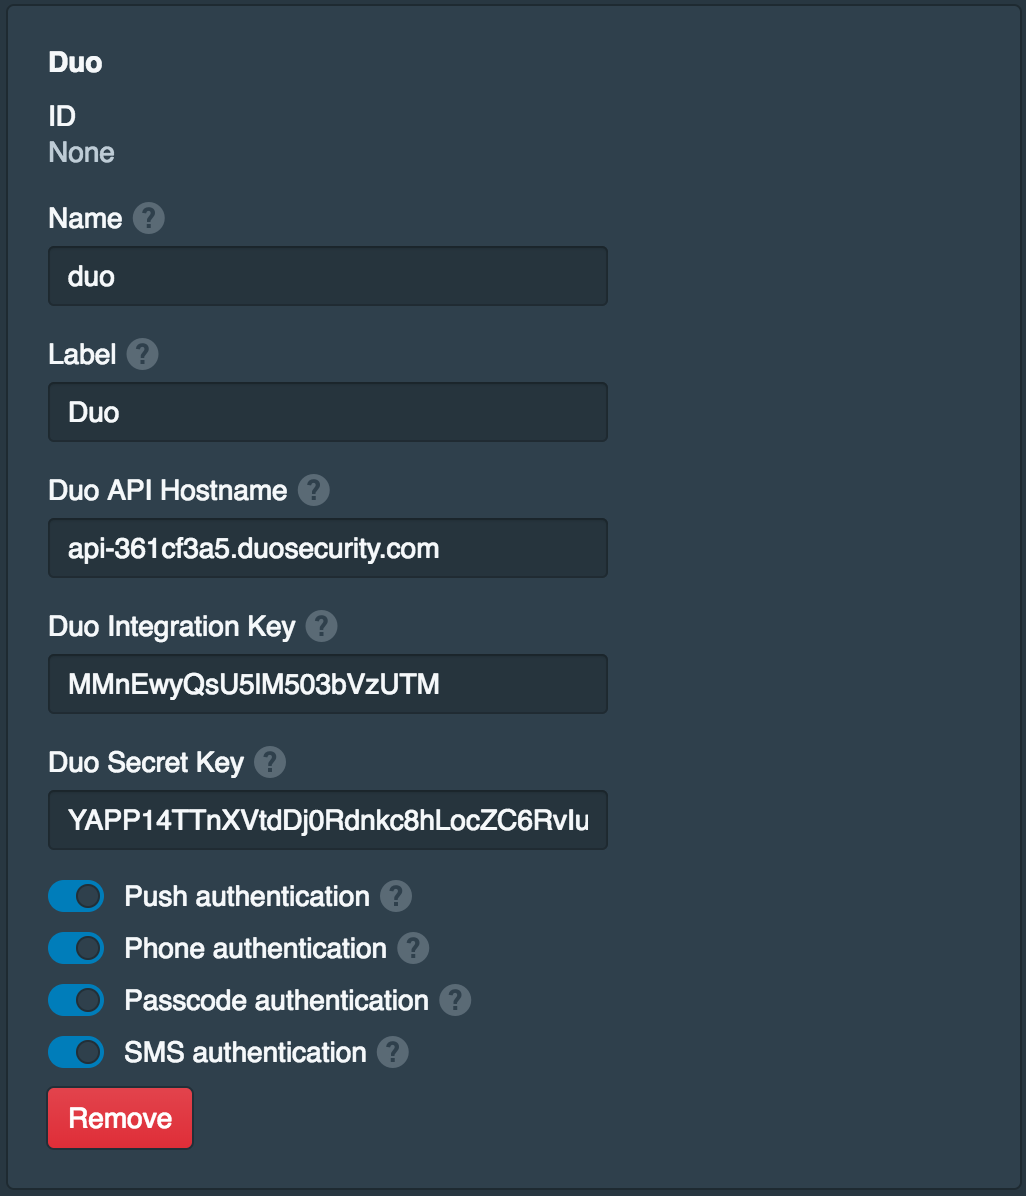
This step is optional and requires a Duo account. The username above must match a Duo username, if it does not the username can be updated. Open the Settings tab and click Add Two-Factor Provider. Set the Name to duo and the Label to Duo. Then fill in the other fields from Duo. Enable Push authentication and any other methods that will be permitted. Once done click Save.
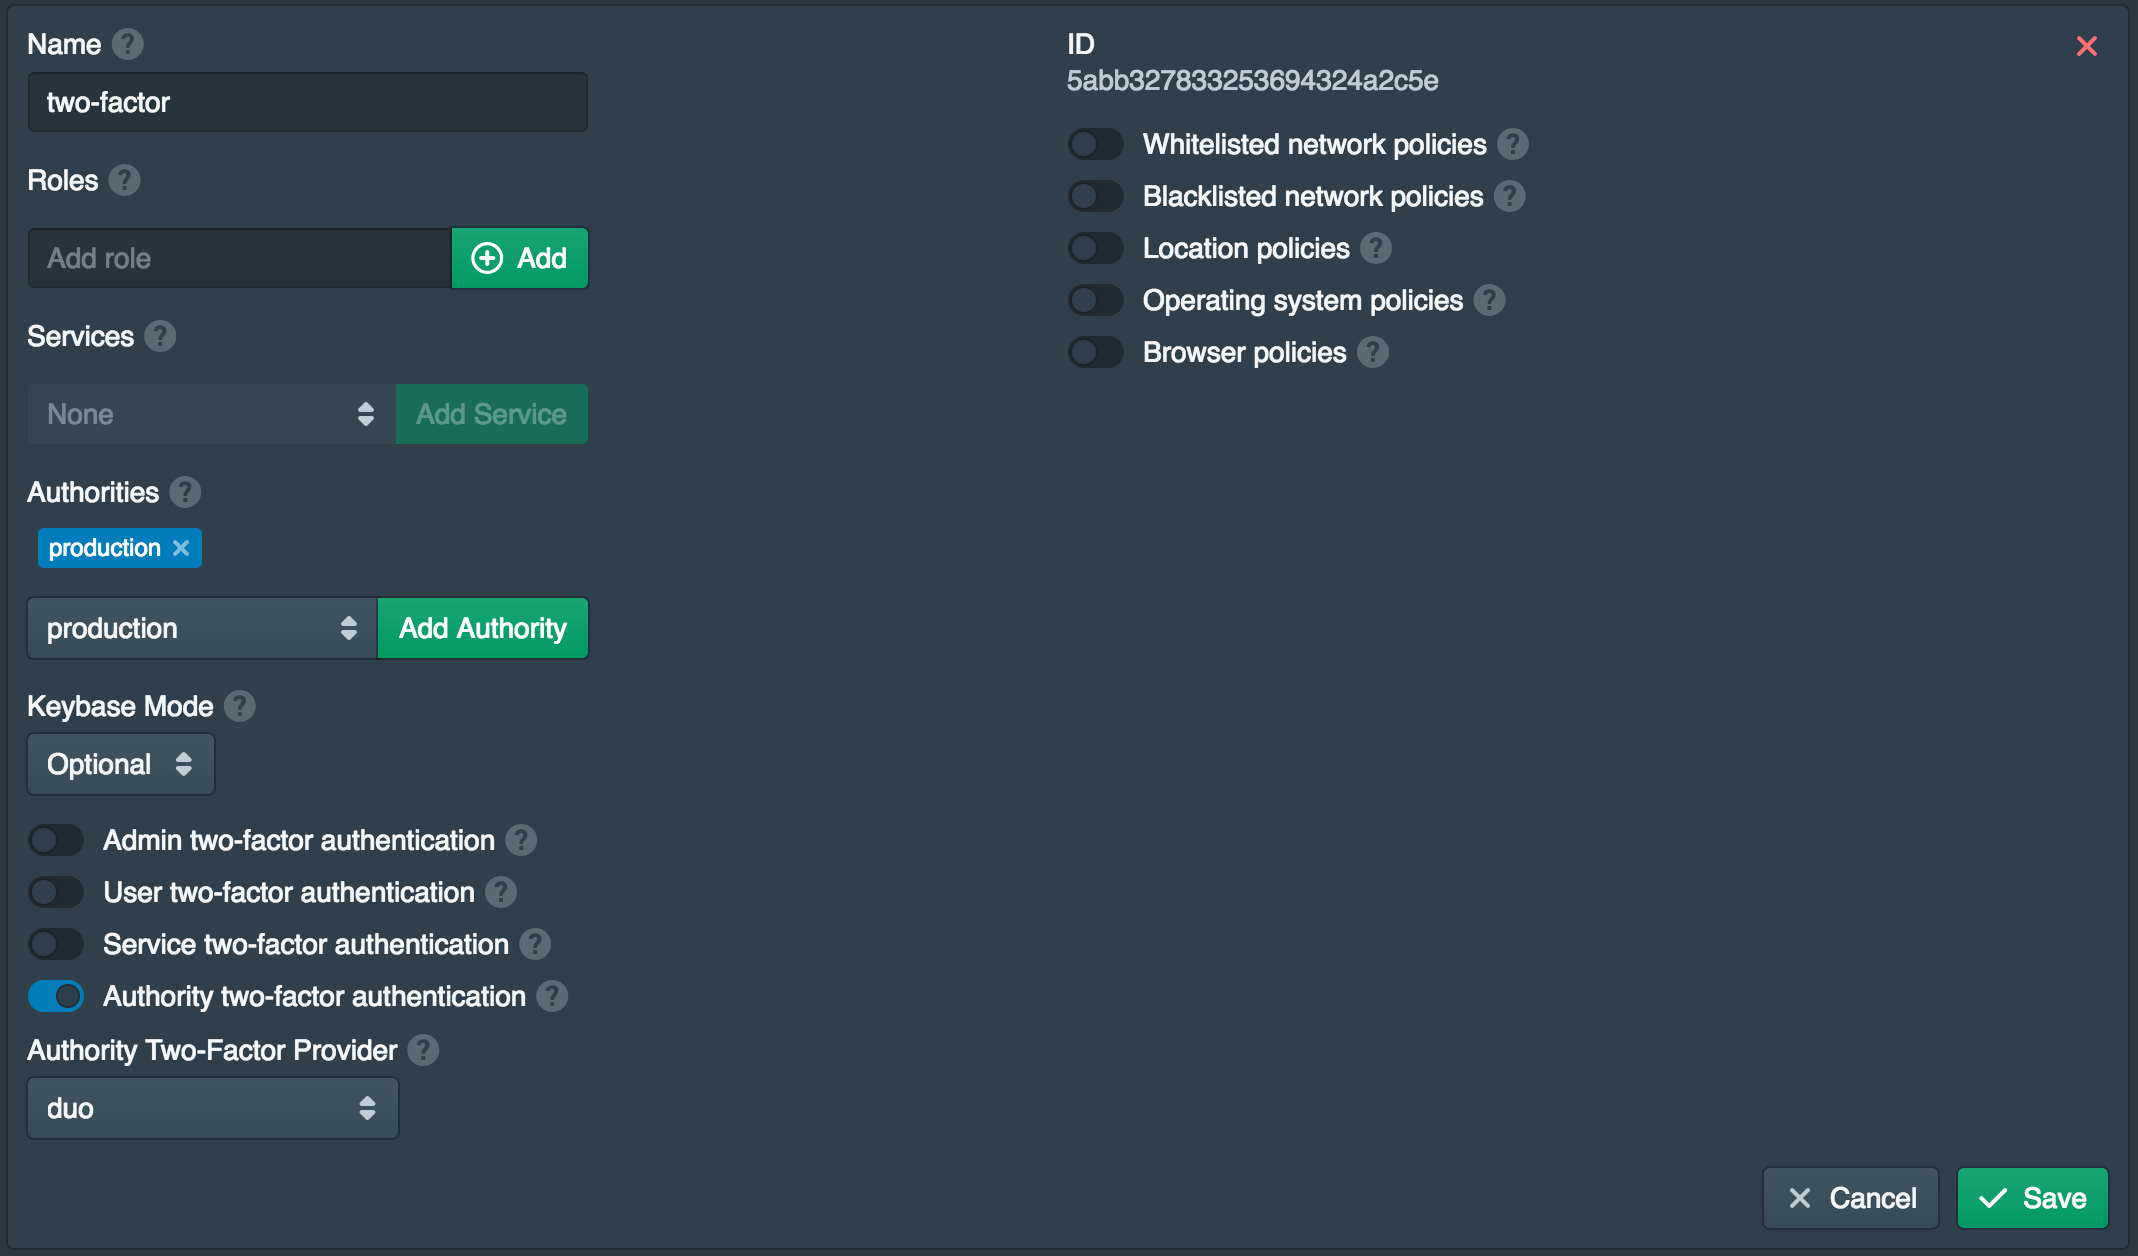
Then open the Policies tab and click New. Set the Name to two-factor and click Add Authority to add the authority created above. This will apply the policy to any users connecting using the SSH certificate authority. Then enable Authority two-factor authentication and select duo. This will require the user to validate with Duo when retrieving an SSH certificate.
Generate SSH Server Configuration
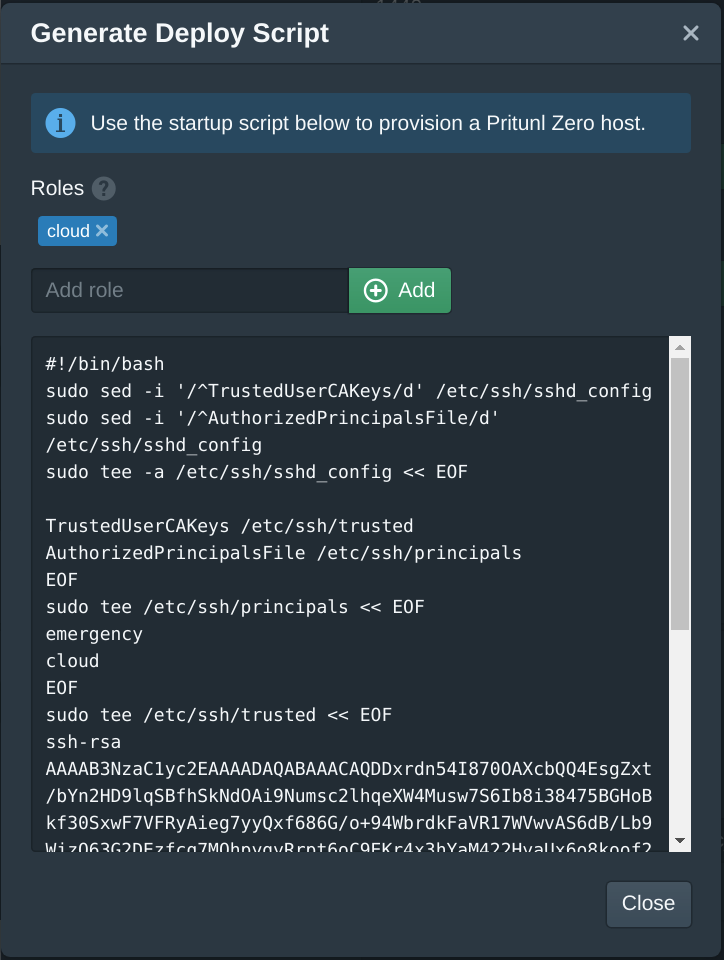
The Pritunl Zero web console has a generate deploy script function. This will generate a script with all the parameters. The script can be run as a startup script or manually run on the server to configure Pritunl Zero SSH access. To generate a script click Generate Deploy Script in the Authorities tab. The Roles will determine what users can access the server. The user must have at least one matching role to connect to the server. In the example below any users who have the cloud role will have access to this server.
Manually Configure SSH Server
Connect to a server that will be authenticated using Pritunl Zero and use the commands below to configure the server. Replace EXAMPLE_SSH_PUB_KEY with the Public Key from the Authorities tab such as ssh-rsa AAAAB3NzaC1.... This will configure the server with the cloud role that was added to the user above, additional roles can be added to the principals file. Once done ensure the SSH service is restarted.
sudo sed -i '/^TrustedUserCAKeys/d' /etc/ssh/sshd_config
sudo sed -i '/^AuthorizedPrincipalsFile/d' /etc/ssh/sshd_config
sudo tee -a /etc/ssh/sshd_config << EOF

TrustedUserCAKeys /etc/ssh/trusted
AuthorizedPrincipalsFile /etc/ssh/principals
EOF
sudo tee /etc/ssh/principals << EOF
emergency
cloud
EOF
sudo tee /etc/ssh/trusted << EOF
EXAMPLE_SSH_PUB_KEY
EOF

sudo systemctl restart sshd || true
sudo service sshd restart || true
Authenticate User
Refer to Install SSH Client for instructions on installing the Pritunl Zero SSH client on the users desktop. Once the client is installed run the command below to generate an SSH key. Gerating a new SSH key for Pritunl Zero will improve security, but an existing SSH key can be used. Leave the key passphrase blank. If you are attempting to test a clean configuration, this can also be done in a Docker contain as shown on the homepage.
ssh-keygen -t ed25519
# Enter file in which to save the key (/root/.ssh/id_ed25519):
# Enter passphrase (empty for no passphrase):
# Enter same passphrase again:
After generating an SSH key, run the command below to configure the Pritunl Zero client. Replace zero-user.pritunl.org with the user domain set above. When prompted select the SSH key created above by the number of the left. Once done the browser will open the Pritunl Zero user login. If it does not open cmd or ctrl click the link shown.
# Configure pritunl-ssh using the values below
pritunl-ssh
# Enter Pritunl Zero user hostname: zero-user.pritunl.org
# Select SSH key:
# [1] id_ed25519.pub
# Enter key number or full path to key: 1
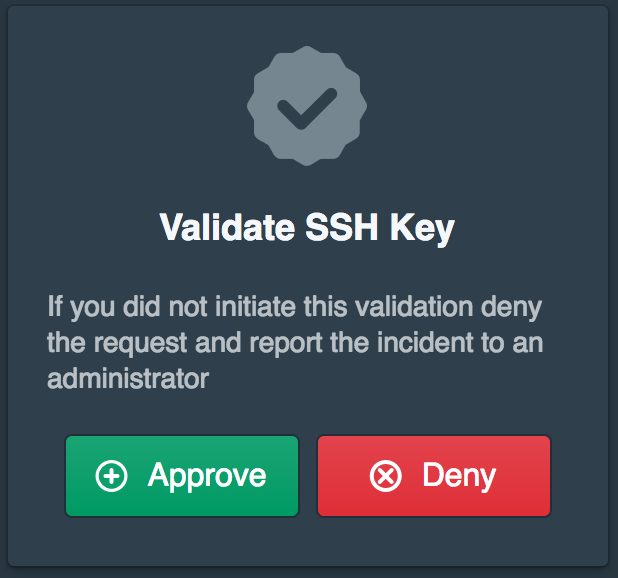
Login with the user created above and click Approve when prompted.
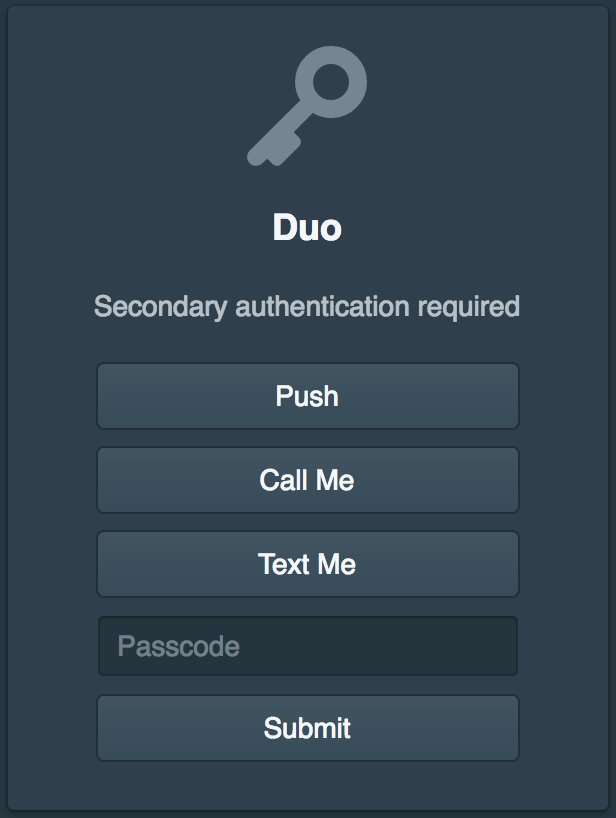
If you also configured two-factor authentication select a method when prompted.
After approving the SSH key, the console should print Successfully validated SSH key. The client will then add the SSH certificate the ~/.ssh directory. The SSH client and tools that use SSH will automatically detect this certificate and include it when authenticating. This will allow SSH access to the server that was configured with the certificate authority above until the SSH certificate expires. The expiration time can be set in the Authorities tab. For more information about Pritunl Zero such as SSH host certificates and SSH bastion hosts refer to the Pritunl Zero section on the left.
Host Certificates and Bastion Host
The Getting Started Bastion Server guide is available for configuring automatic bastion servers. This is the recommended configuration for bastion servers.
A Getting Started Host Certificates guide is available for manually configuring host certificates and a bastion host. This is more advanced and difficult to deploy.
YubiKey U2F and Smart Card
Refer to YubiKey SSH for configuring SSH authentication with YubiKey U2F using a private key stored on the YubiKey Smart Card.
Updated 3 months ago
