Windows 11 Instance
Install Windows 11 on a Pritunl Cloud virtual machine instance
This tutorial will explain installing Windows 11 on a Pritunl Cloud instance.
Linux TPM Package
On the host Pritunl Cloud server verify that the swtpm package is installed. This will be required for running instances with a TPM.
sudo dnf -y install swtpmPritunl Cloud GPU Configuration
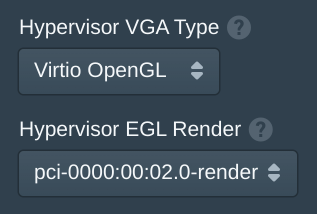
To improve the GPU performance of the Windows instance set the Hypervisor VGA Type to Virtio OpenGL and select a Hypervisor EGL Render if available. Most Intel and AMD CPUs include GPU renders. If a physical GPU is also installed on the server multiple renders may be shown. Run sudo lspci on the server to match the PCI names to the correct GPU. If no render is available Hypervisor VGA Type can be set to Virtio OpenGL. The other older hypervisor VGA types will not provide better performance and will often cause the instance to fail to start.
When running on a bare metal server many cloud providers will disable the GPU on the CPU from the BIOS by default. If access to the BIOS is available enabling this will provide a render in /dev/dri that can be configured in Pritunl Cloud.
Add Windows 11 and Windows Virtio Driver ISO
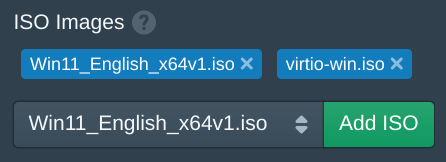
SSH onto the Pritunl Cloud server that the Windows instance will run on and go into the /var/lib/pritunl-cloud/isos directory. If the directory doesn't exist run sudo mkdir /var/lib/pritunl-cloud/isos
On the Download Windows 11 page select the ISO image and click Download. Then select the Language and click Confirm. Right click the 64-bit Download button and click Copy link address. Replace <WINDOWS_11_ISO_LINK> below with the link, the link must be in quotes to include the URL query string.
Then download the Windows VirtIO provided by Fedora using the command below.
cd /var/lib/pritunl-cloud/isos/
sudo wget "<WINDOWS_11_ISO_LINK>"
sudo wget https://fedorapeople.org/groups/virt/virtio-win/direct-downloads/latest-virtio/virtio-win.iso
In the Pritunl Cloud web console add both of these ISO images to the instance and click Save.
Press any key to to boot from CD or DVD...
Create Pritunl Cloud Instance
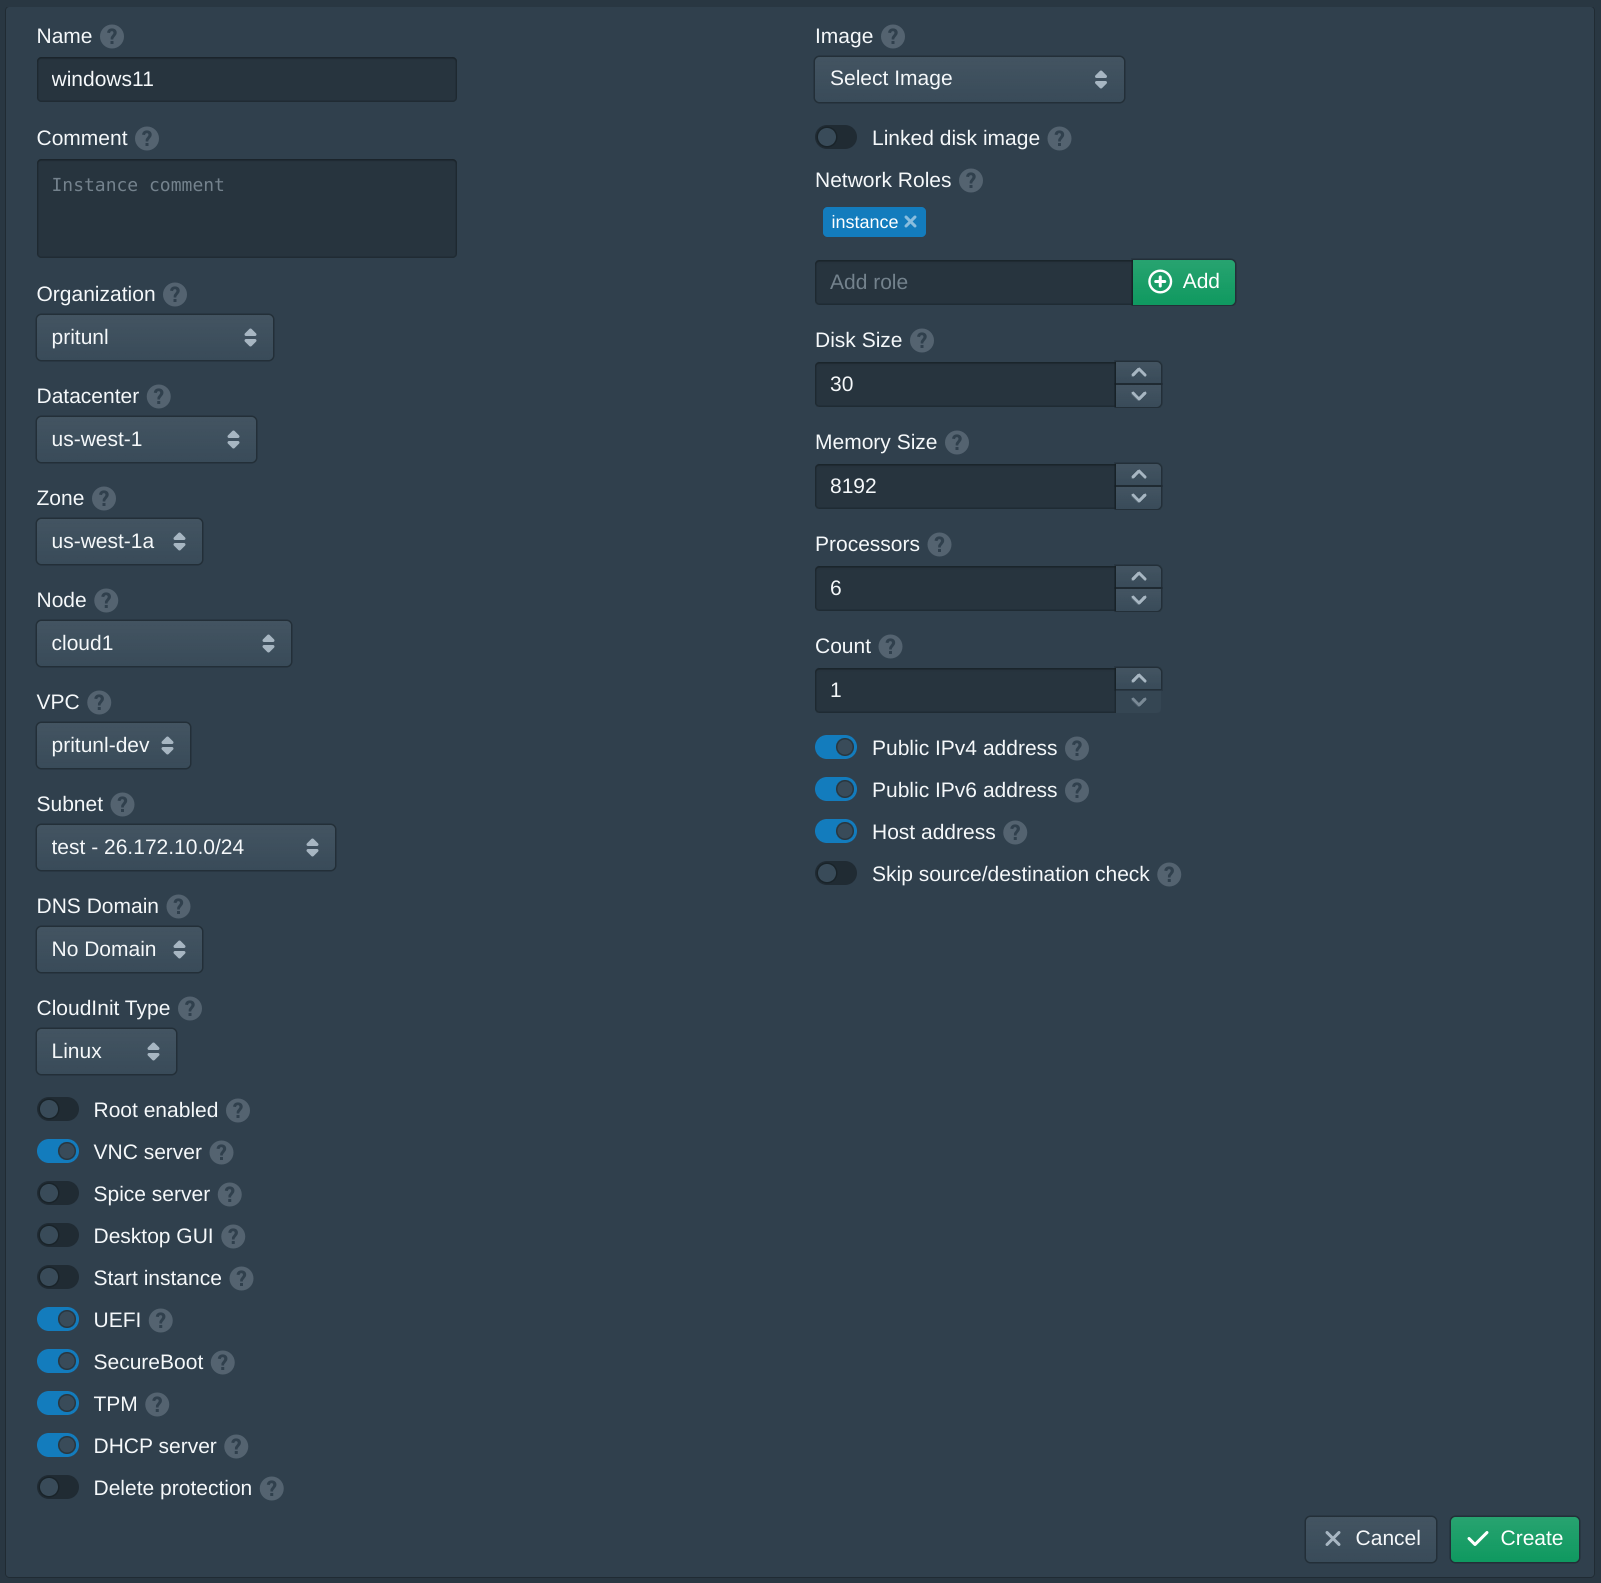
When creating the Pritunl Cloud instance for Windows 11 enable the UEFI, Secure Boot, TPM and DHCP Server options. The Disk Size should be set to at least 30GB.
Install Windows 11
After the ISO images have been added start instance and click VNC Console to open the VNC console. Once the boot process shows Start boot option hit the escape key.
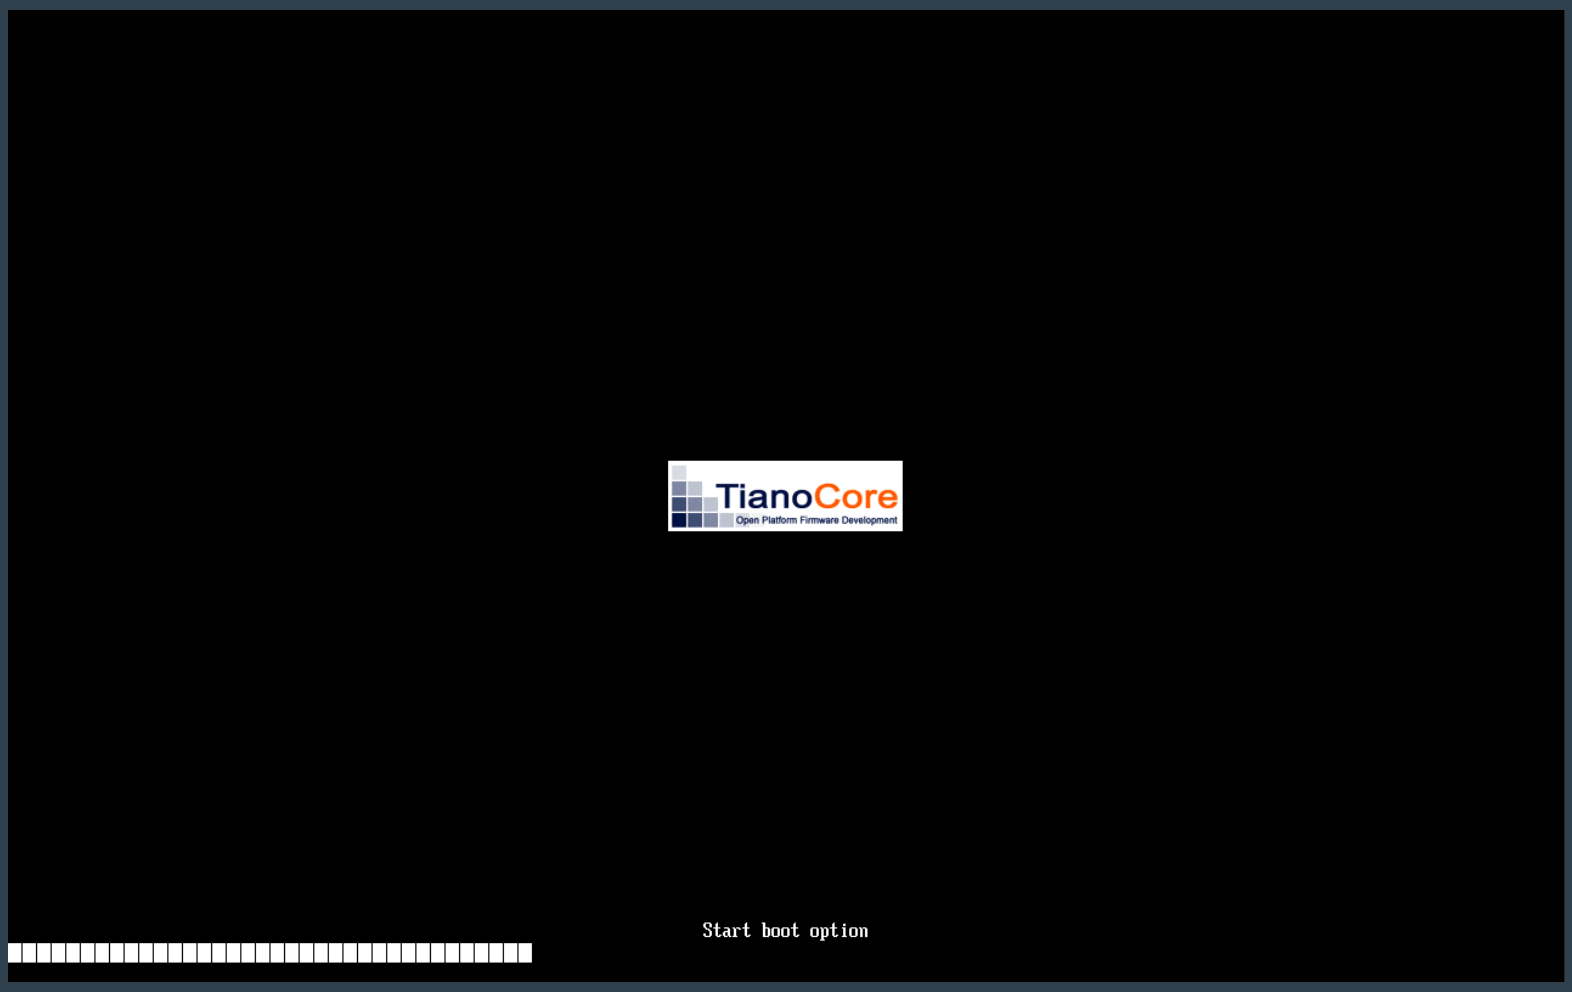
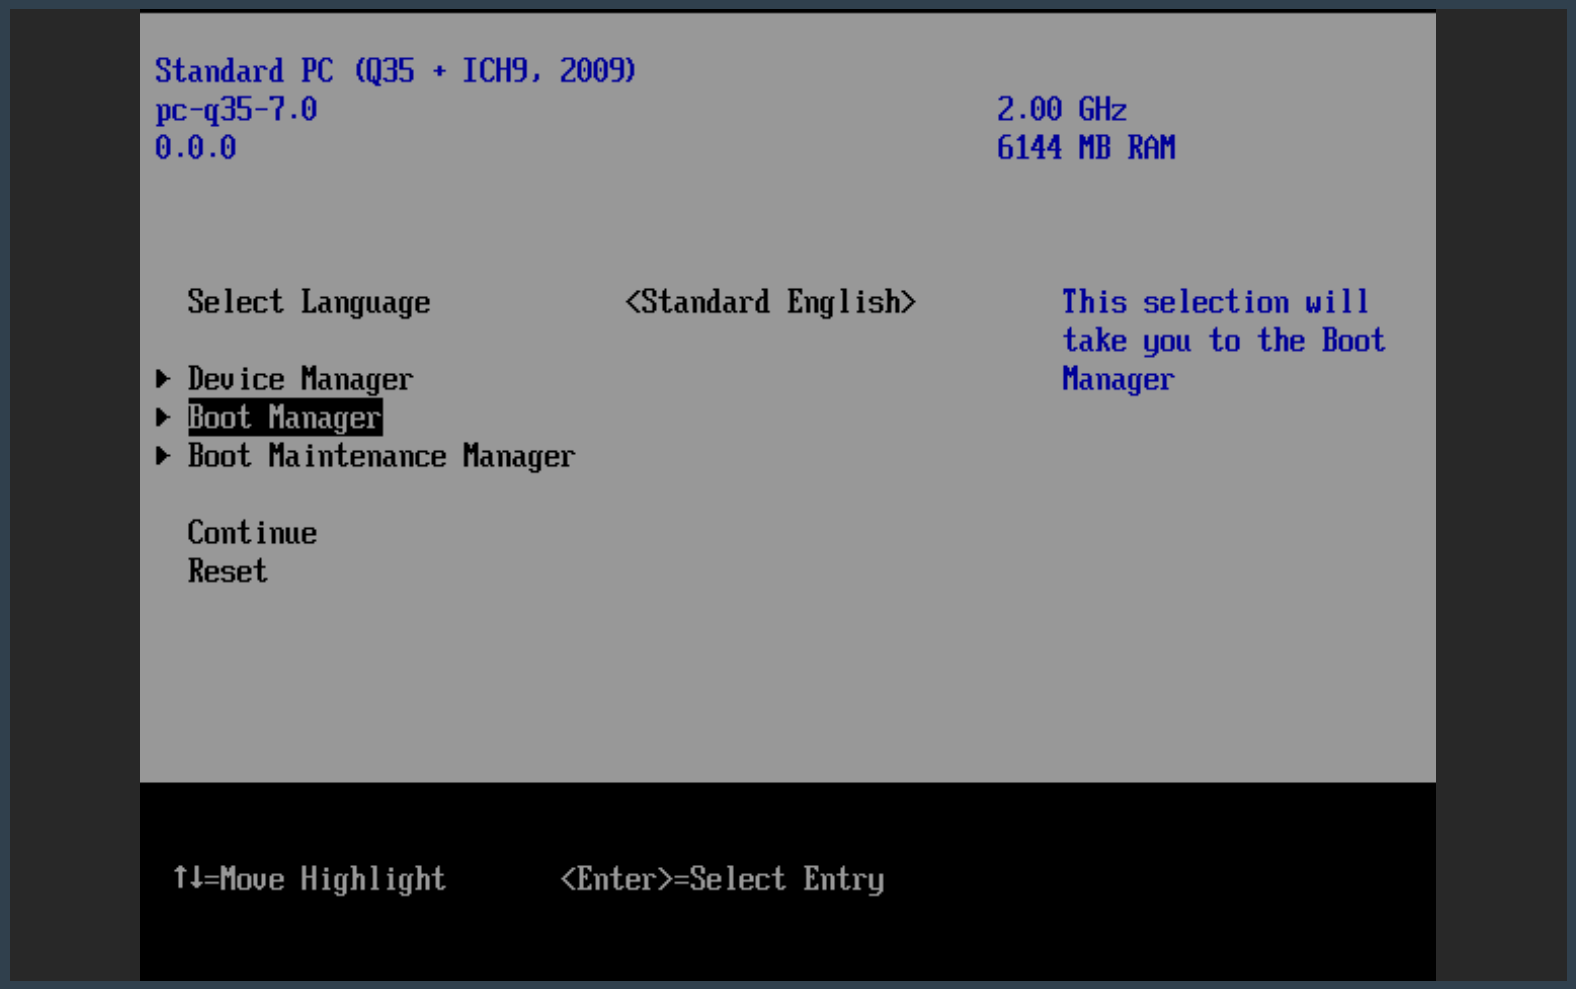
Select Boot Manager and hit Enter.
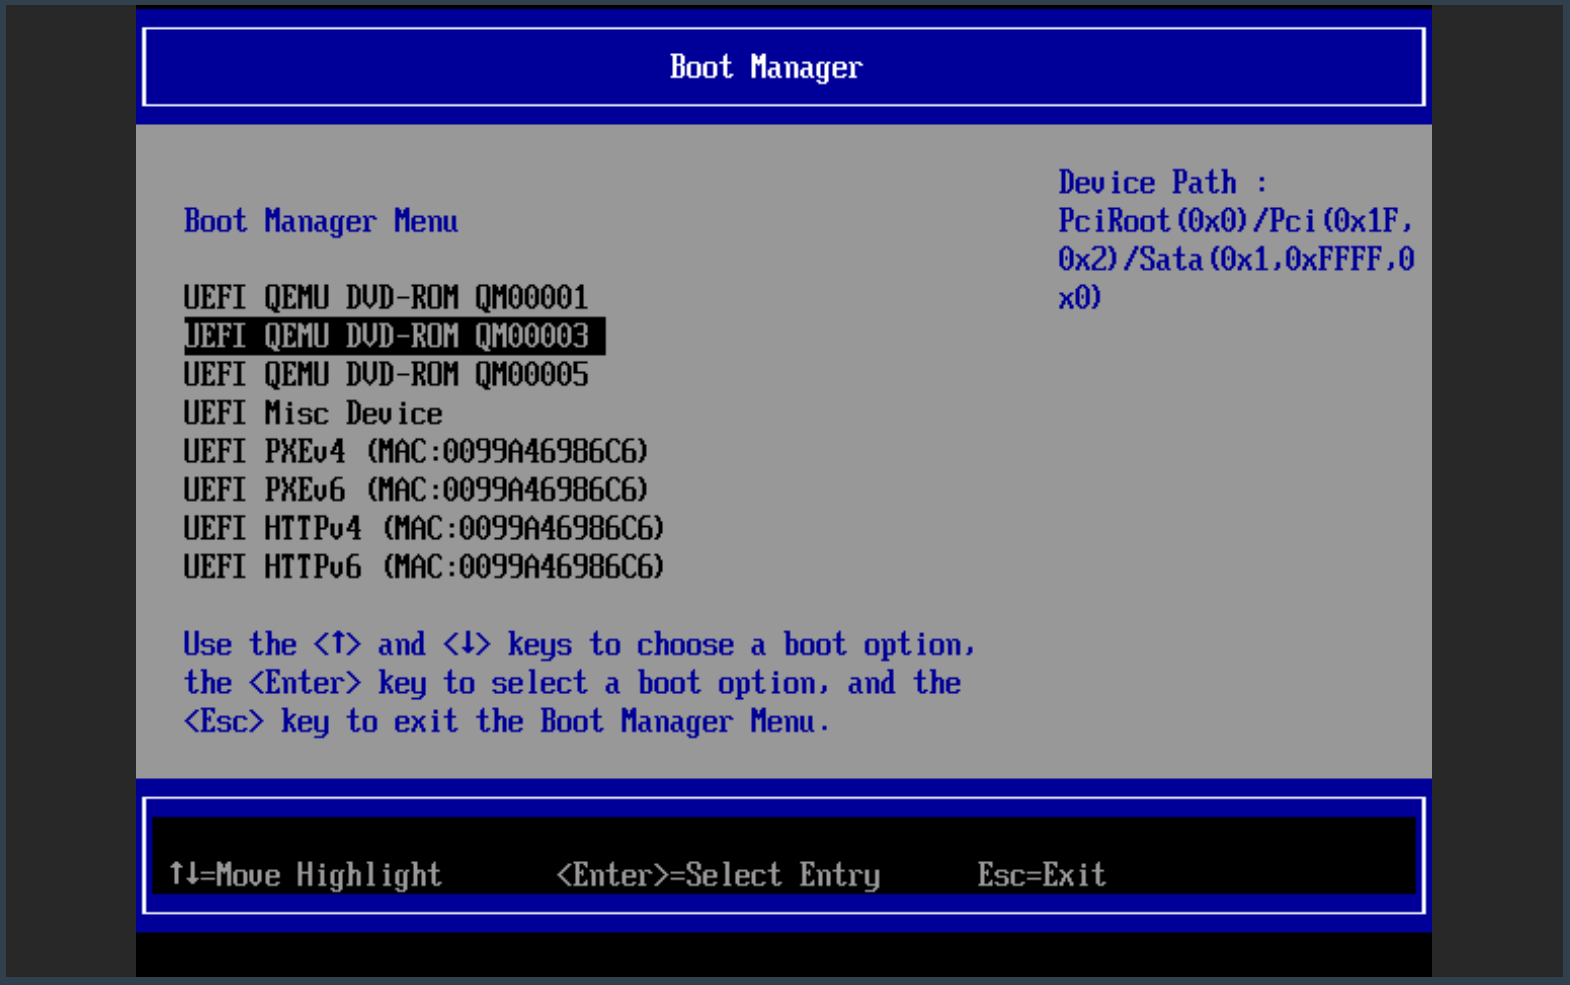
Select the UEFI QEMU DVD-ROM QM00003 option and hit Enter. Depending on the order of the ISOs it's also possible the correct drive is UEFI QEMU DVD-ROM QM00005.
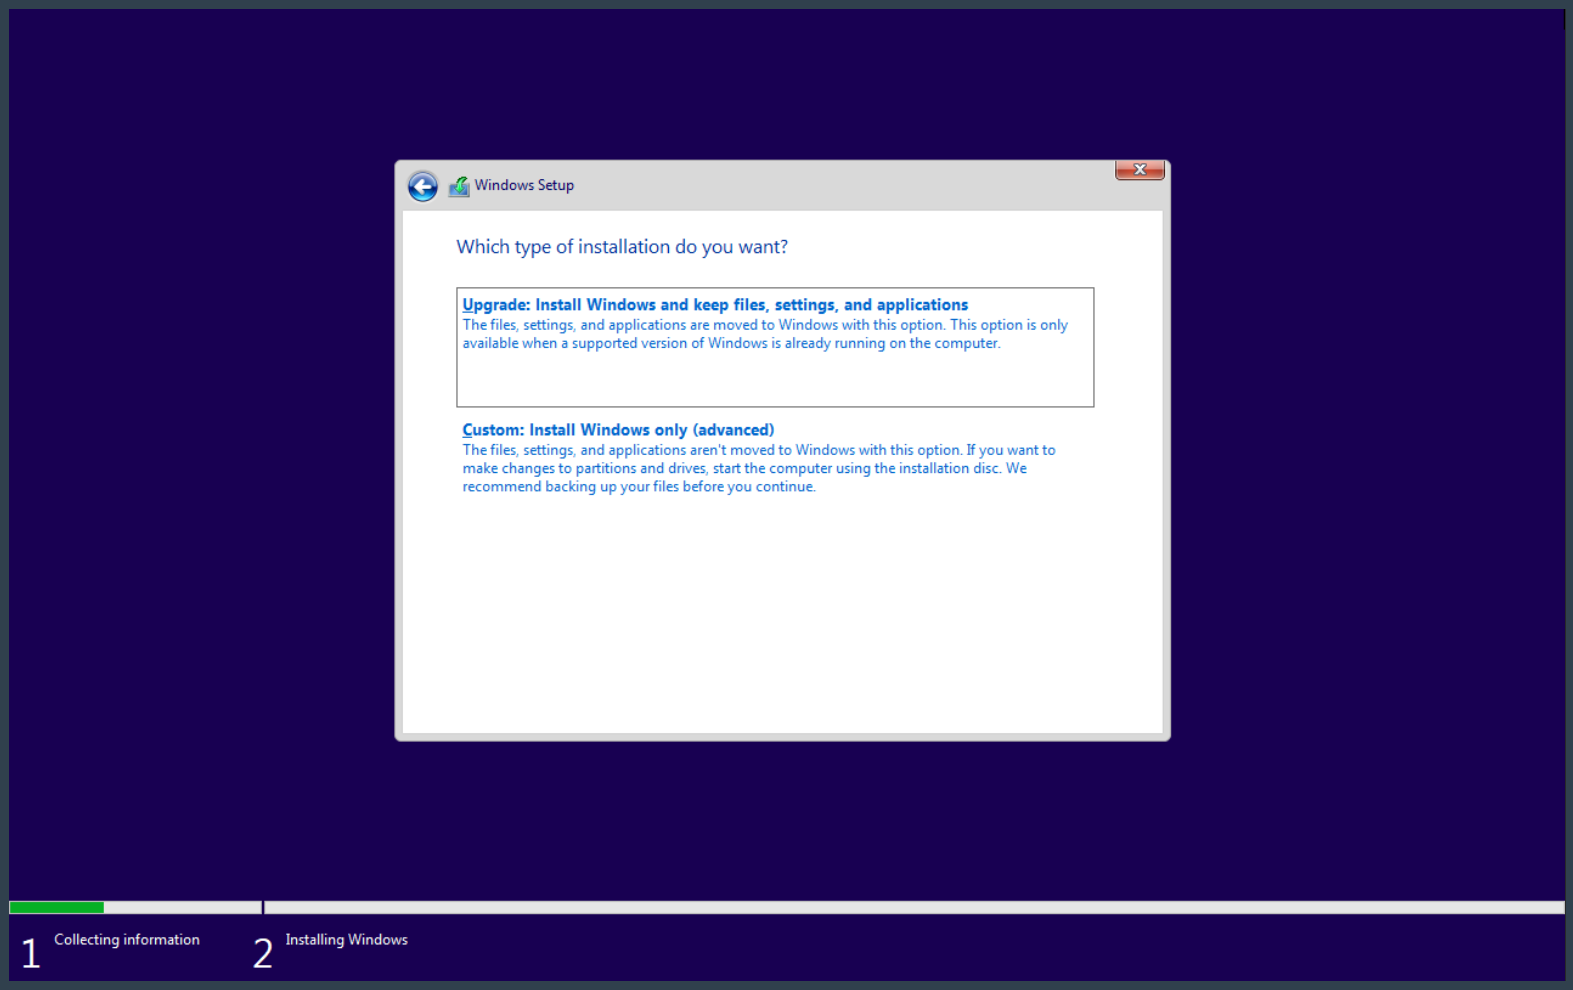
Once the Windows installer is at the installation type screen shown below, click Custom: Install Windows only (advanced).
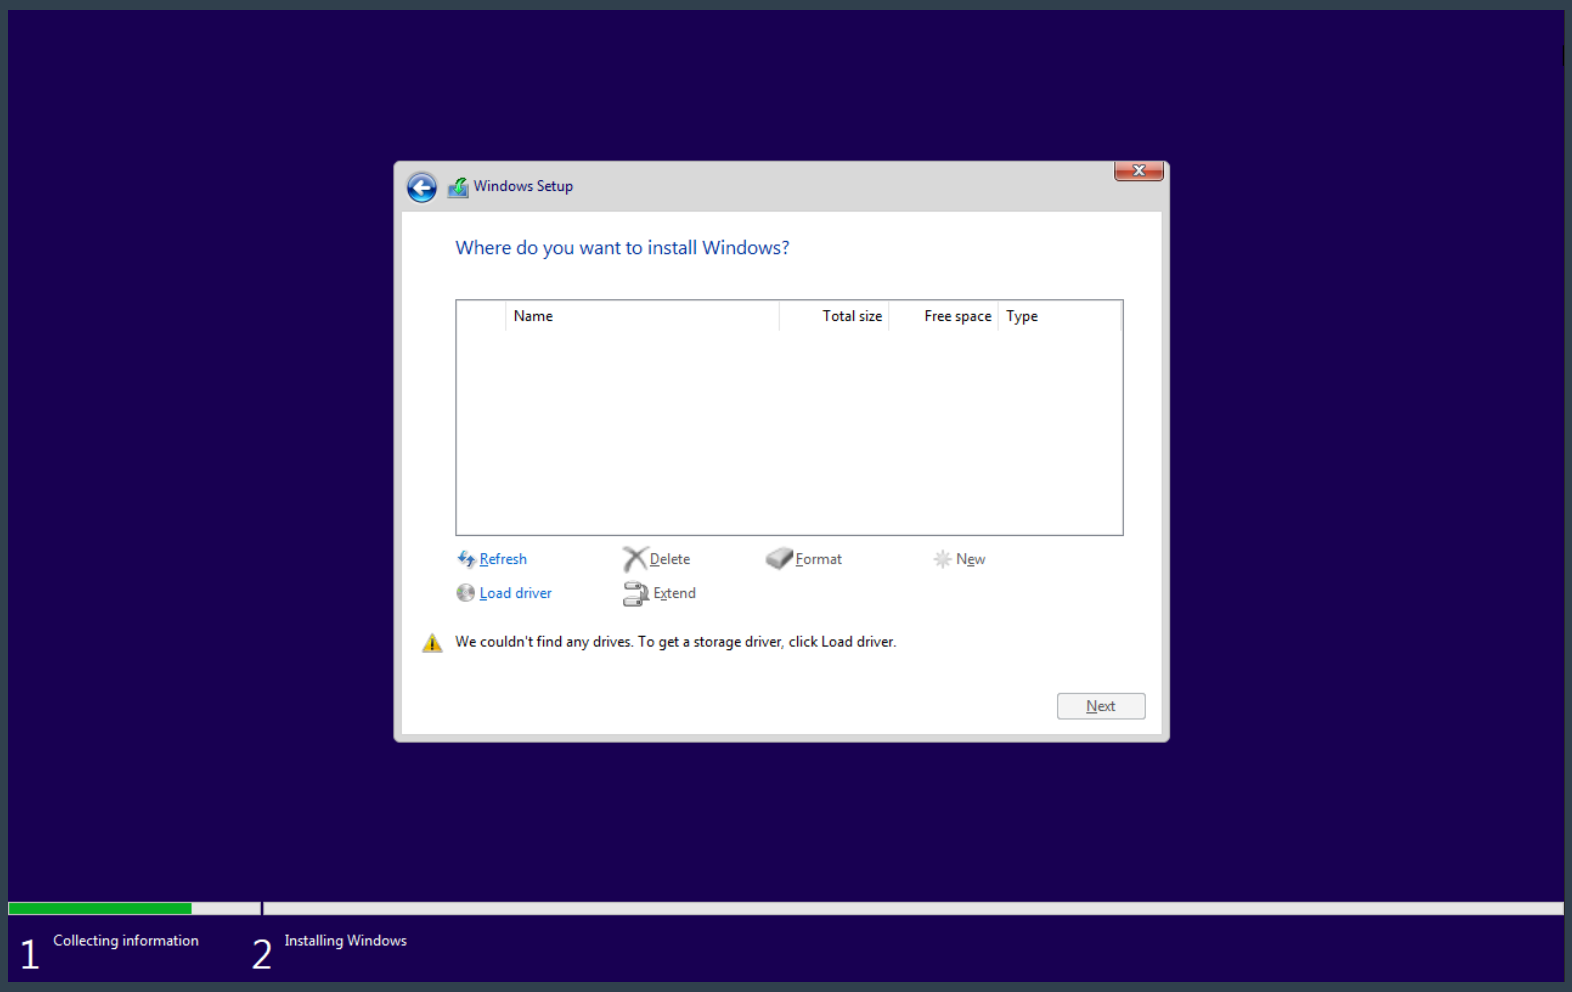
The drive page will initially not display any drives, click Load driver.
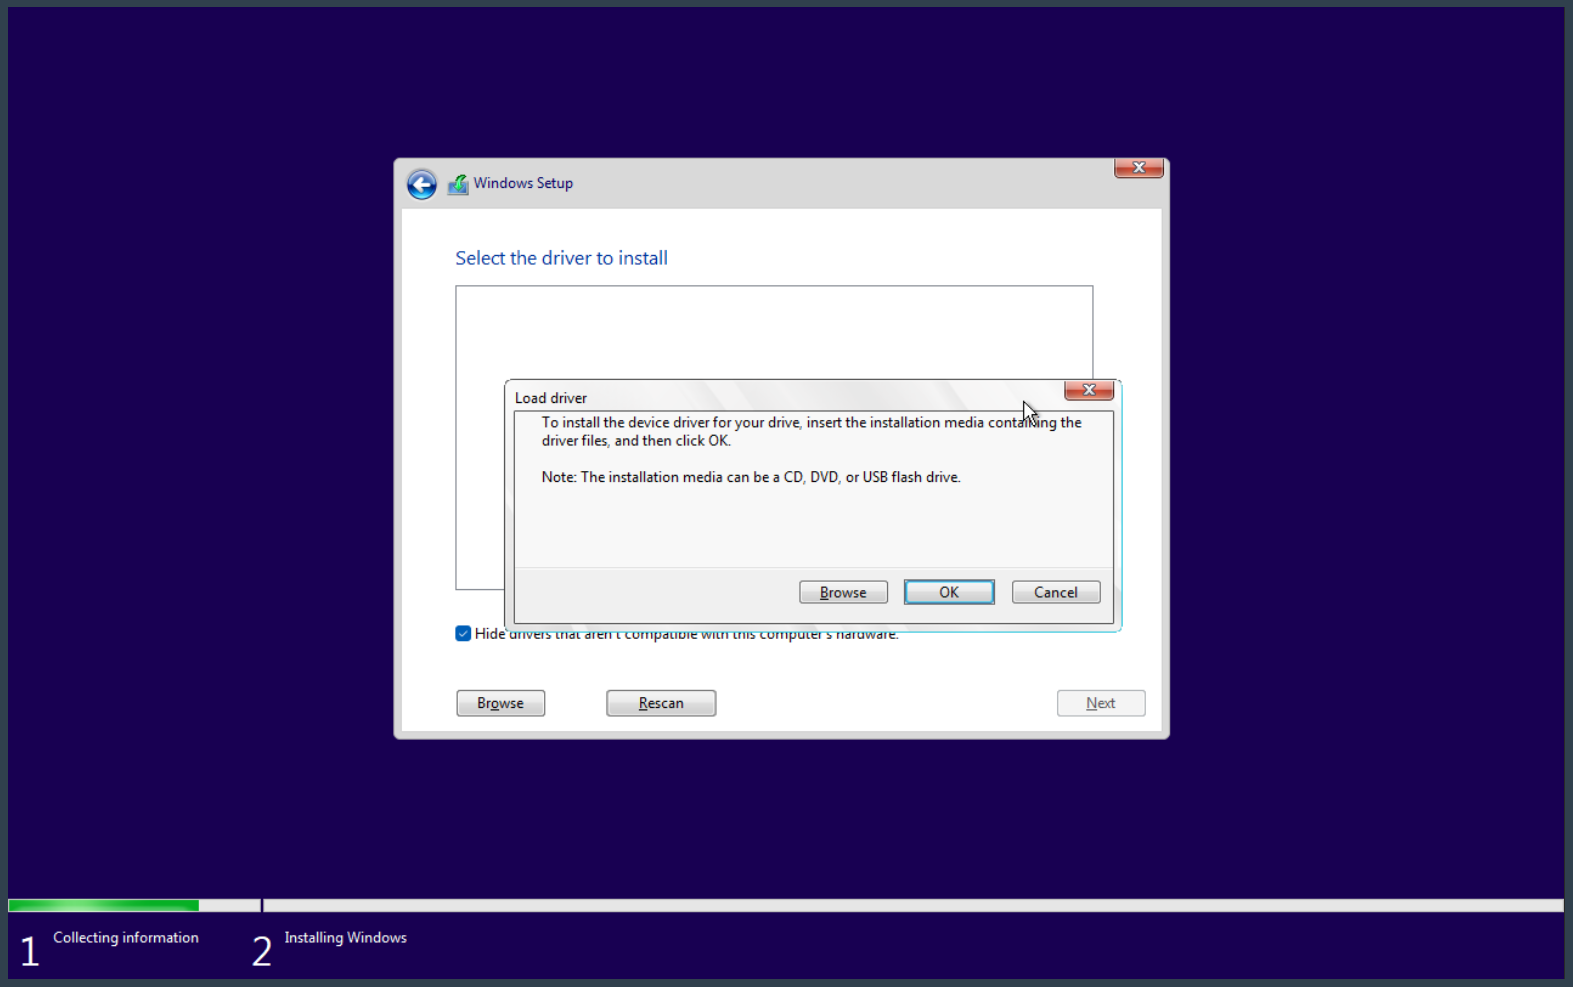
When the load driver dialog appears click Ok to scan the VirtIO driver ISO.
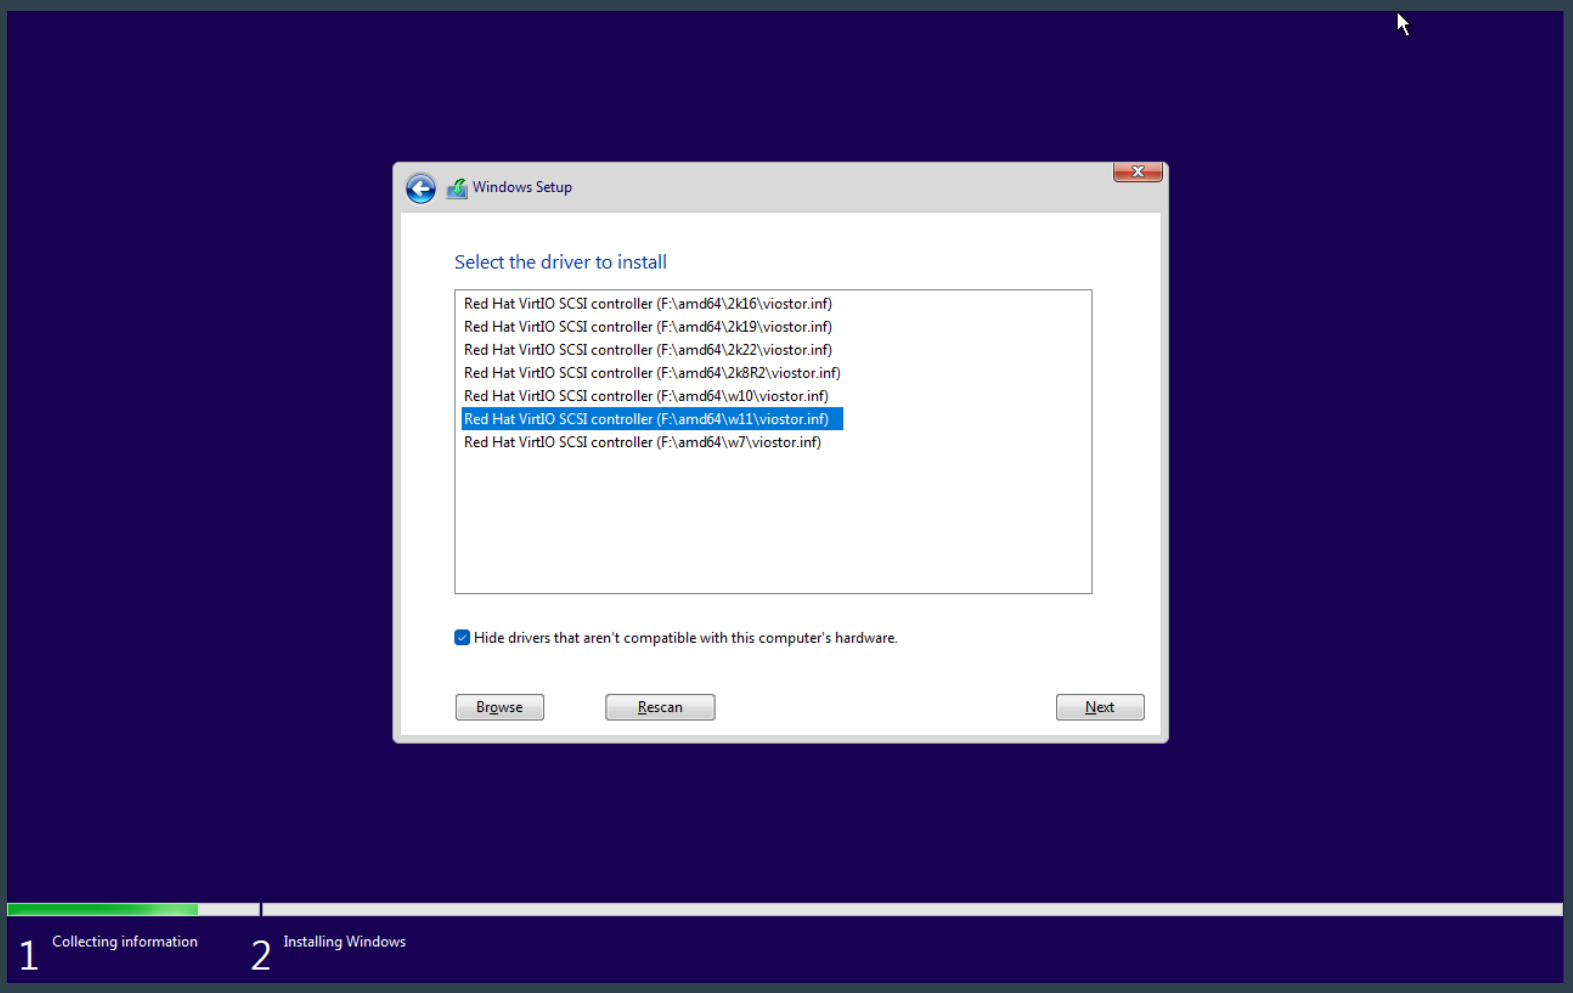
Select Red Hat VirtIO SCSI controller (F:\amd64\w11\viostor.inf) then click Next to install the Windows 11 VirtIO disk driver.
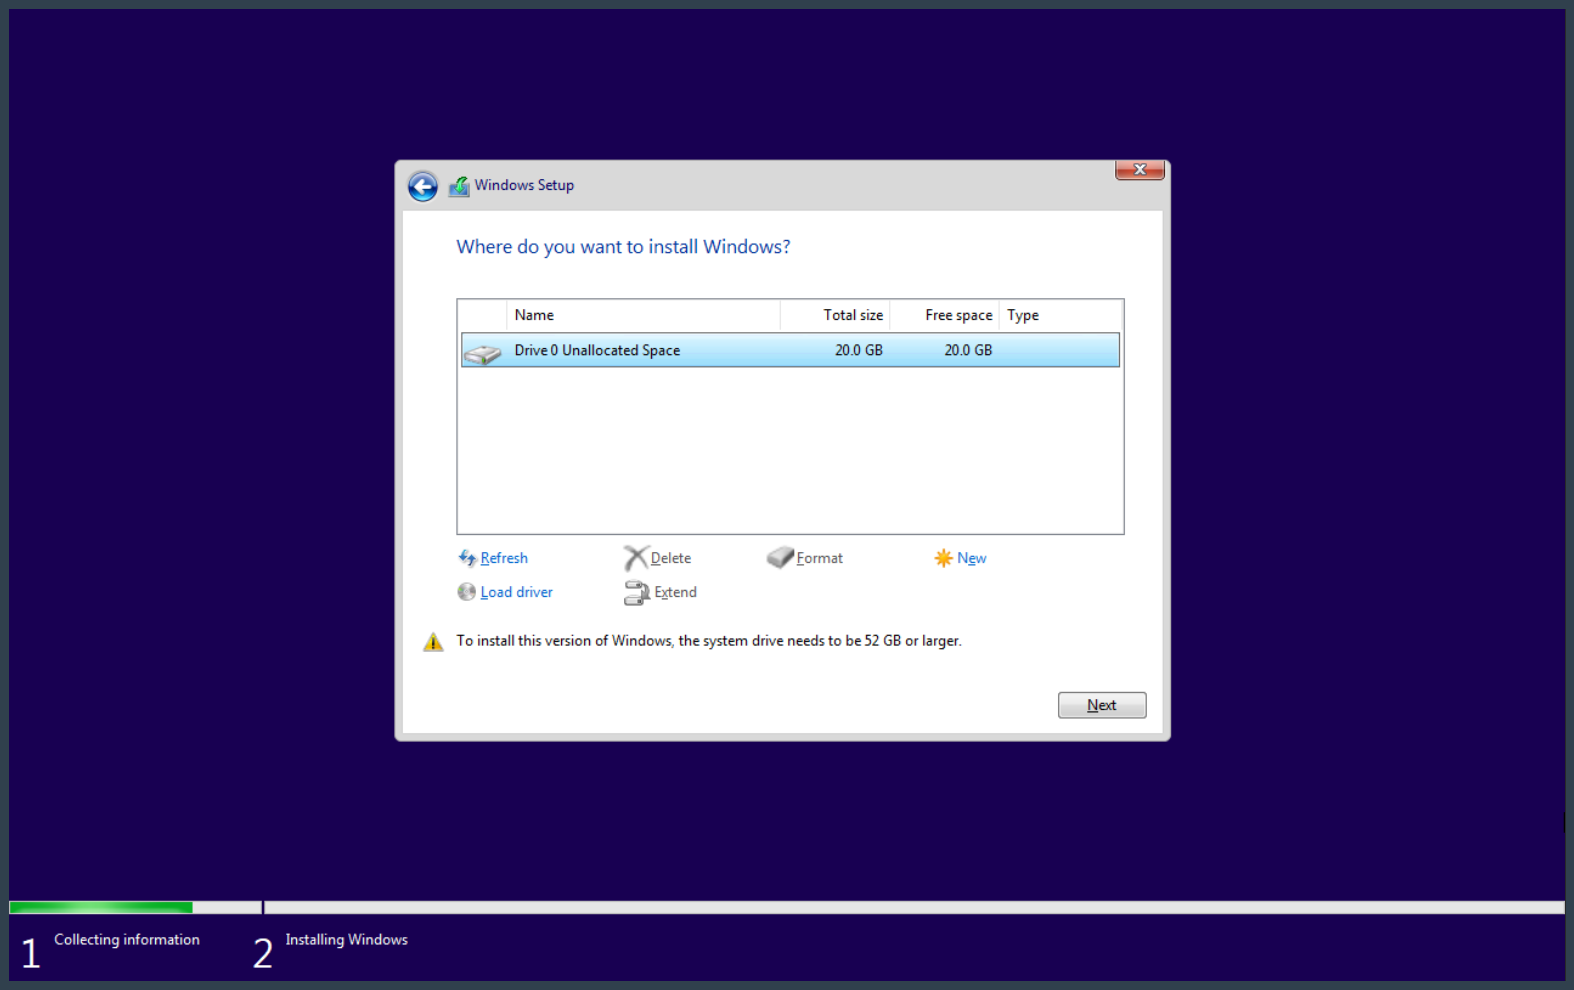
Once the driver is loaded the drive will be shown. Select the drive and click Next to install Windows 11. This process will reboot the computer several times. Until the ISOs are removed the Start boot option will be shown for several seconds during these reboots. Wait for the boot option to timeout and allow the system to use the default boot option. Keep both the ISOs in the instance after the installation. The ISOs will be needed after the installation to install additional software from the VirtIO ISO.
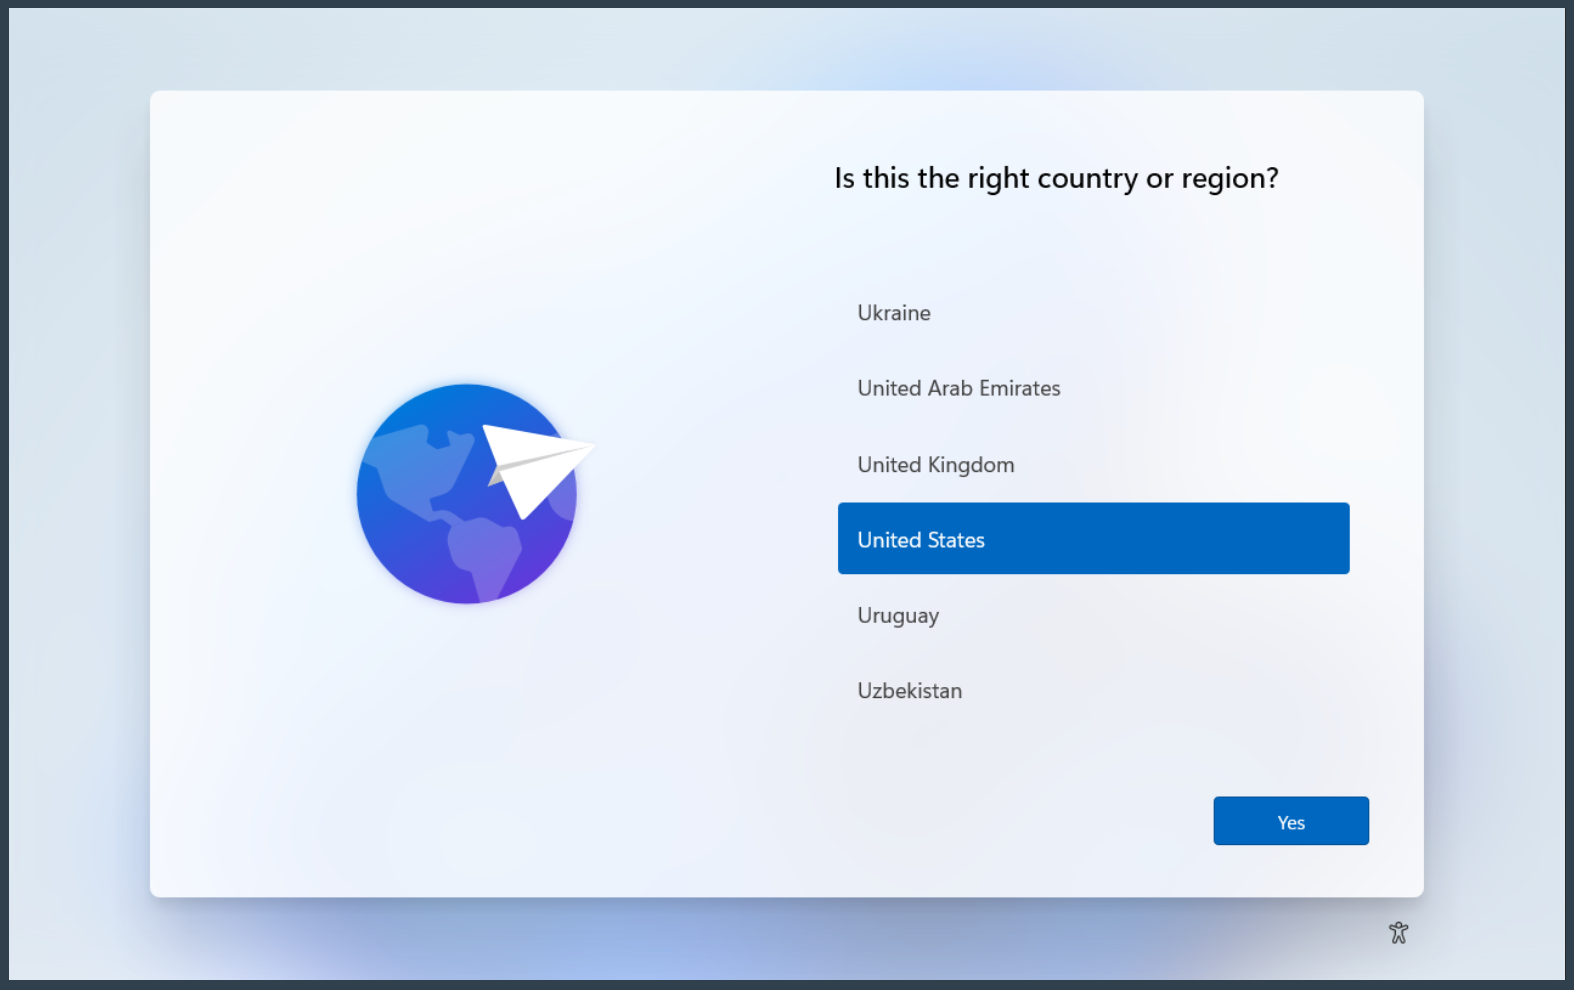
After several reboots the Windows 11 setup screen will be shown. Select the region and click Yes.
There are no network drivers on the system yet and the network connection will be unavailable. This step is for creating and connecting a Microsoft account to the computer. It can be skipped by pressing Shift+F10.
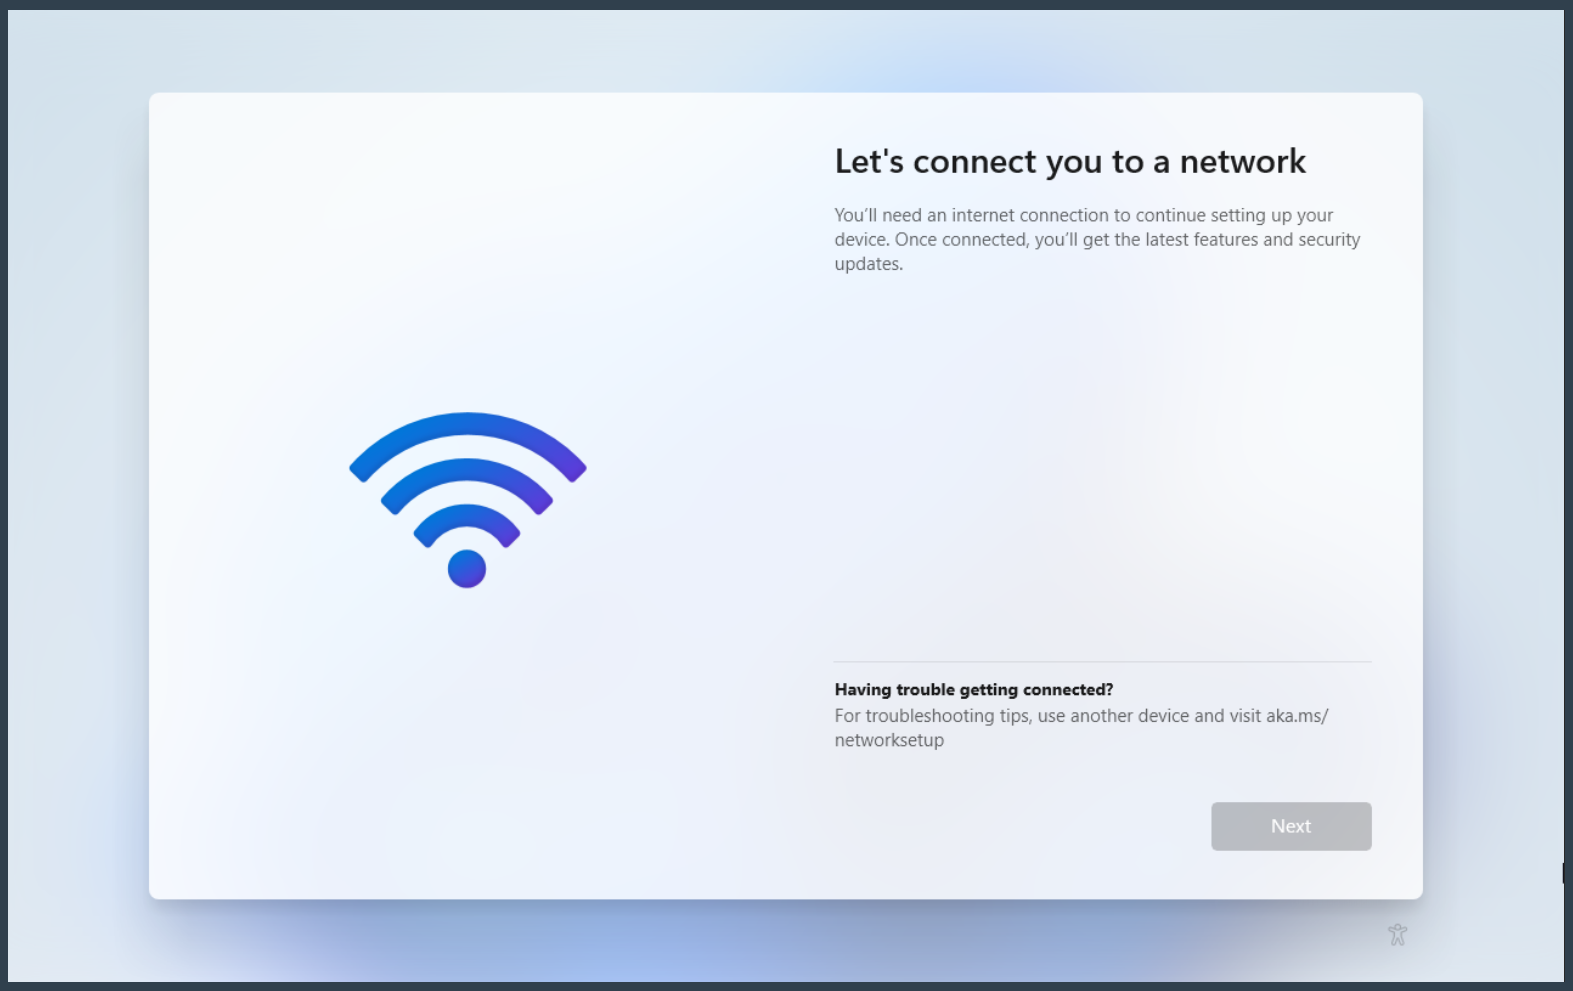
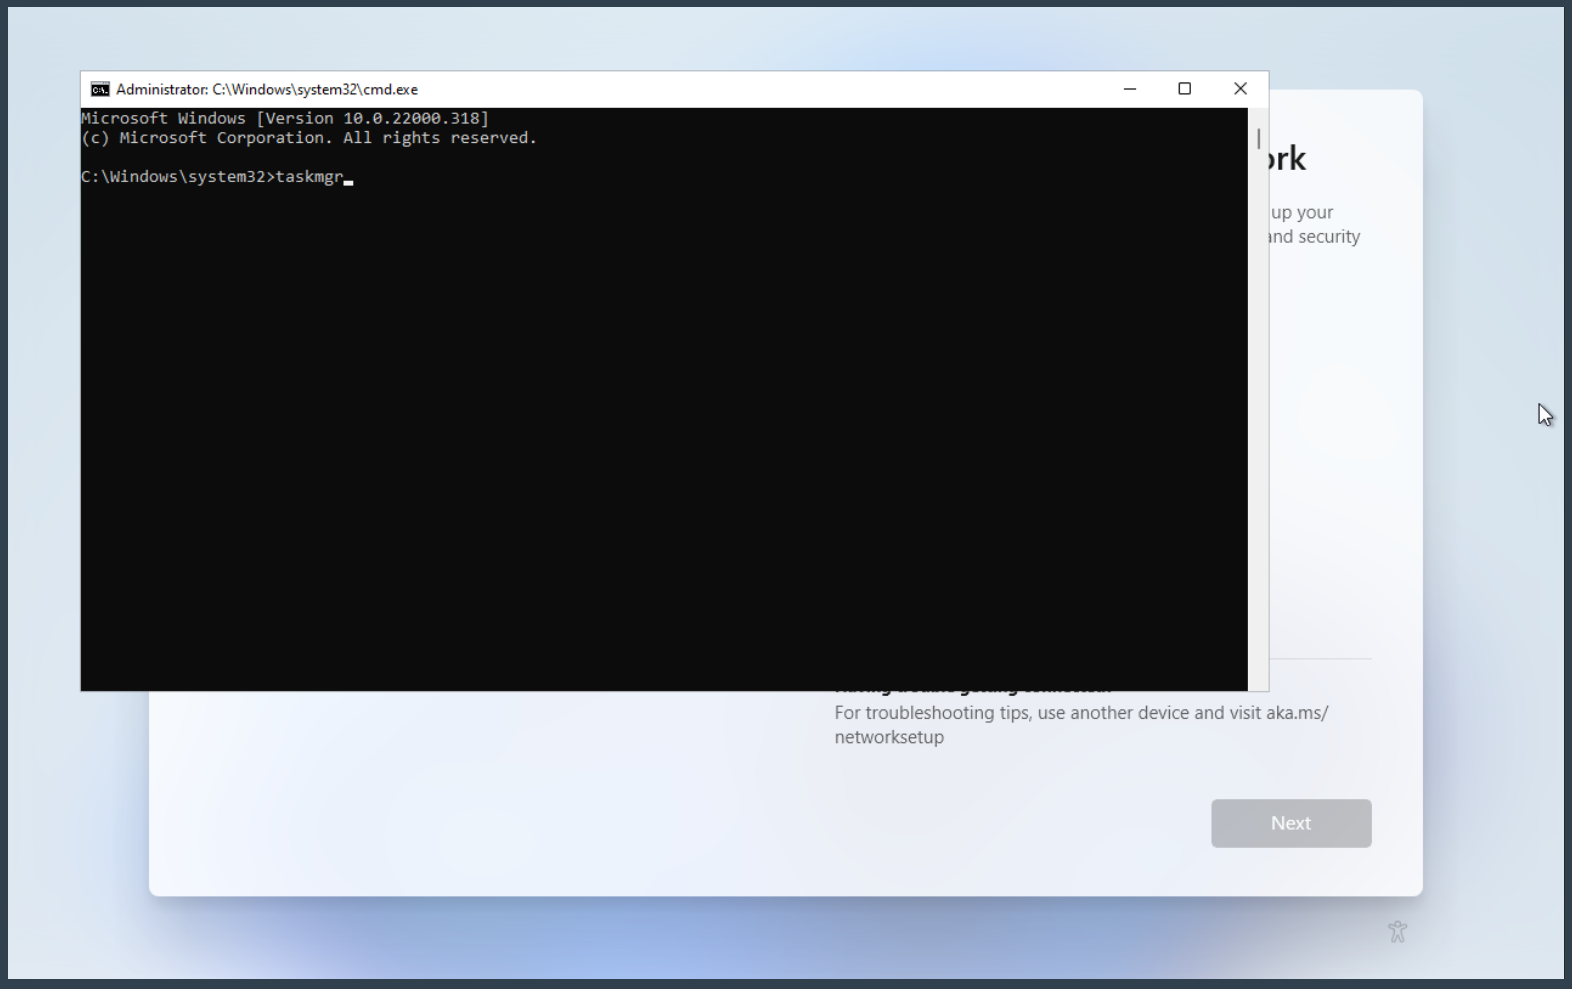
Pressing Shift+F10 will open a command prompt. Enter taskmgr and press enter.
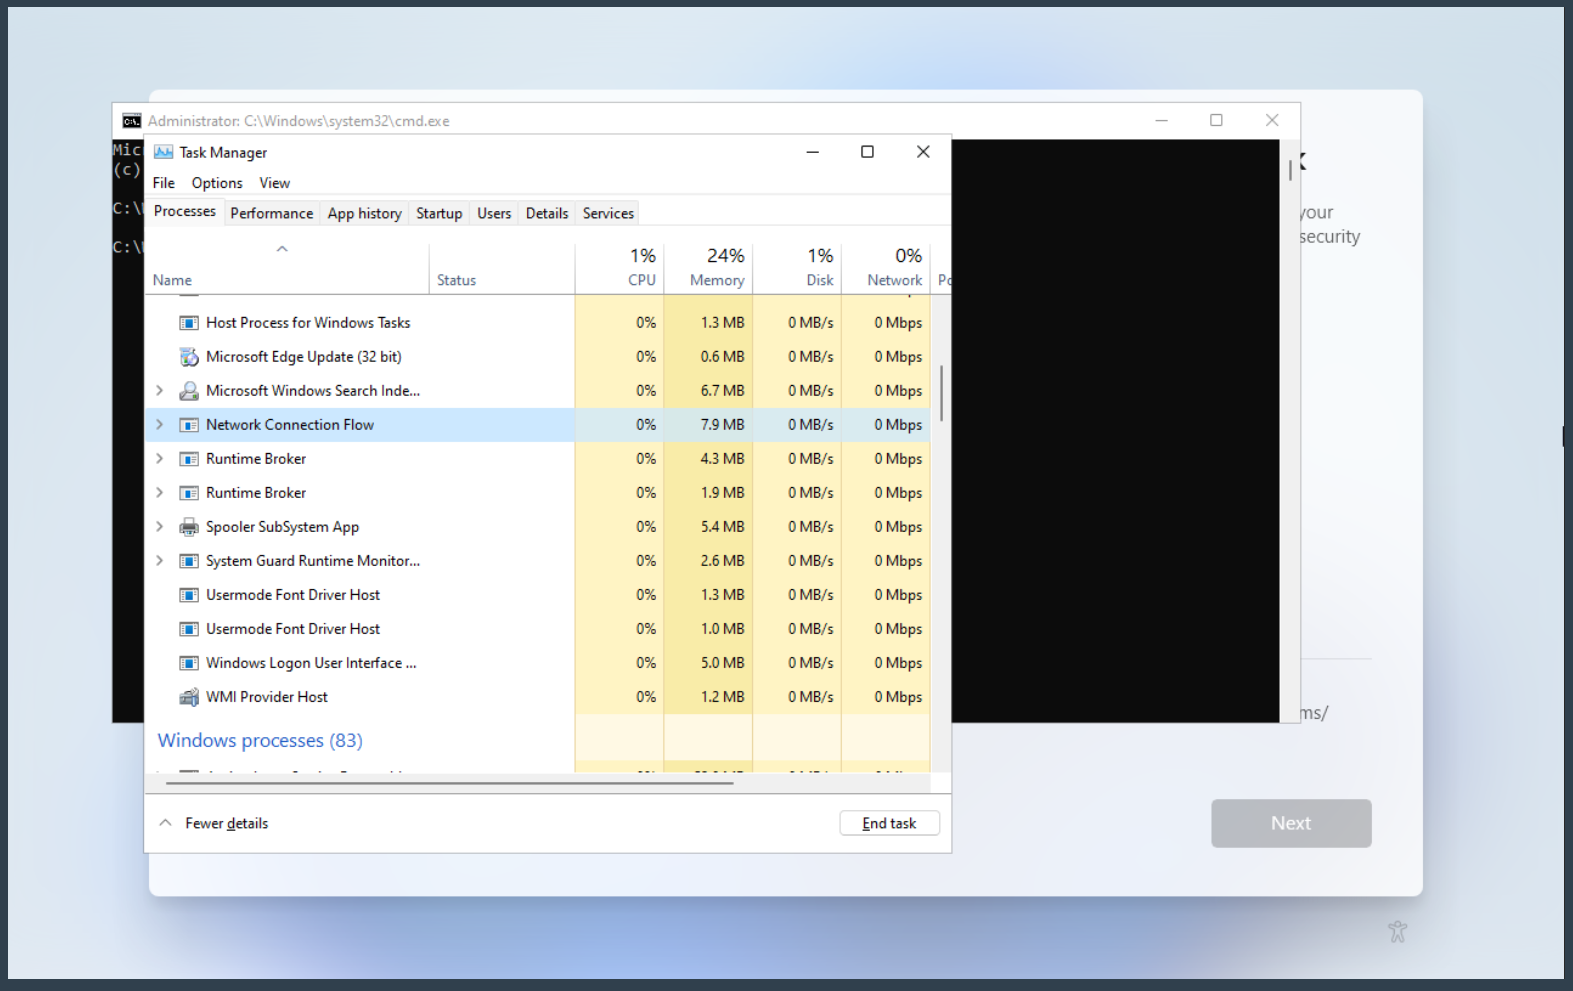
Once the Task Manager opens click More details at the bottom. Then find Network Connection Flow in the process list. Select this process and click End task.
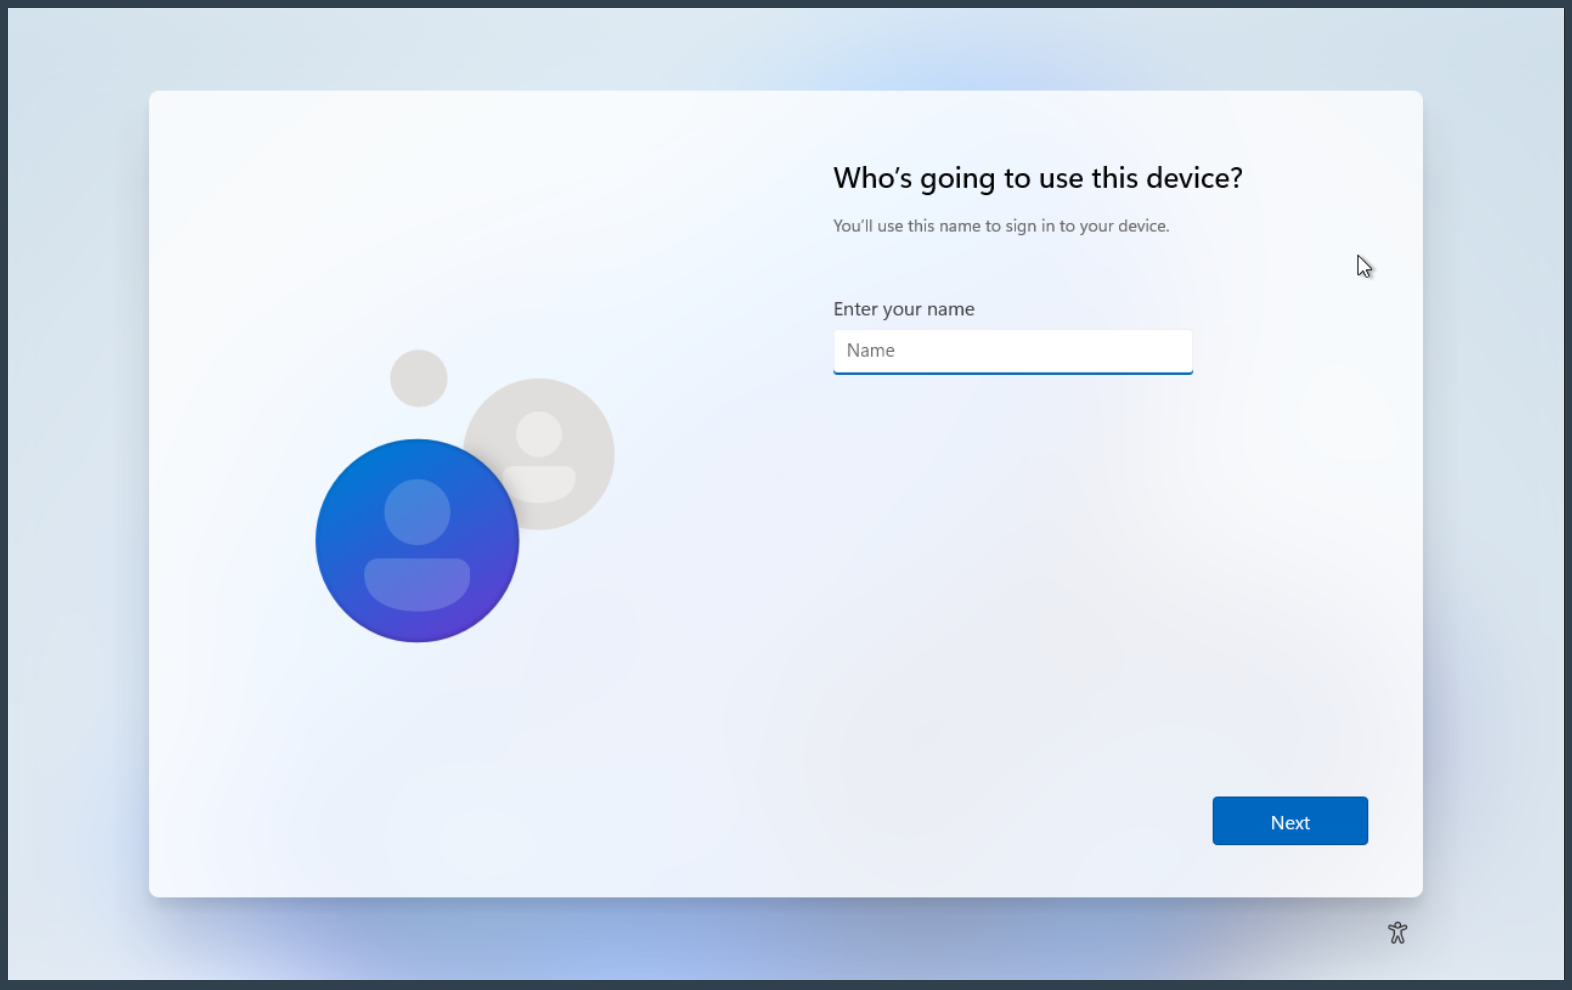
This will then skip the network step and proceed with prompting to create a local Windows user account.
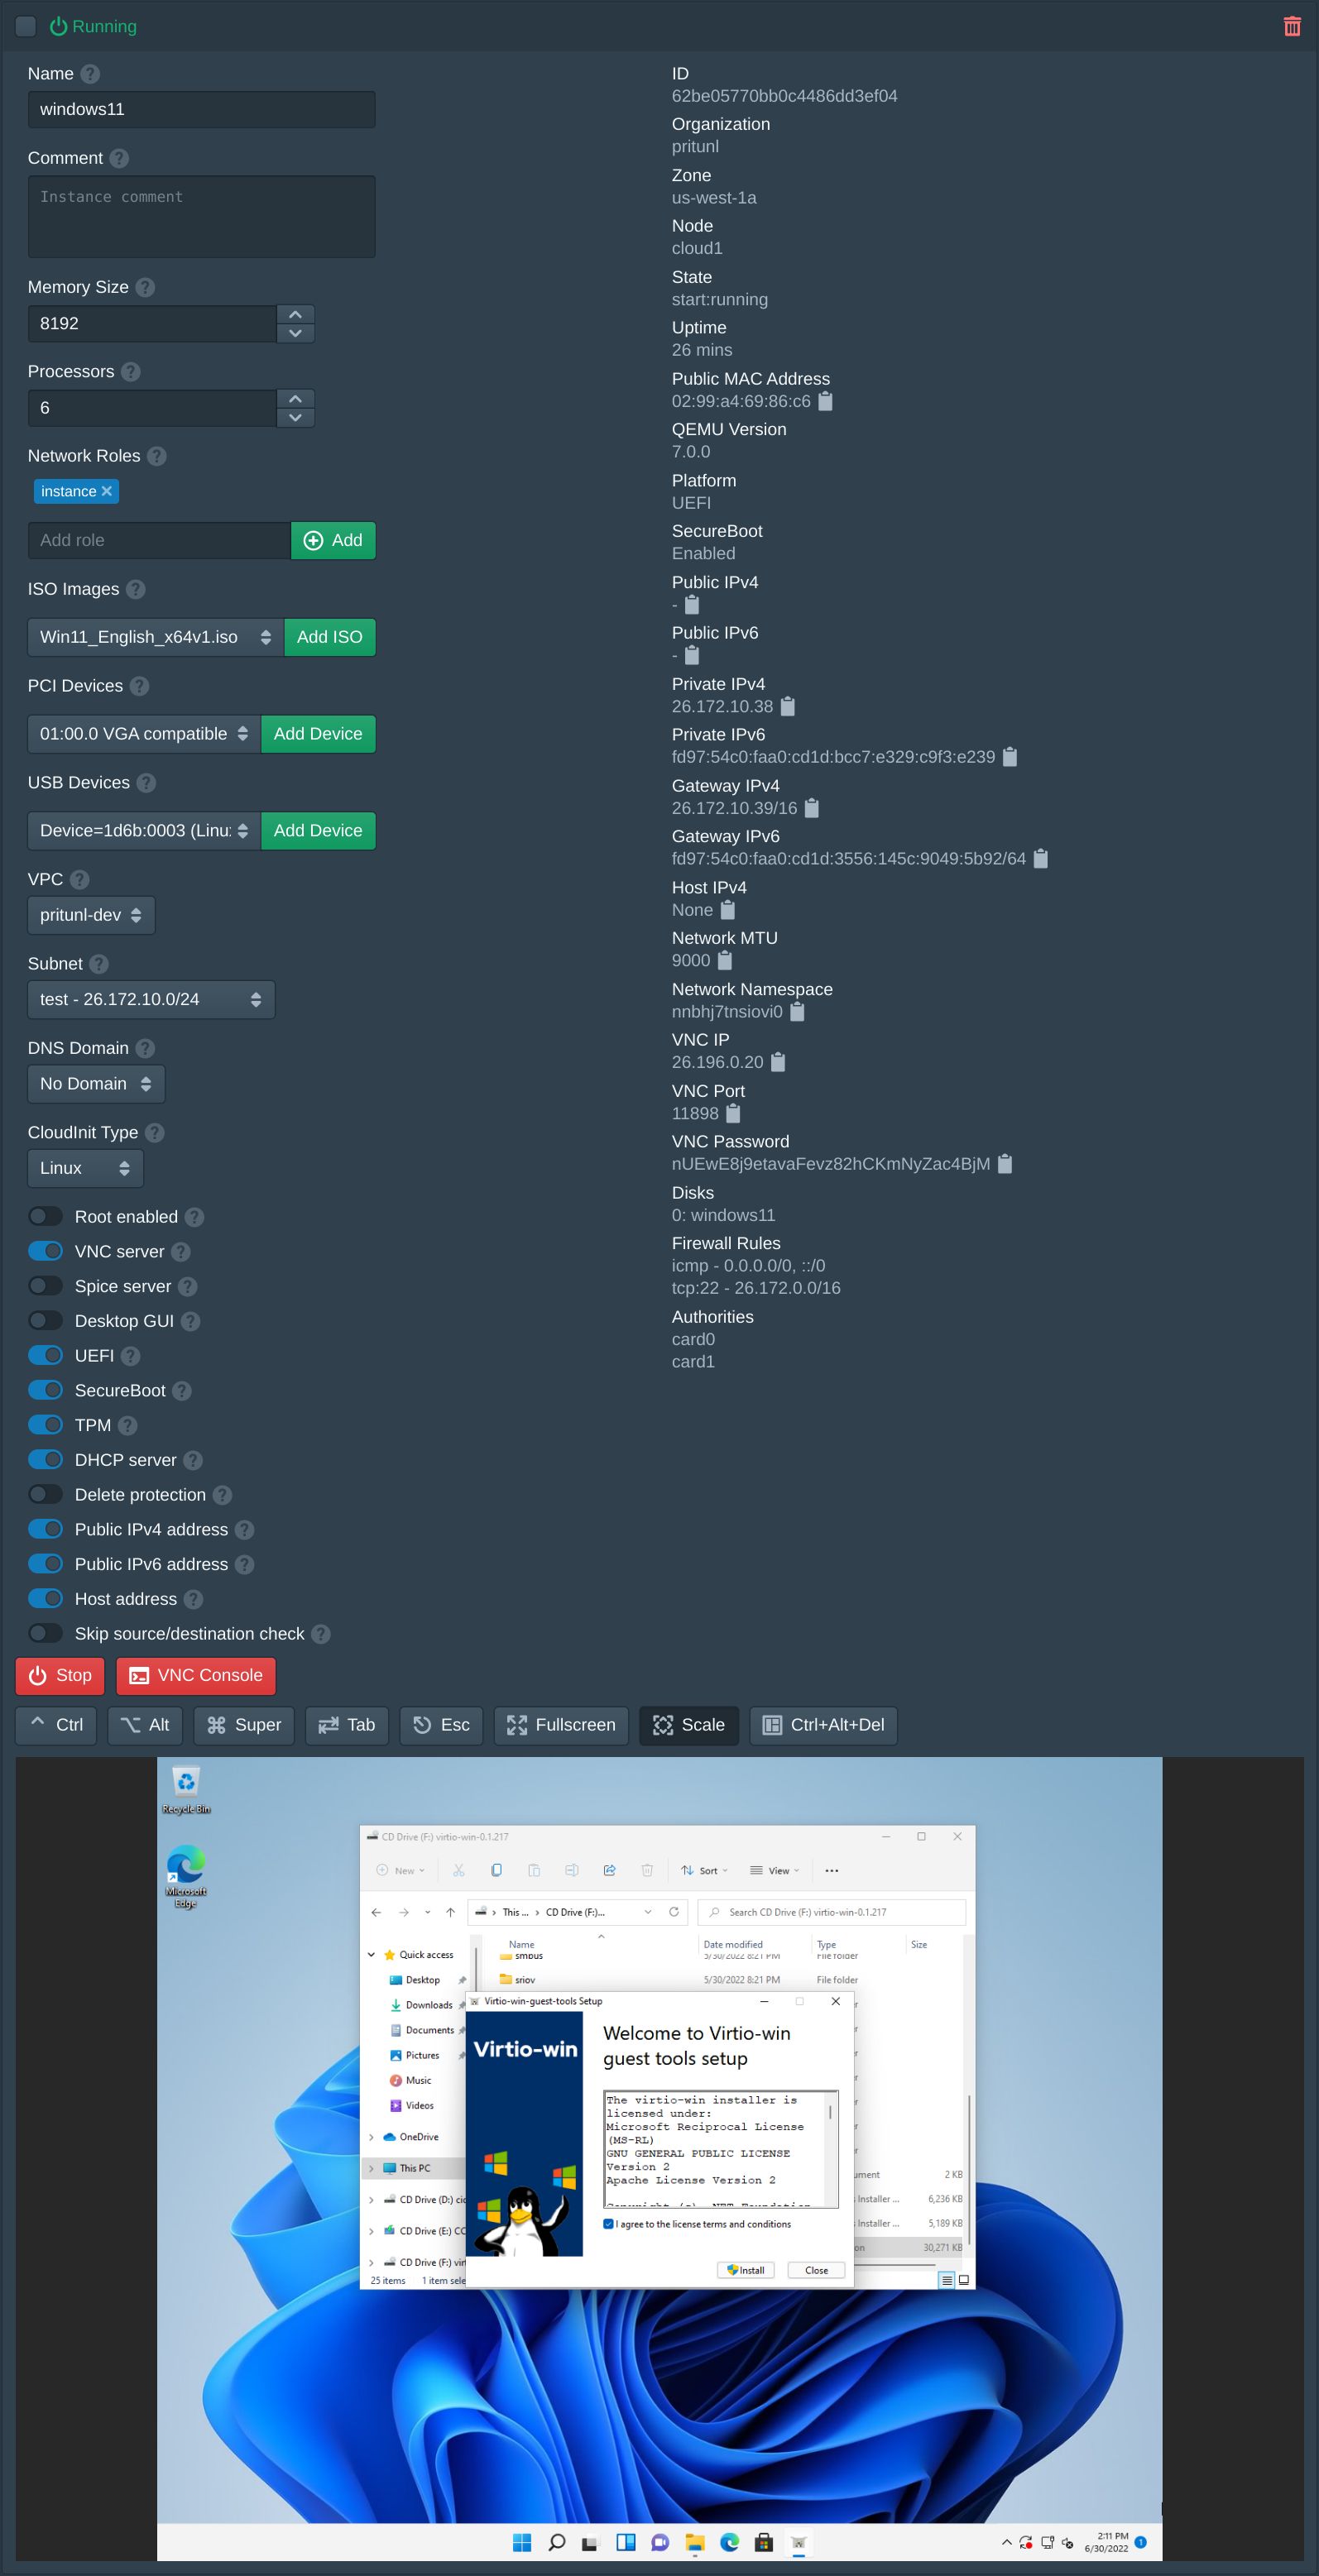
After completing the Windows setup open This PC in Explorer. Open the virtio-win ISO drive.
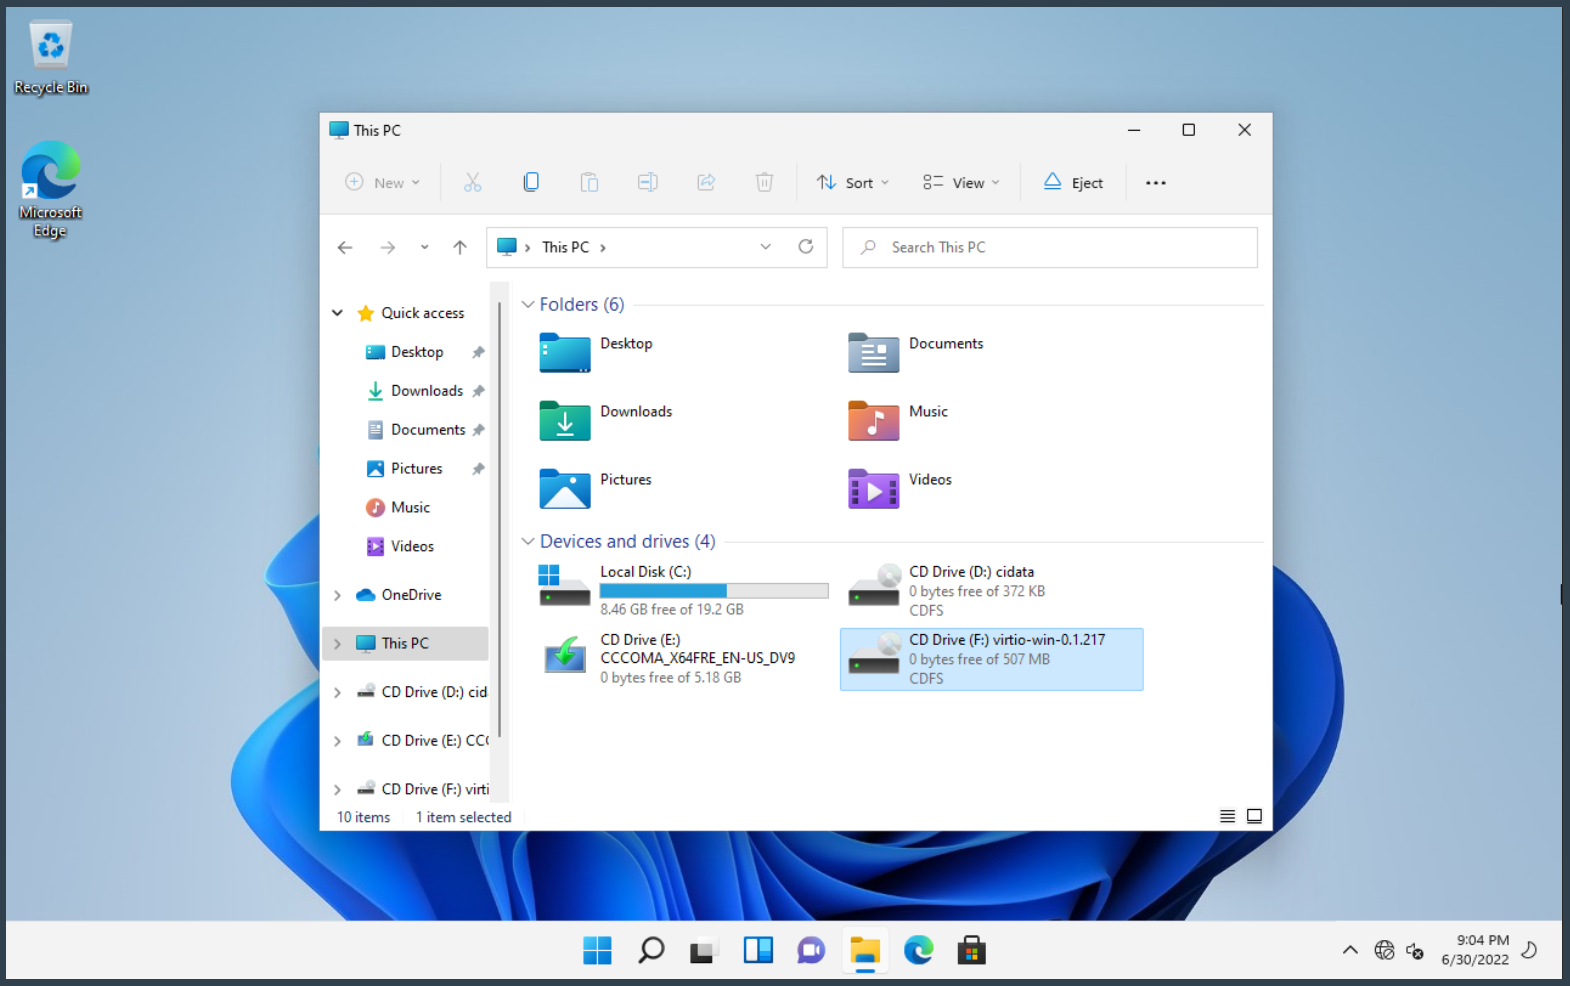
Select and open virtio-win-gt-x64.
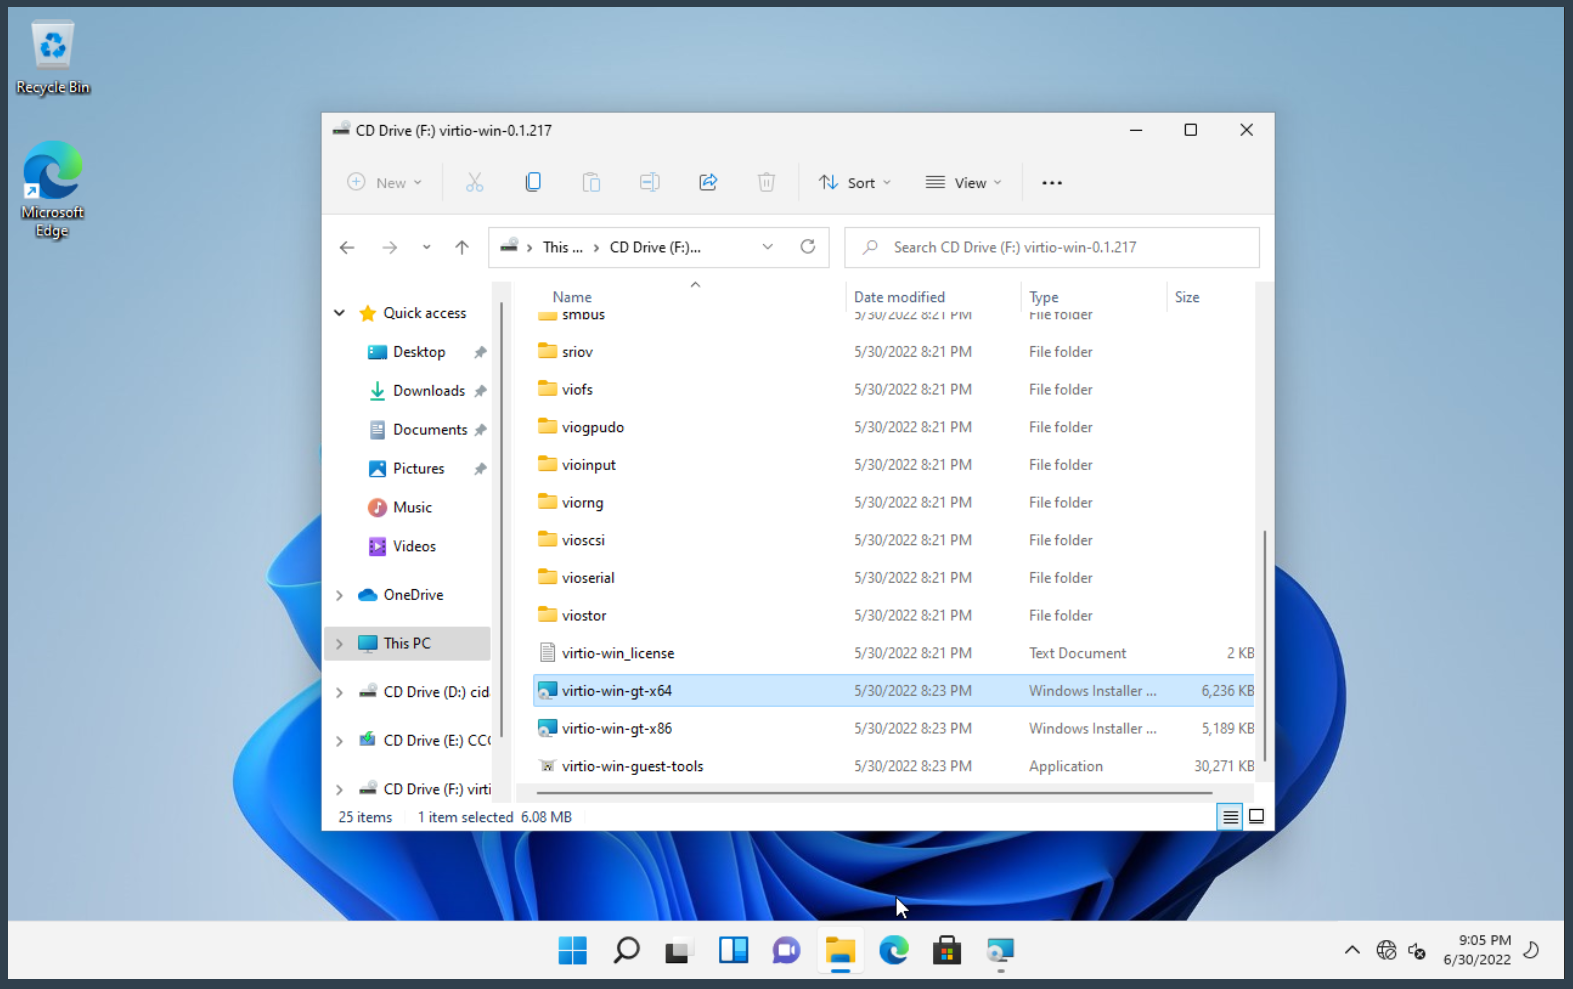
This will install all the VirtIO Windows drivers including the network driver.
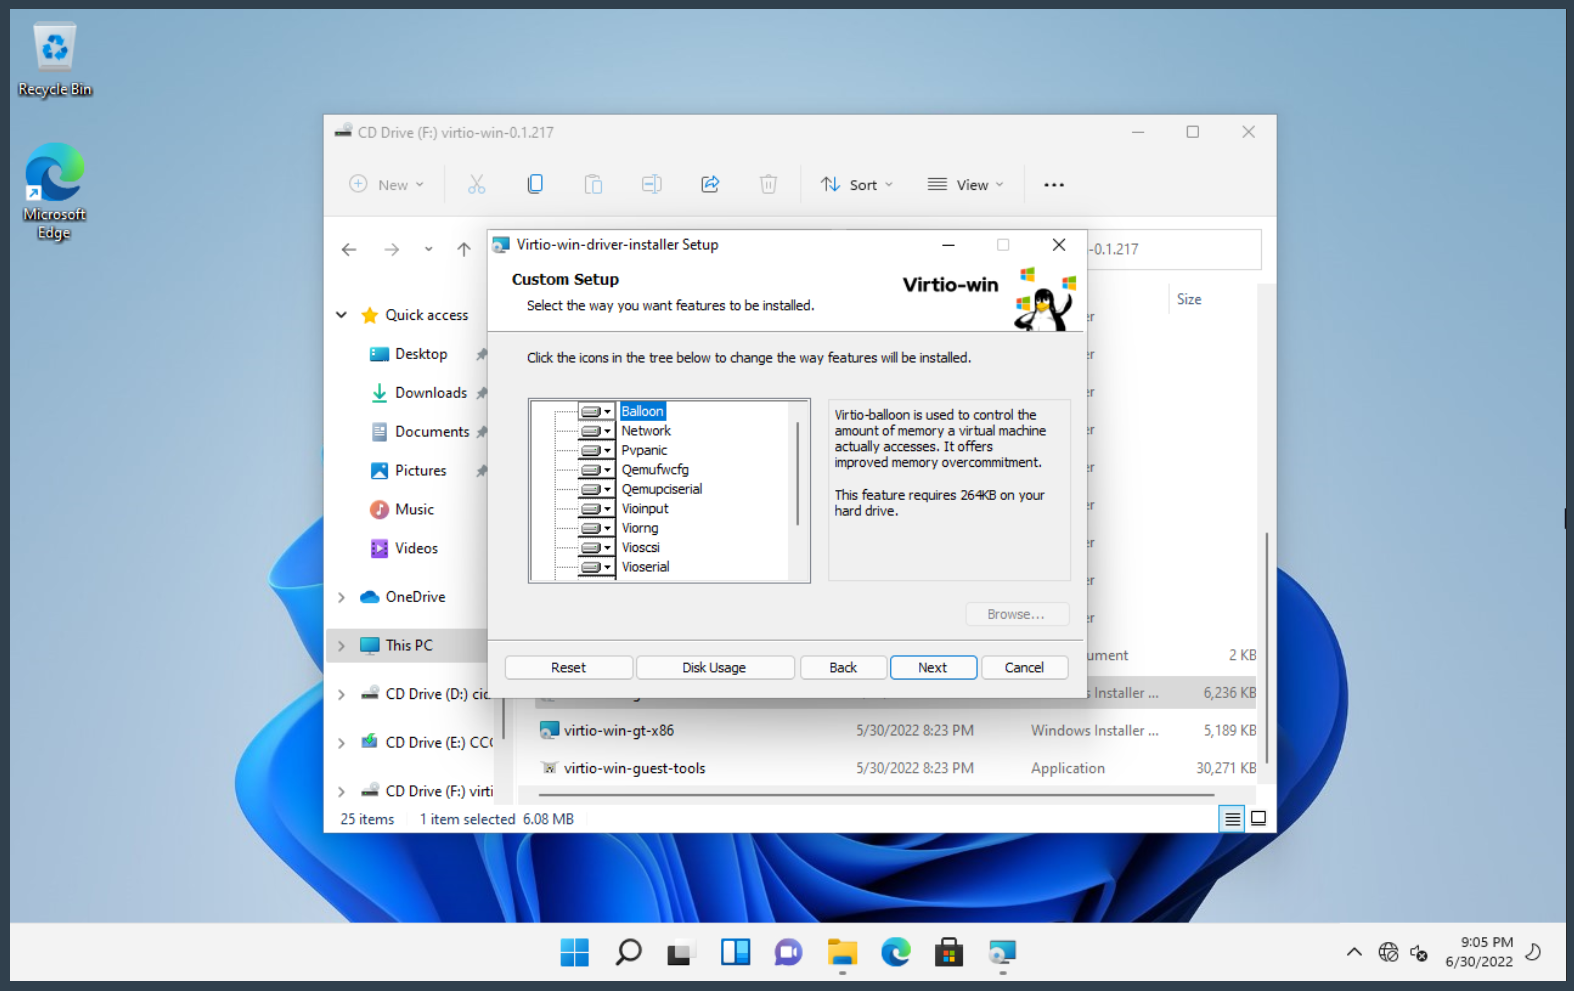
Once done select and open virtio-win-guest-tools.
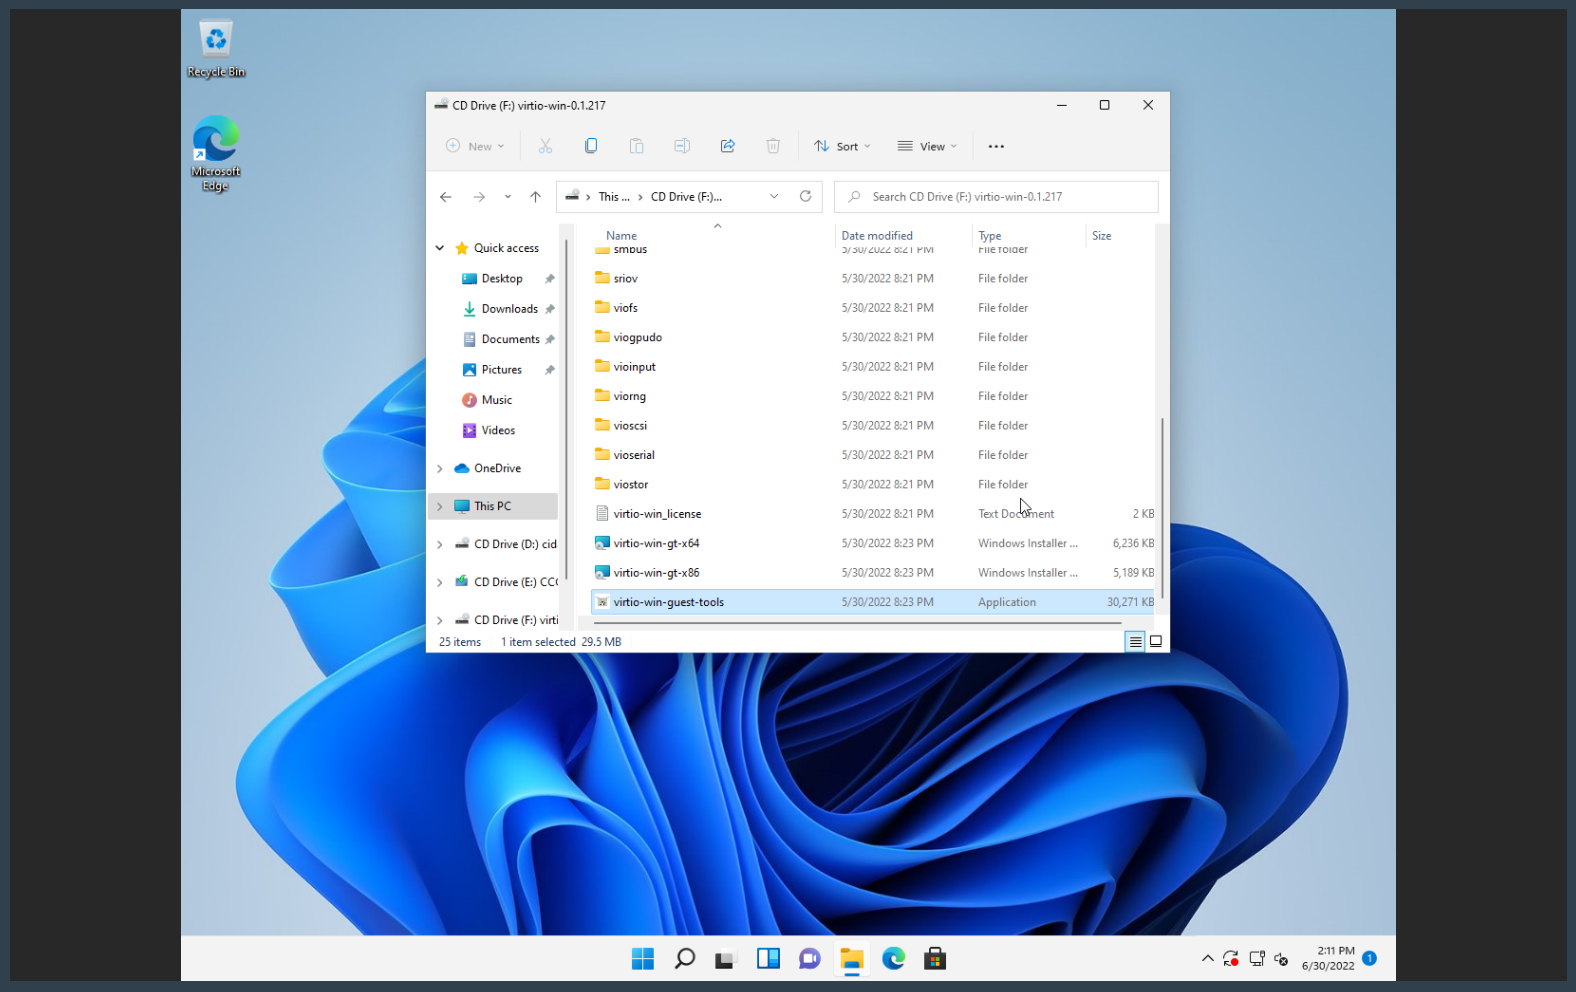
This will install the VirtIO Windows guest tools.
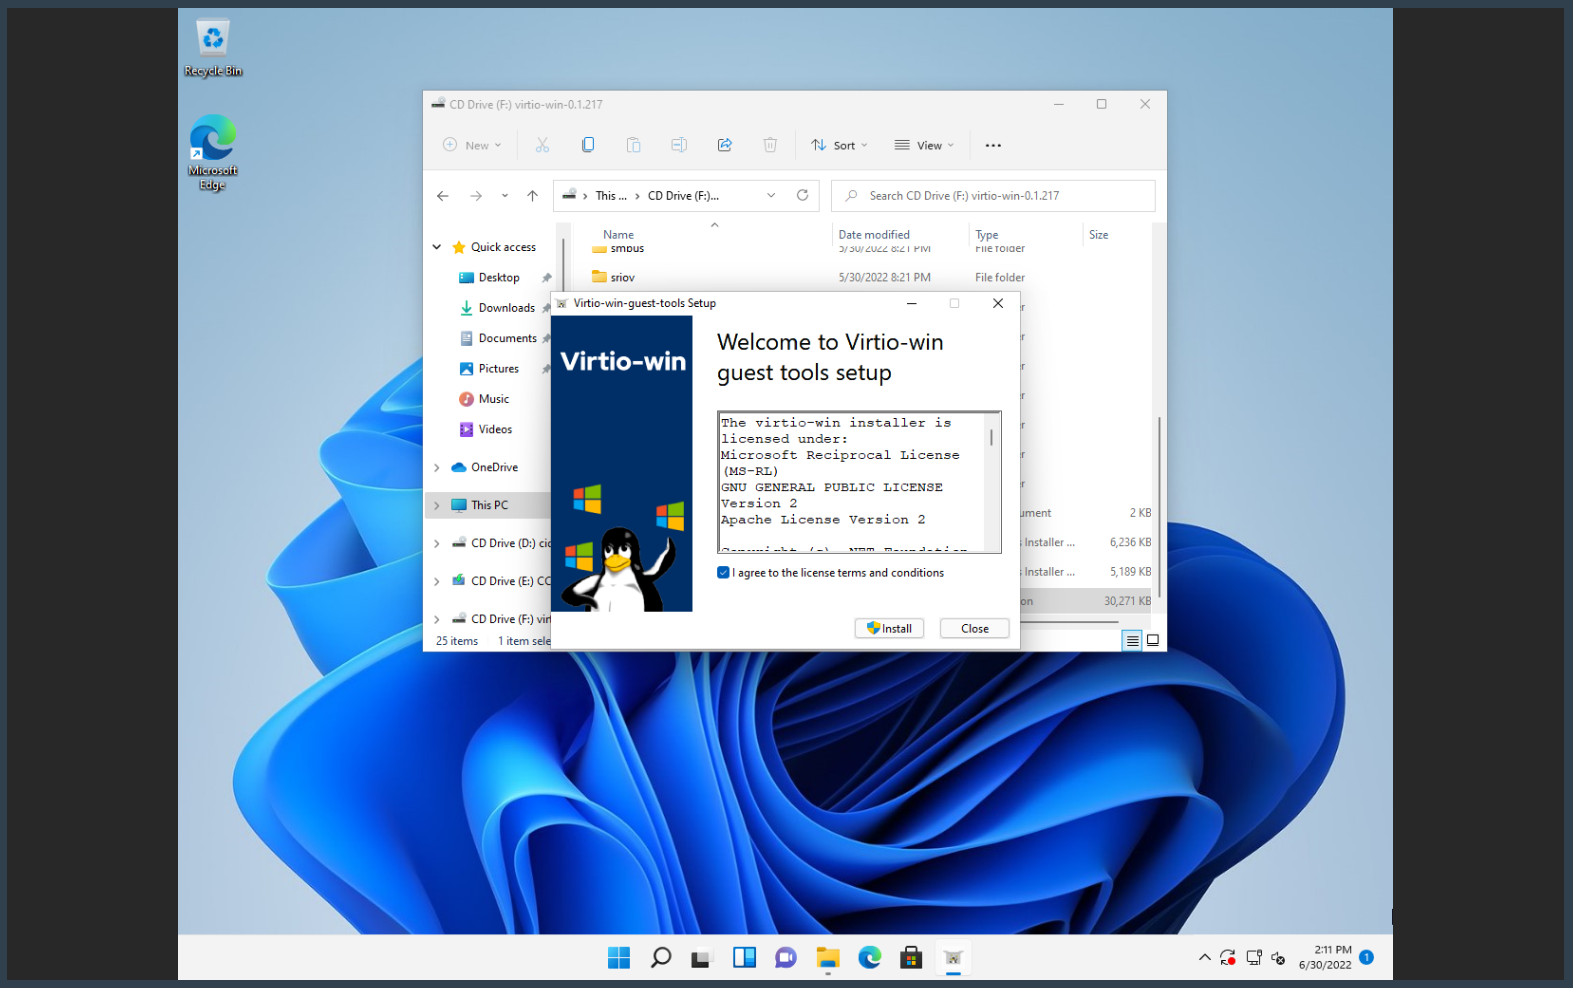
Once done open the guest-agent directory.
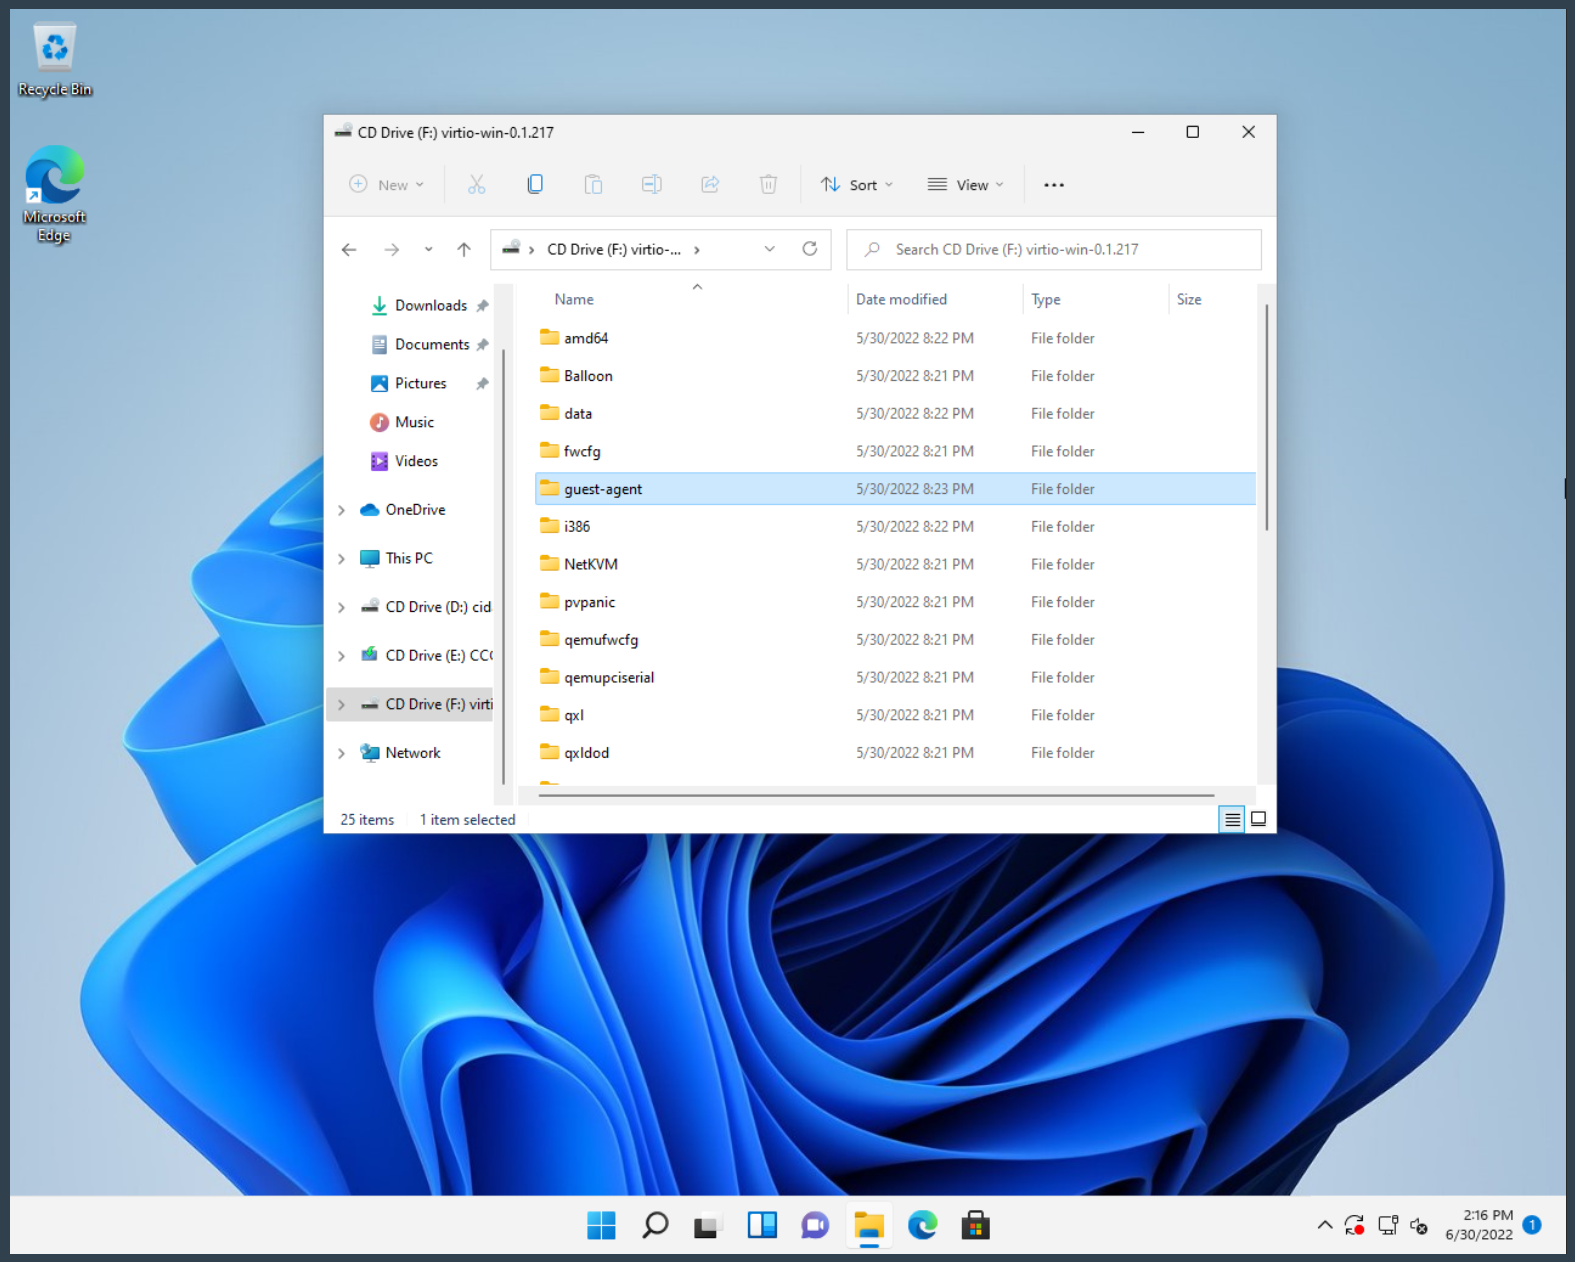
In this directory open qemu-ga-x86_64.
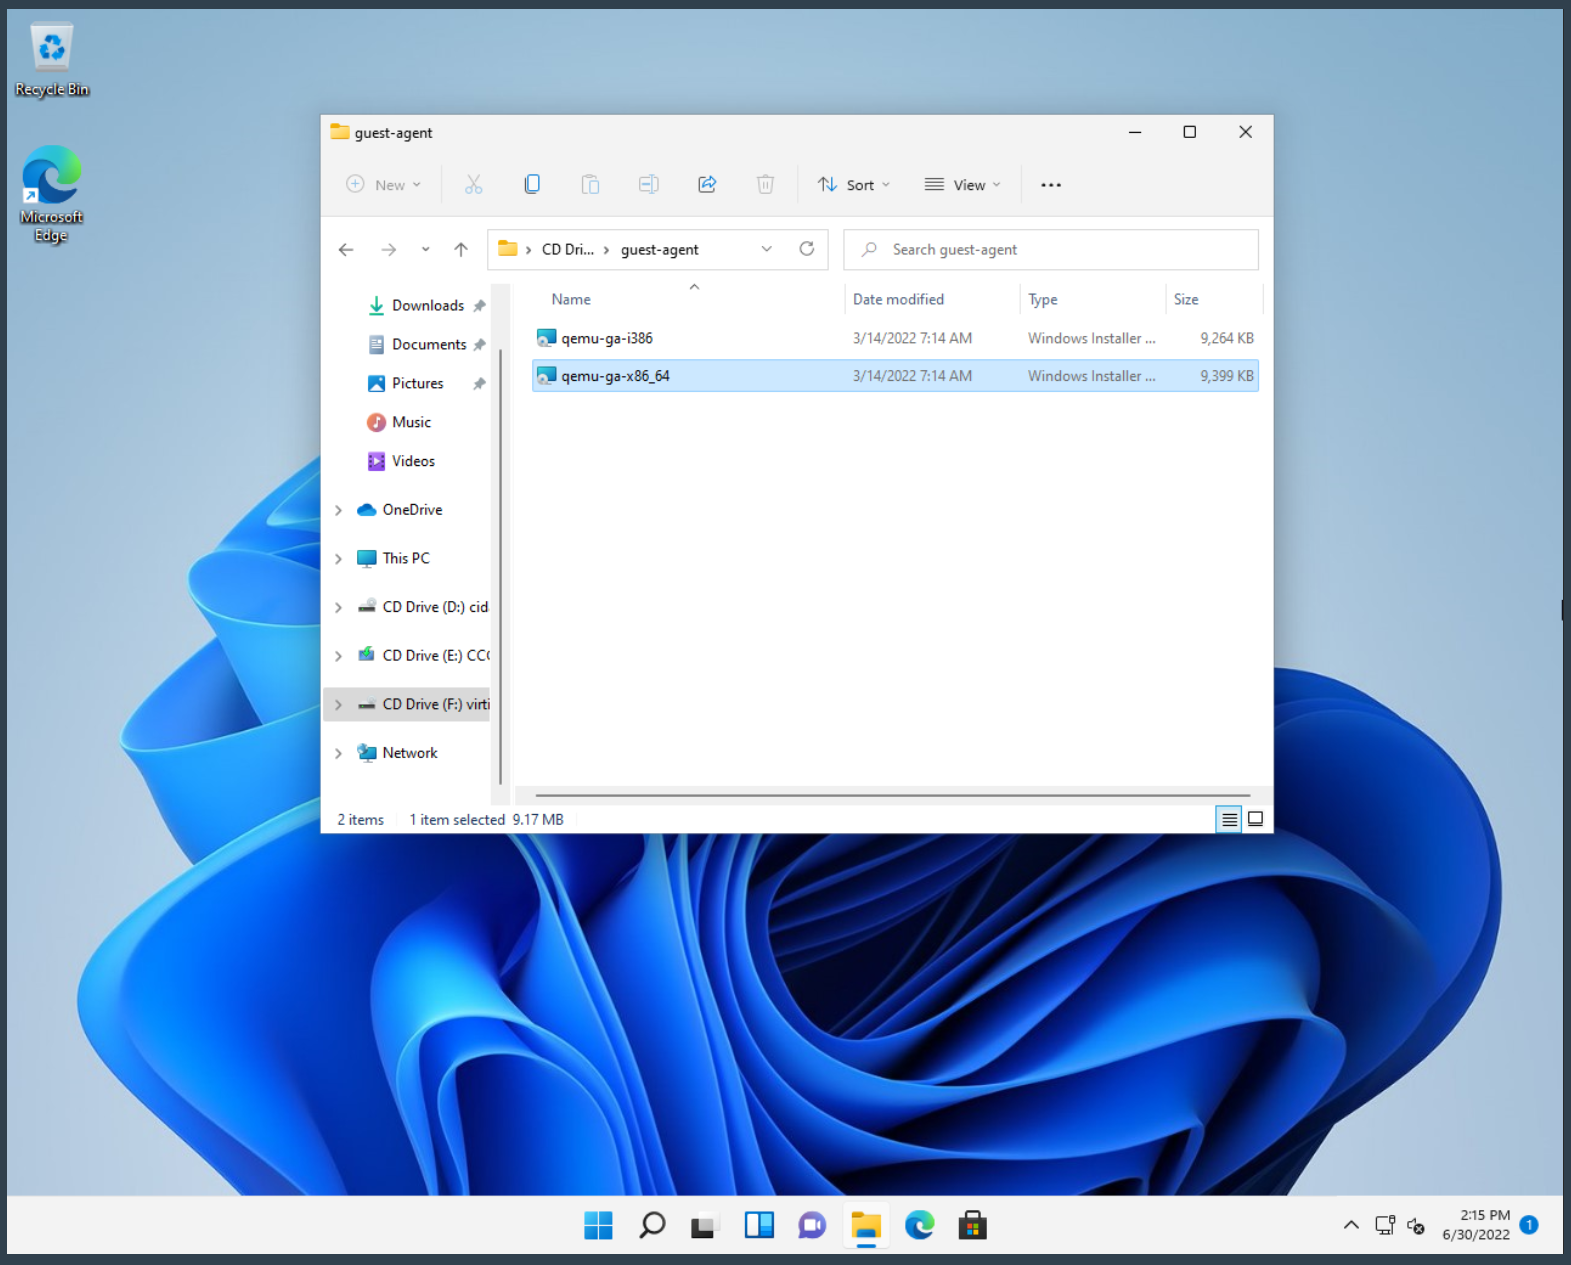
This will install the QEMU Guest Agent.
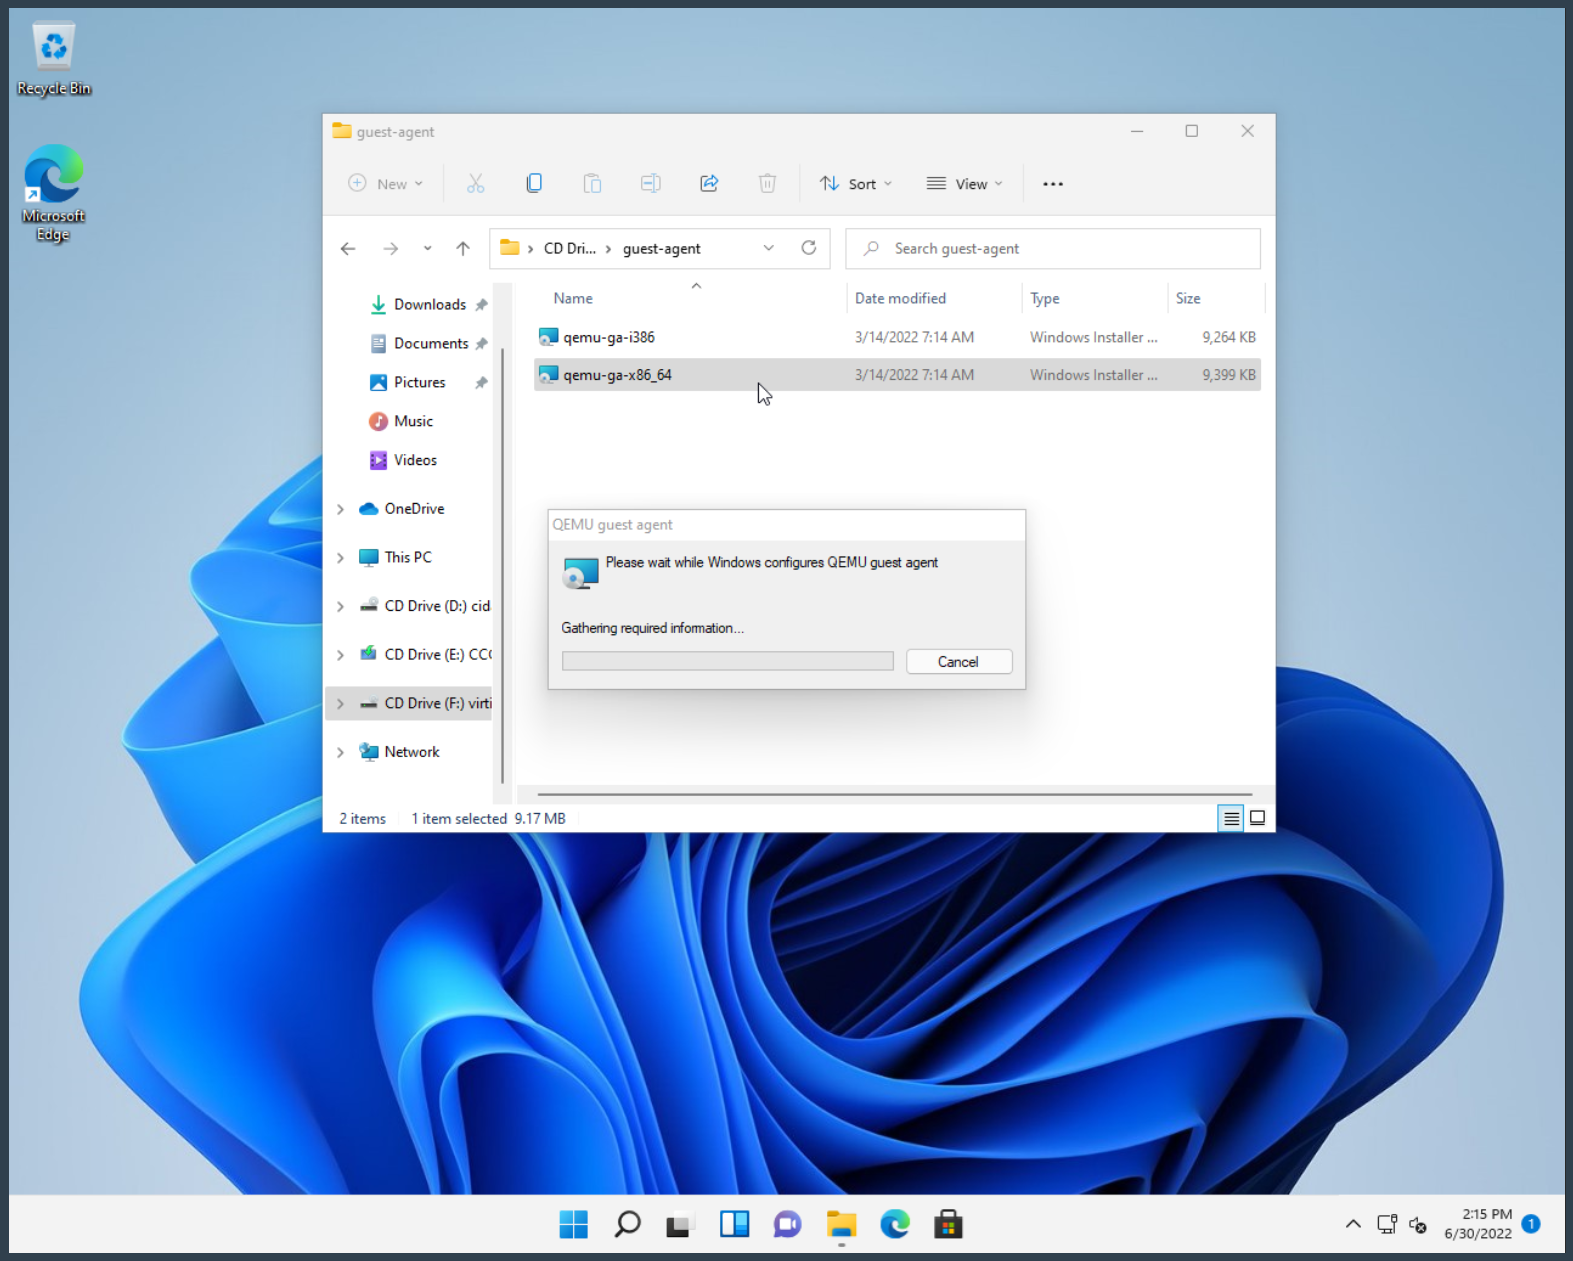
After installing all the drivers shutdown the computer by opening the Windows start menu and clicking Shut down. The stop button in the Pritunl Cloud web console will not work until the system has been started with the QEMU guest agent installed.
Once the instance is powered off remove the ISO images in the Pritunl Cloud web console and click Save. Then start the instance again.

After removing the ISO images start the instance again and it will be ready to use with driver support. The performance of the Pritunl Cloud VNC connection will be limited. A VNC server running in the Windows instance such as Chrome Remote Desktop will provide significantly more performance. For full desktop performance GPU passhtrough can be configured to provide a physical GPU to the instance. Using GPU passthrough with USB passthrough for a mouse and keyboard will provide performance at nearly the same level as a non-virtualized instance.
If GPU passthrough is configured Parsec can be used to provide high performance remote access. This software requires a GPU for video compression. When running remote desktops with GPU passthrough either a monitor or display emulator dummy plug will need to be in the GPU. Without this Windows will not use the GPU when remotely connected.
Windows IPv6
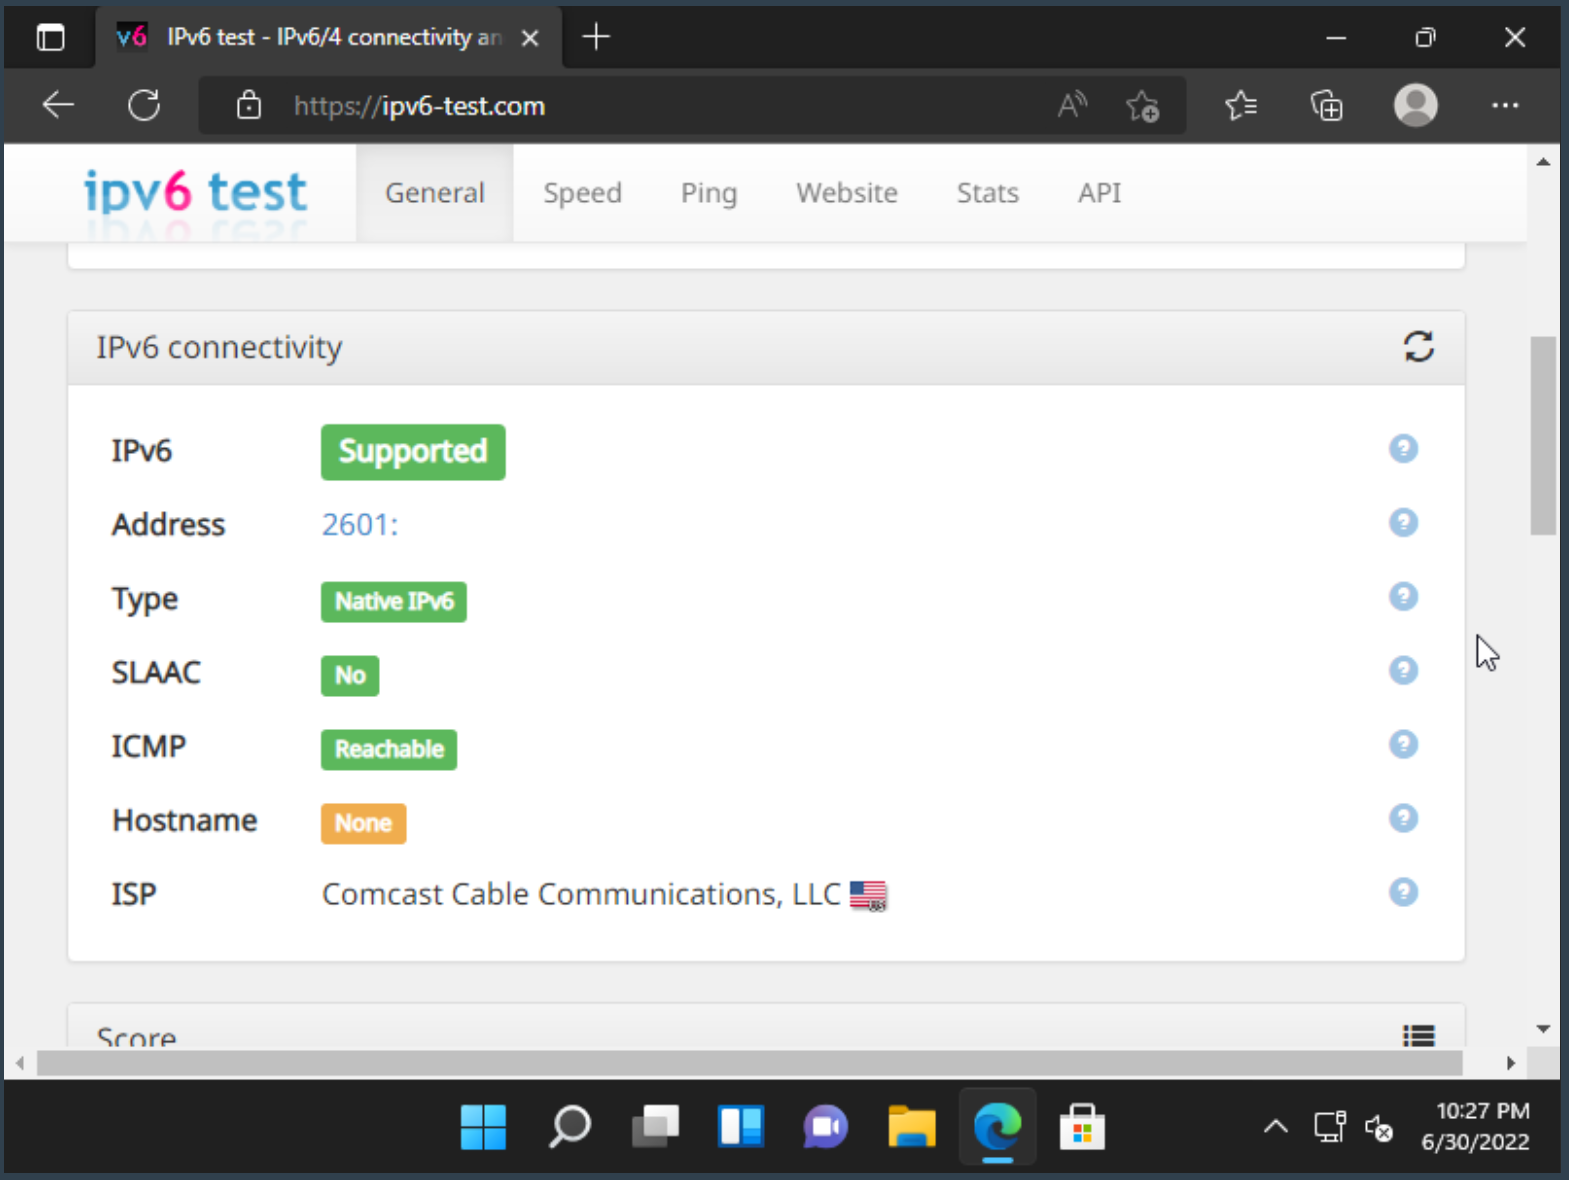
The Windows 11 firewall will by default block the Pritunl Cloud DHCPv6 server. The Pritunl Cloud networking system already provides firewall that is external to the instance. The Windows 11 firewall can be disabled to allow the DHCPv6 server to provide Windows with an IPv6 address. Alternatively firewall rules can be added to the Windows firewall to allow the DHCPv6 and NDP Router Advertisements.
Expand Disk
When expanding a disk in Pritunl Cloud the Linux instances will automatically expand the disk on boot. The partition will need to be manually expanded on Windows. This can be done in the Windows Disk Management. The default Windows partition layout will place the Recovery Partition after the root partition. To expand the disk the recovery partition will need to be removed. The commands below can be run in a Command Prompt that is started by right clicking and selecting Run as administrator. After this is removed the Disk Management utility will allow expanding the partition. Windows will function without the recovery partition.
diskpart
list disk
select disk 0
list partition
select partition 4
delete partition override
Updated 3 months ago
