Connecting
Connecting to a Pritunl vpn server
To get connected to a vpn server on Pritunl an organization, user and server must be created.
Creating Organization and User
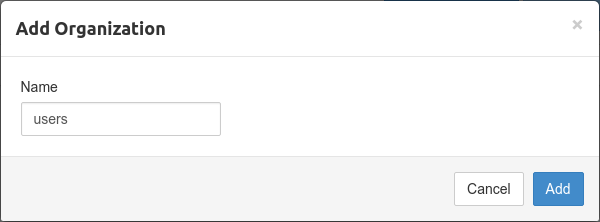
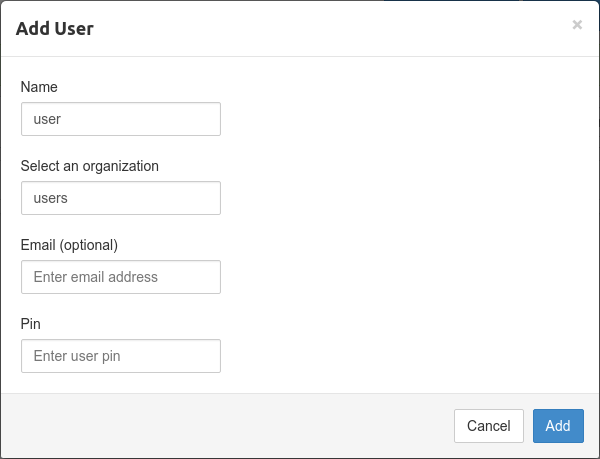
To create an organization click Add Organization from the Organization page in the web console. Then click Add User an email address and user pin can optionally be included.
Creating Server
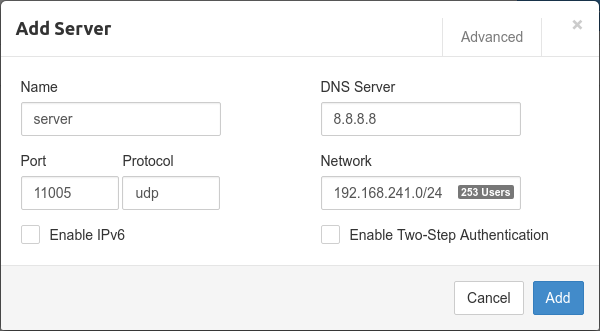
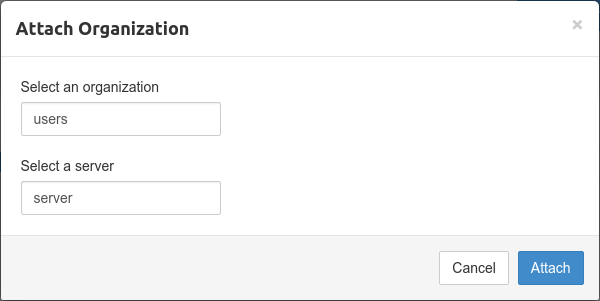
Once the organization and user have been created go to the Servers page and click Add Server. By default a random udp port and random vpn network will be selected. The network should not conflict with a local network on your client computer and also be large enough for all users that will be attached to the server. The dns server will automatically be set to Google's public dns server. Once the server is created click Attach Organization to and attach the organization created earlier to the server. Then click Start Server to start the vpn server.
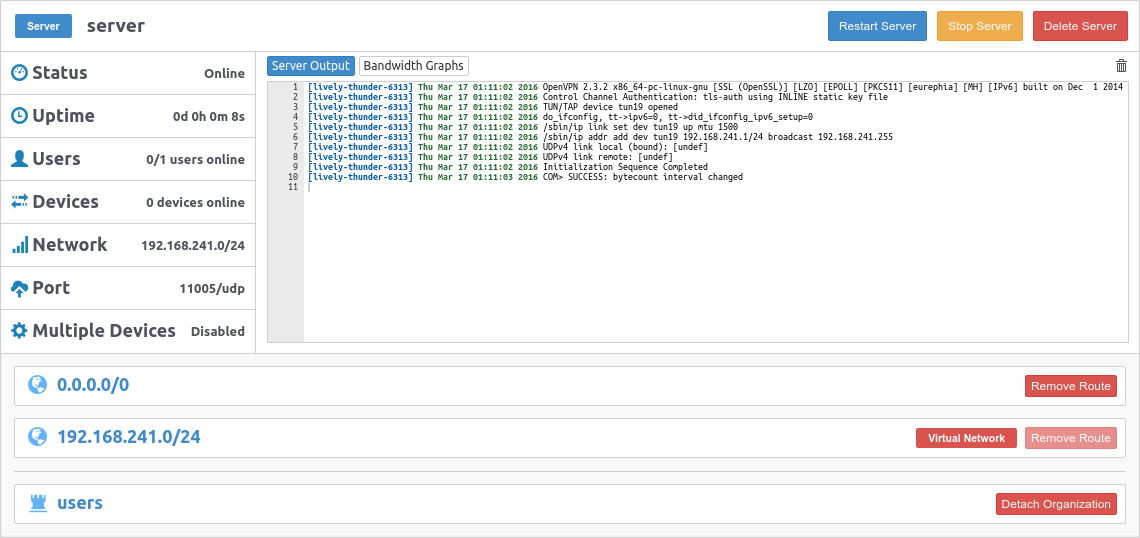
Configuring Server Routes
Server routes control what traffic will be tunneled over the vpn server. By default a server will include the 0.0.0.0/0 route. This route will tunnel all internet traffic over the vpn server. To only route a local network on the vpn server first remove the 0.0.0.0/0 route and click Add Route to add the local network route such as 192.168.0.0/24.
Downloading User Profile
After the server has been created the user profile can be downloaded on the Users page by clicking the download button or profile links button on the right side of a user. The profile can then be imported into the Pritunl client or any other OpenVPN client.

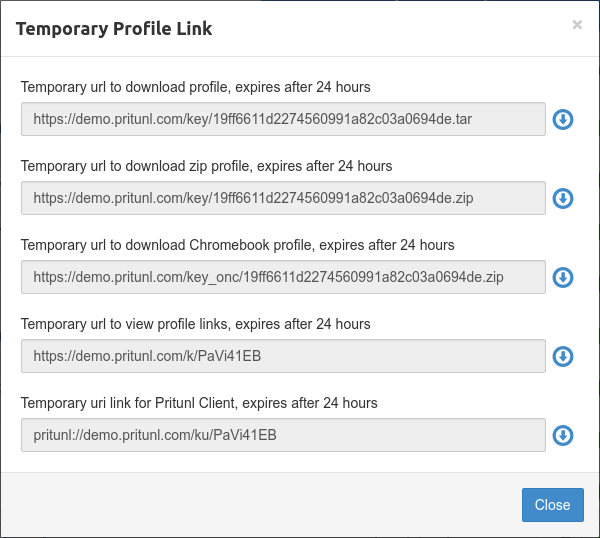
User Profile Links
Profile links allow downloading user profiles in different formats using temporary links. The uri link can be used to import the profile directly from the Pritunl client.
Reporting Issues
If you are having issues refer to the Logging section. Issues can be report by emailing contact@pritunl.com
Additional Tutorials
For more tutorials covering additional configurations refer to the Tutorials section.
Updated 3 months ago
