Accessing a Private Network
Securing access to a private network with Pritunl
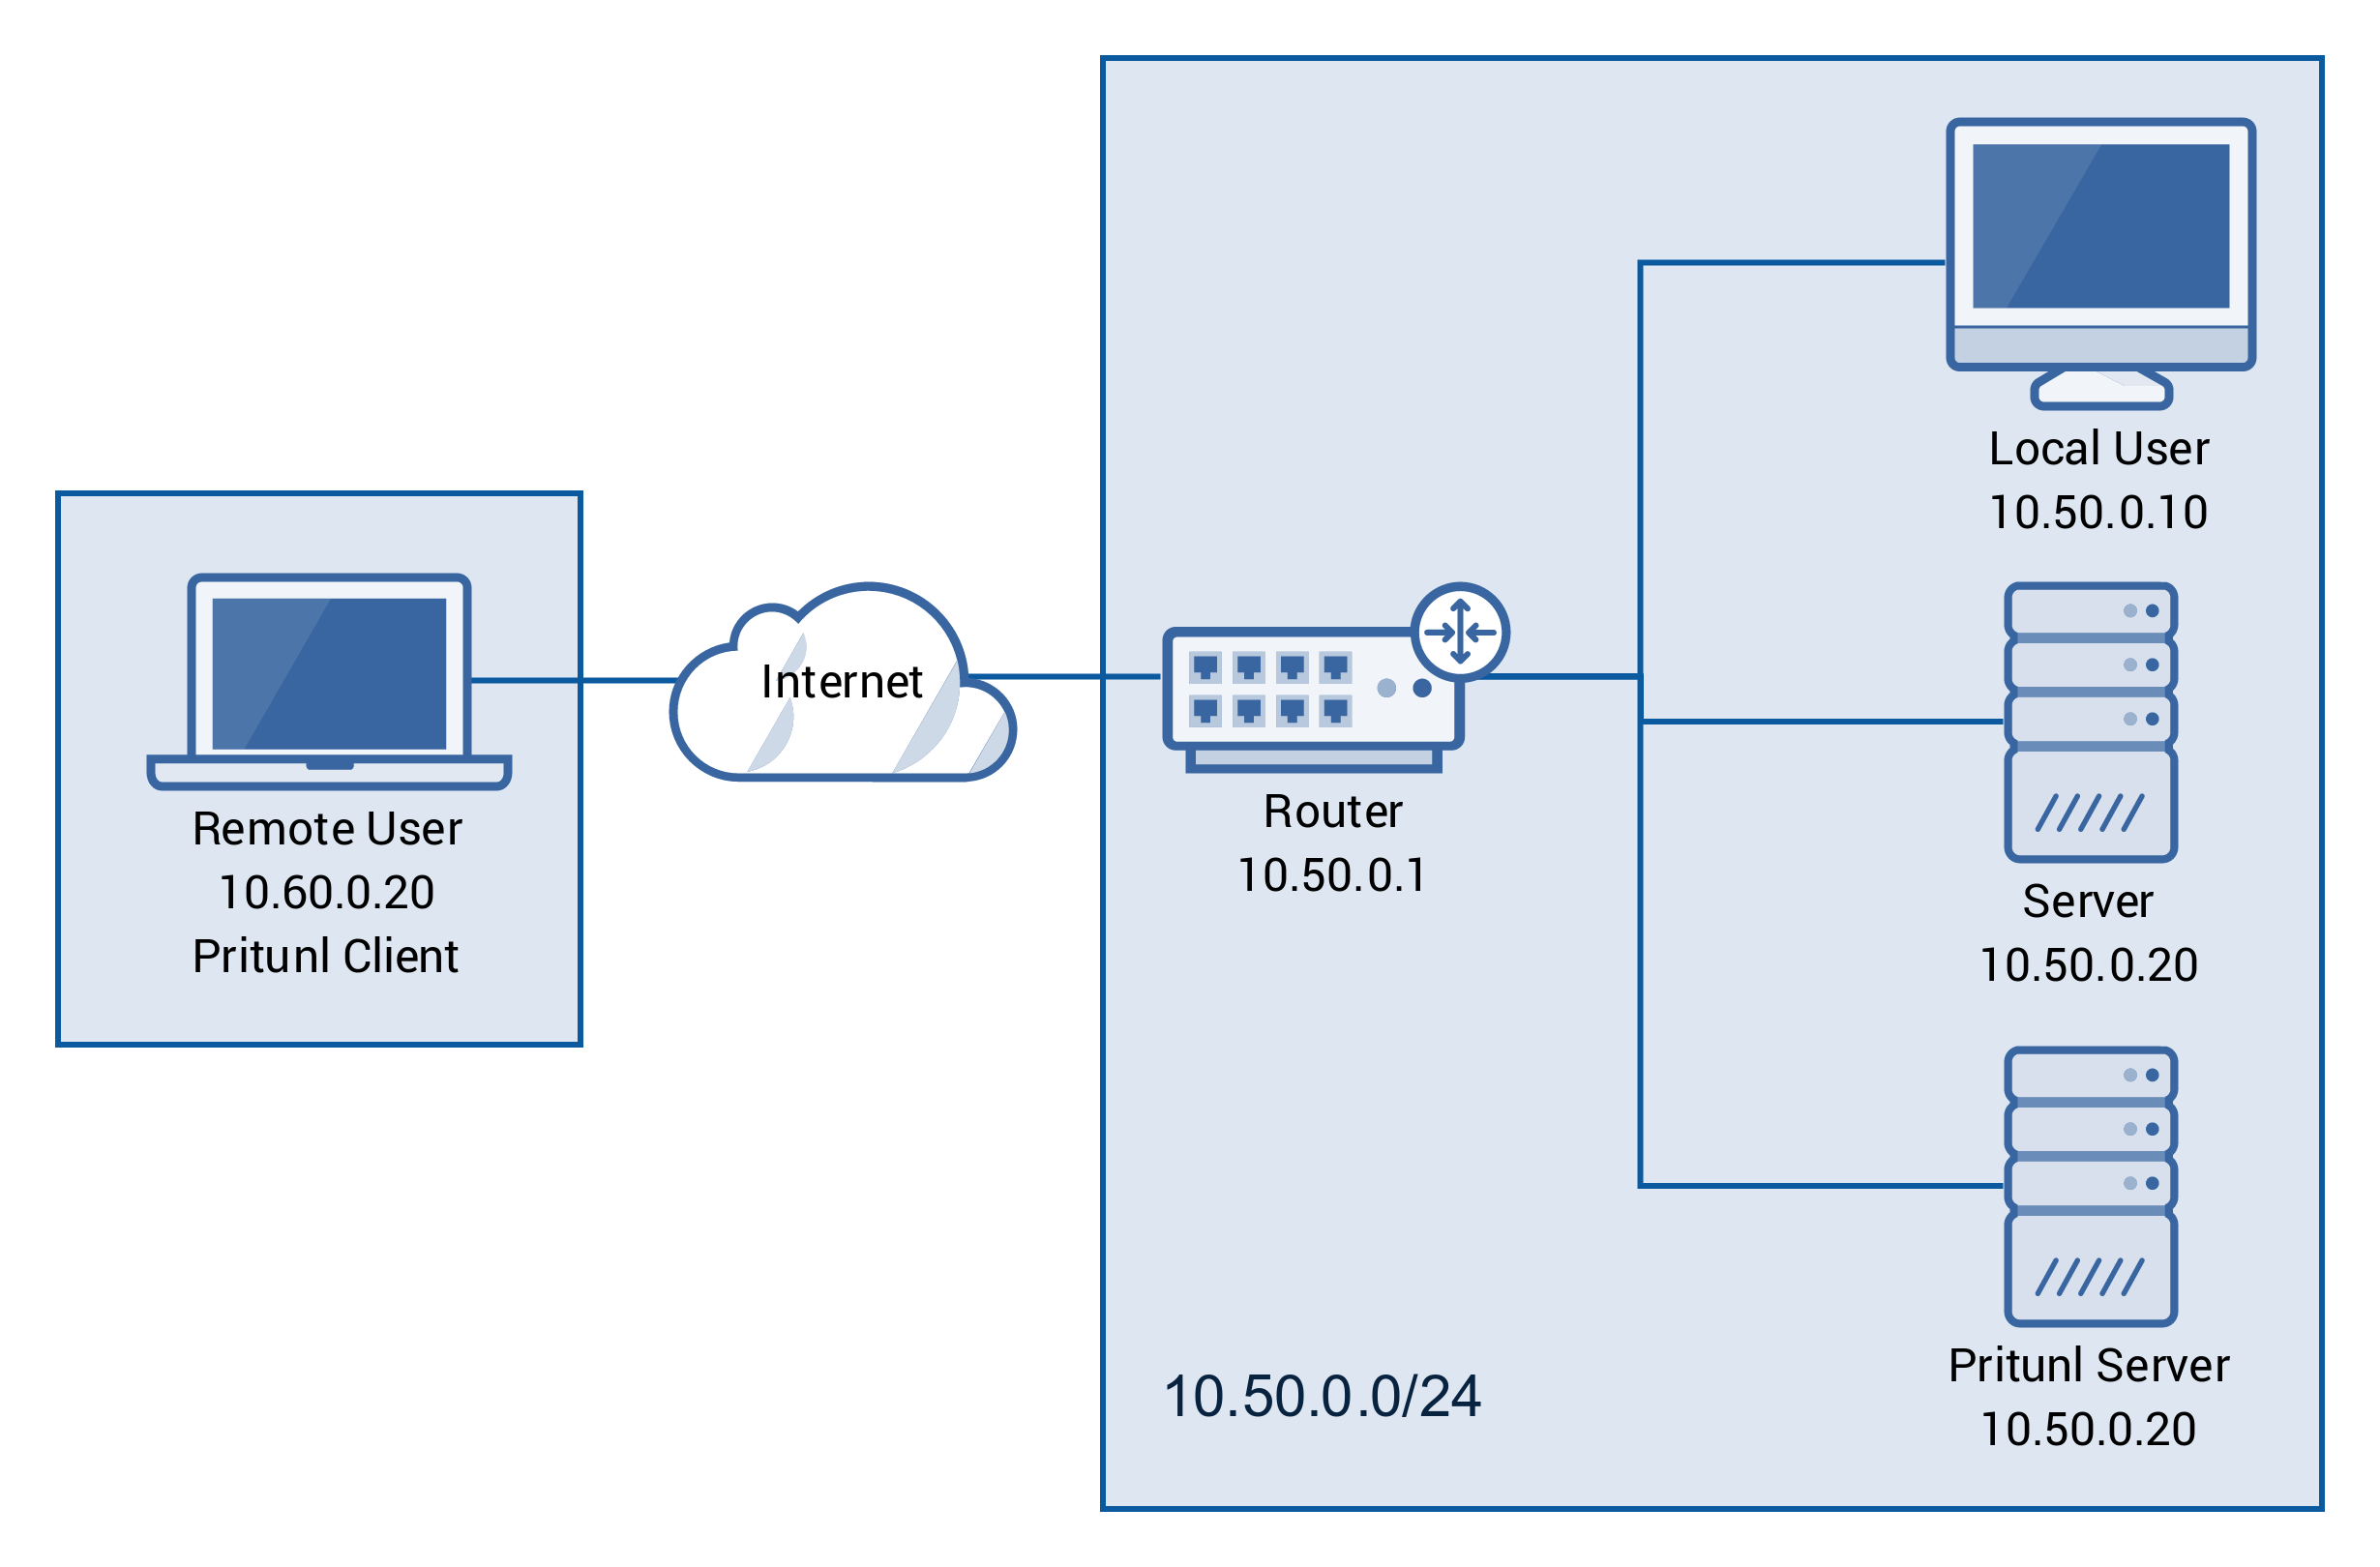
This tutorial will describe securing access to a private network using a Pritunl server. The diagram below shows the network topology for this tutorial.
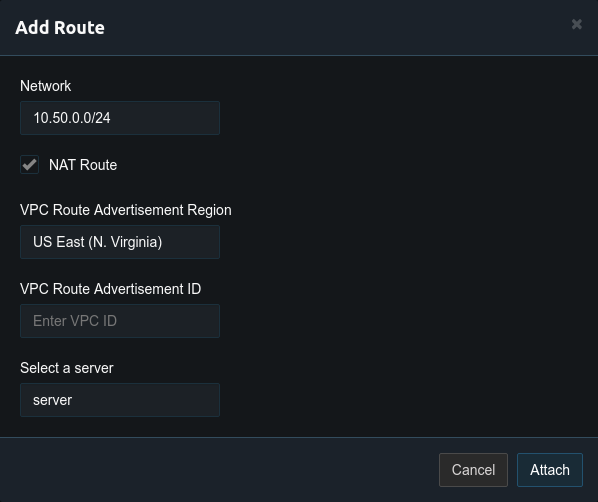
First remove the 0.0.0.0/0 route from the server. This route tunnels all internet traffic over the vpn, for this setup only the traffic for the private network will be tunneled.

After this route is removed add a route for the private network with the network address of 10.50.0.0/24.
Once the route has been added there should be only two routes on the server. One for the vpn virtual network and the route to the private network.
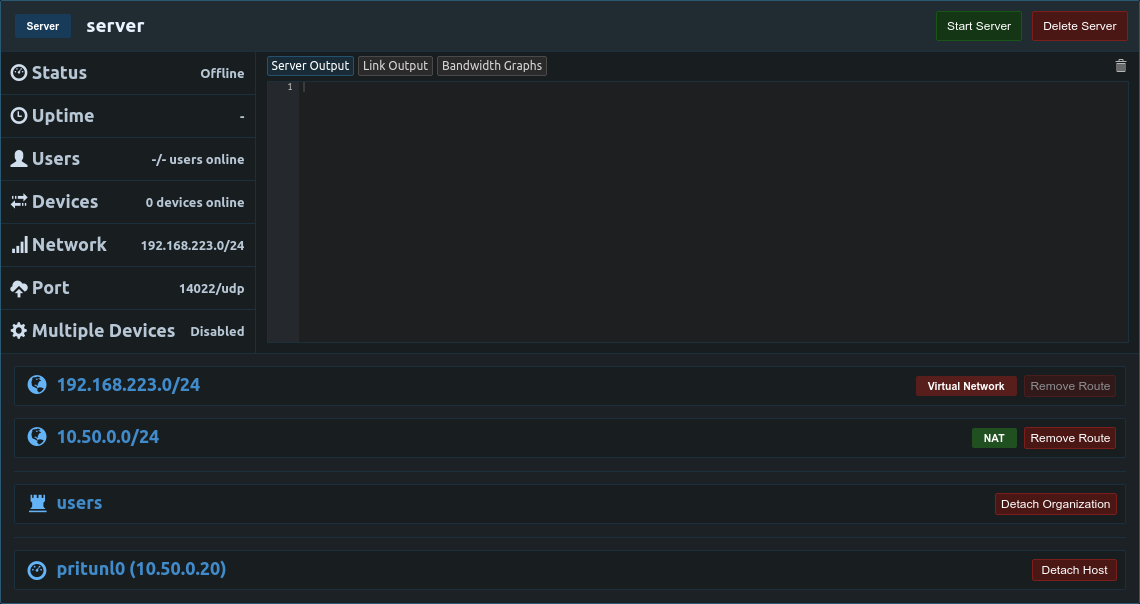
The server can now be started and connected vpn clients will have access to the 10.50.0.0/24 private network.
Private Network Access Without NAT (Optional)
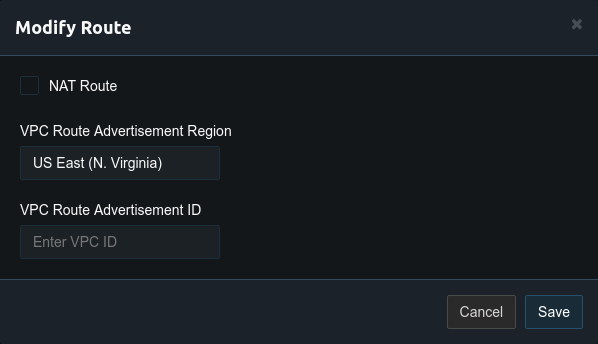
By default Pritunl will NAT vpn traffic going to private networks. This eliminates the need to create static routes on the router. If NAT is not wanted it can be disabled by modifying the route and unchecking NAT Route. For AWS static routes are best managed using AWS Route Advertisement.
Once NAT has been disabled a static route must be created on the router. This will be different depending on what router is used. The image below shows adding a static route on an Ubiquiti EdgeRouter. The destination network for the route will be the virtual network in the server settings and the next hop address will be the local ip address of the Pritunl server.
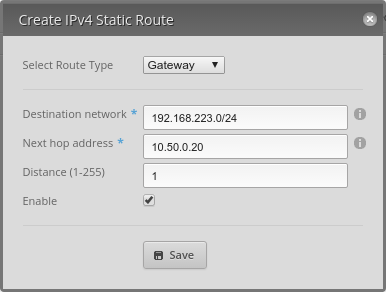
It may also be necessary to modify the firewall of the router to allow traffic from the vpn network. Once complete vpn clients will have access to private network without NAT.
Amazon Web Services Routing
When NAT is not used on AWS the source/dest check must be disabled for the network interface attached to the Pritunl EC2 instance.
Updated 3 months ago
