Azure Single Sign-On
Configure single sign-on with Azure
Pritunl Zero supports single sign-on with Azure Active Directory. Azure Active Directory Security and Office 365 groups will be used to assign roles to the user.
Create Azure Active Directory App
Open the Azure dashboard and go to the App registrations section of the Azure Active Driectory.
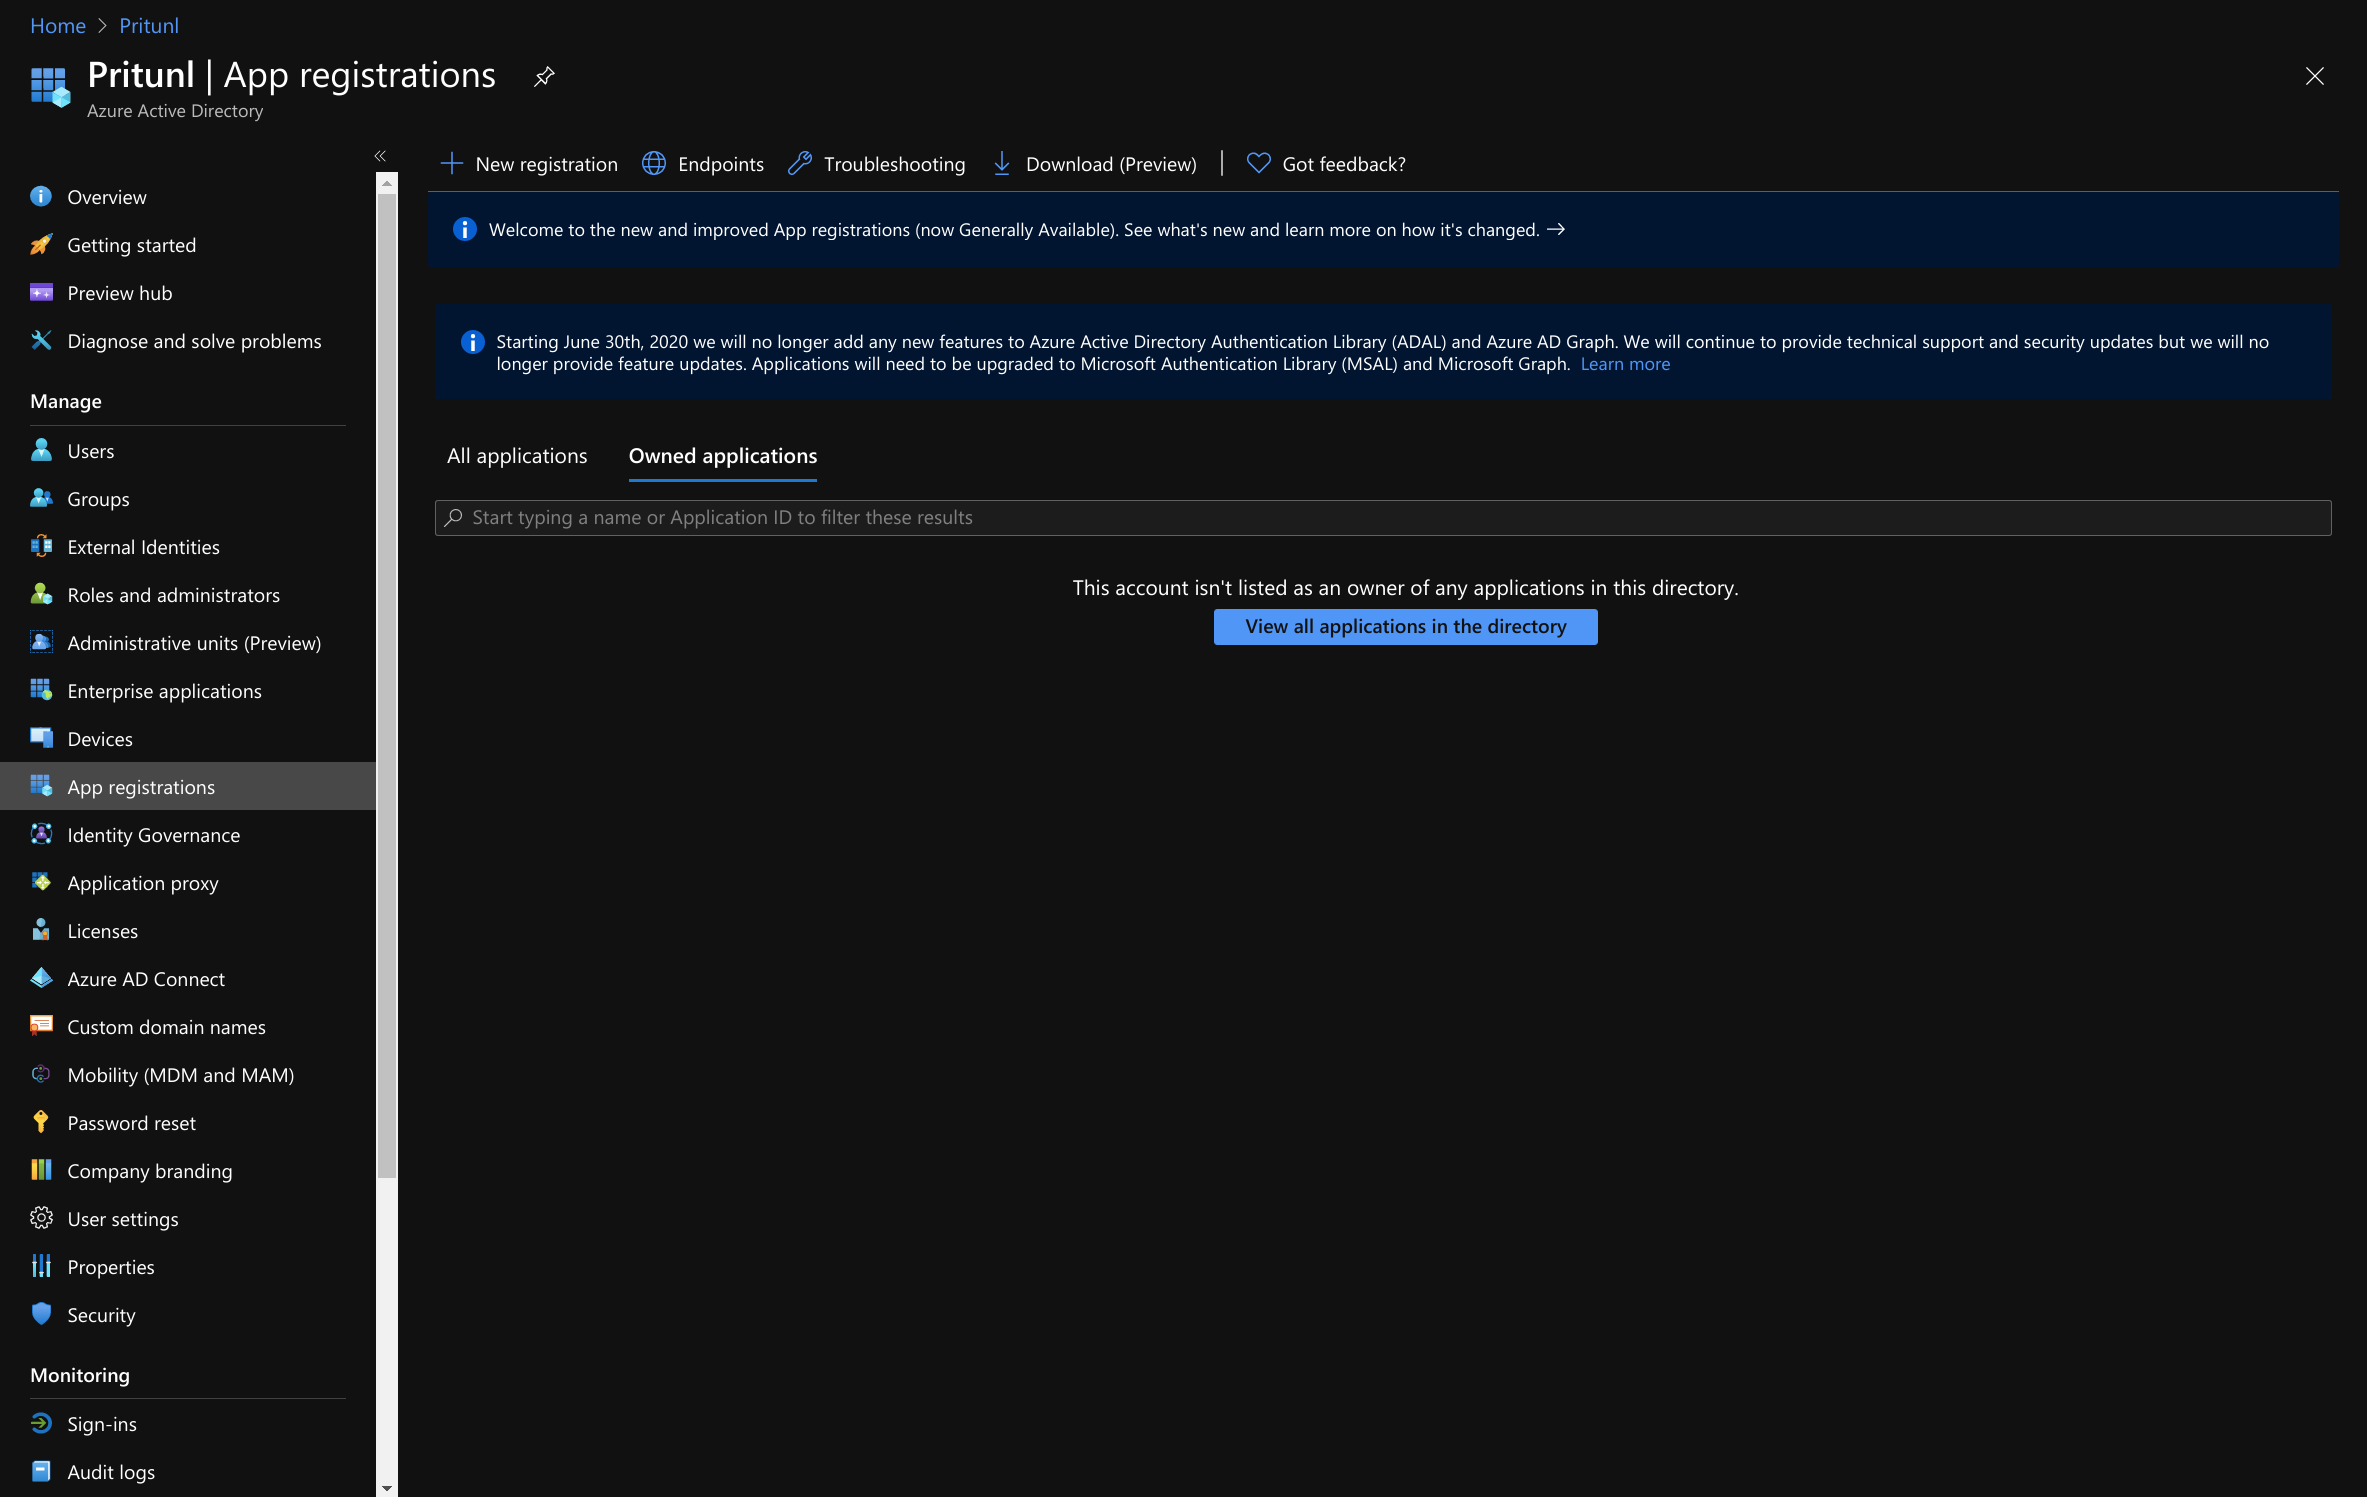
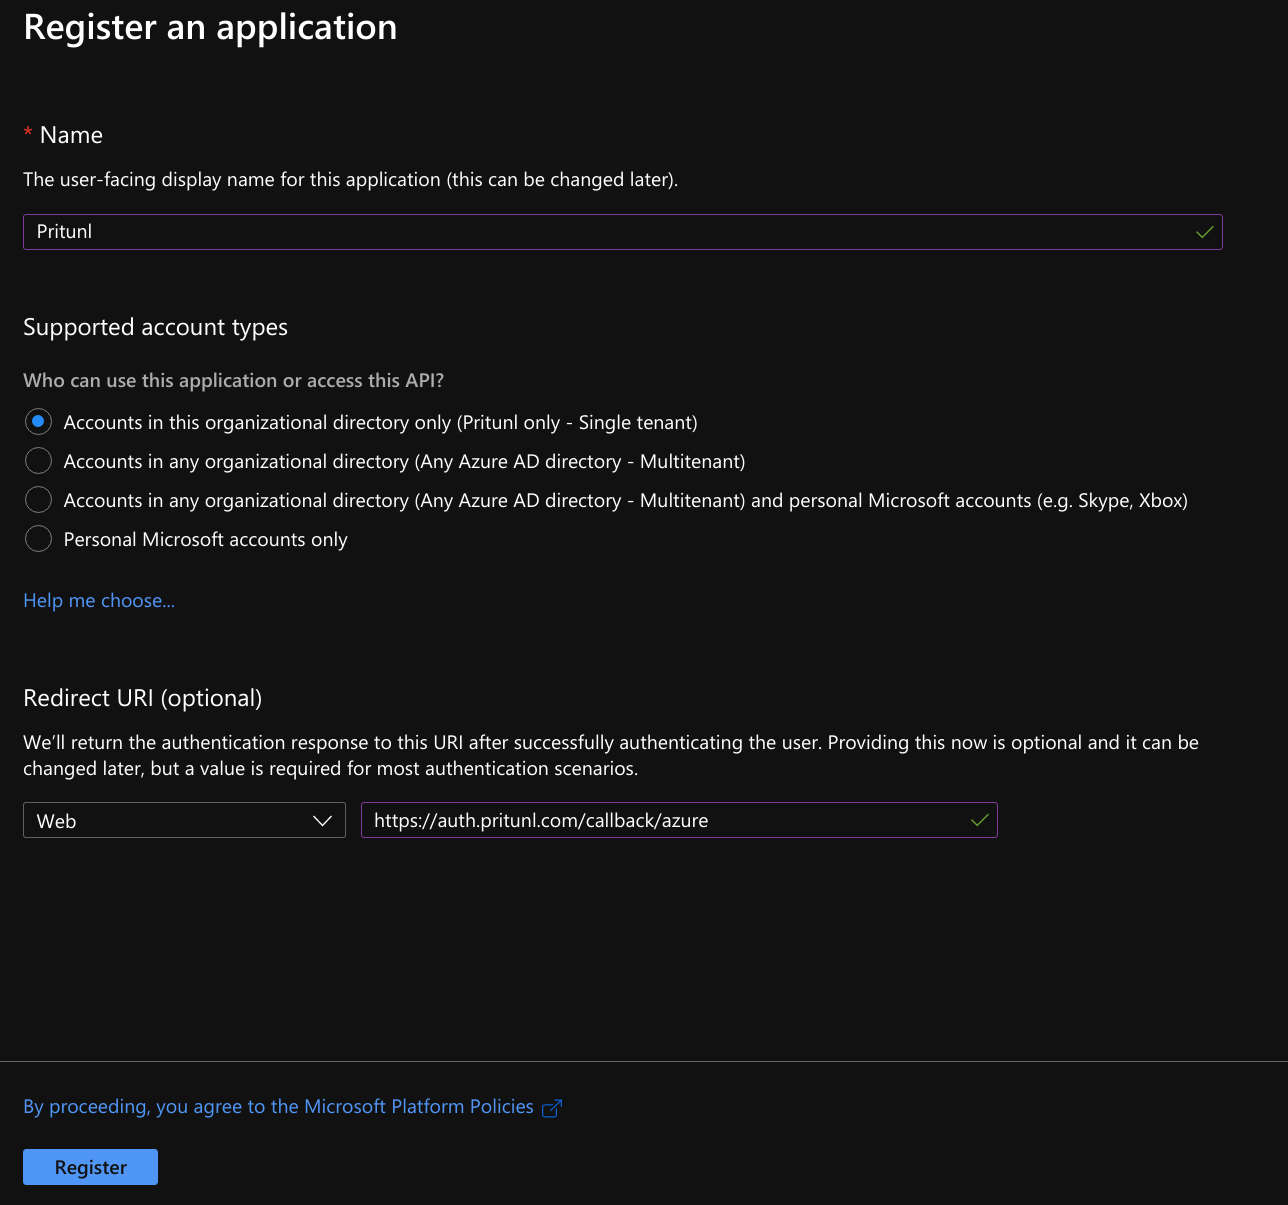
Click New registration and set the Name to Pritunl and Redirect URI to Web. Then set the URL to https://auth.pritunl.com/callback/azure. Once done click Register.
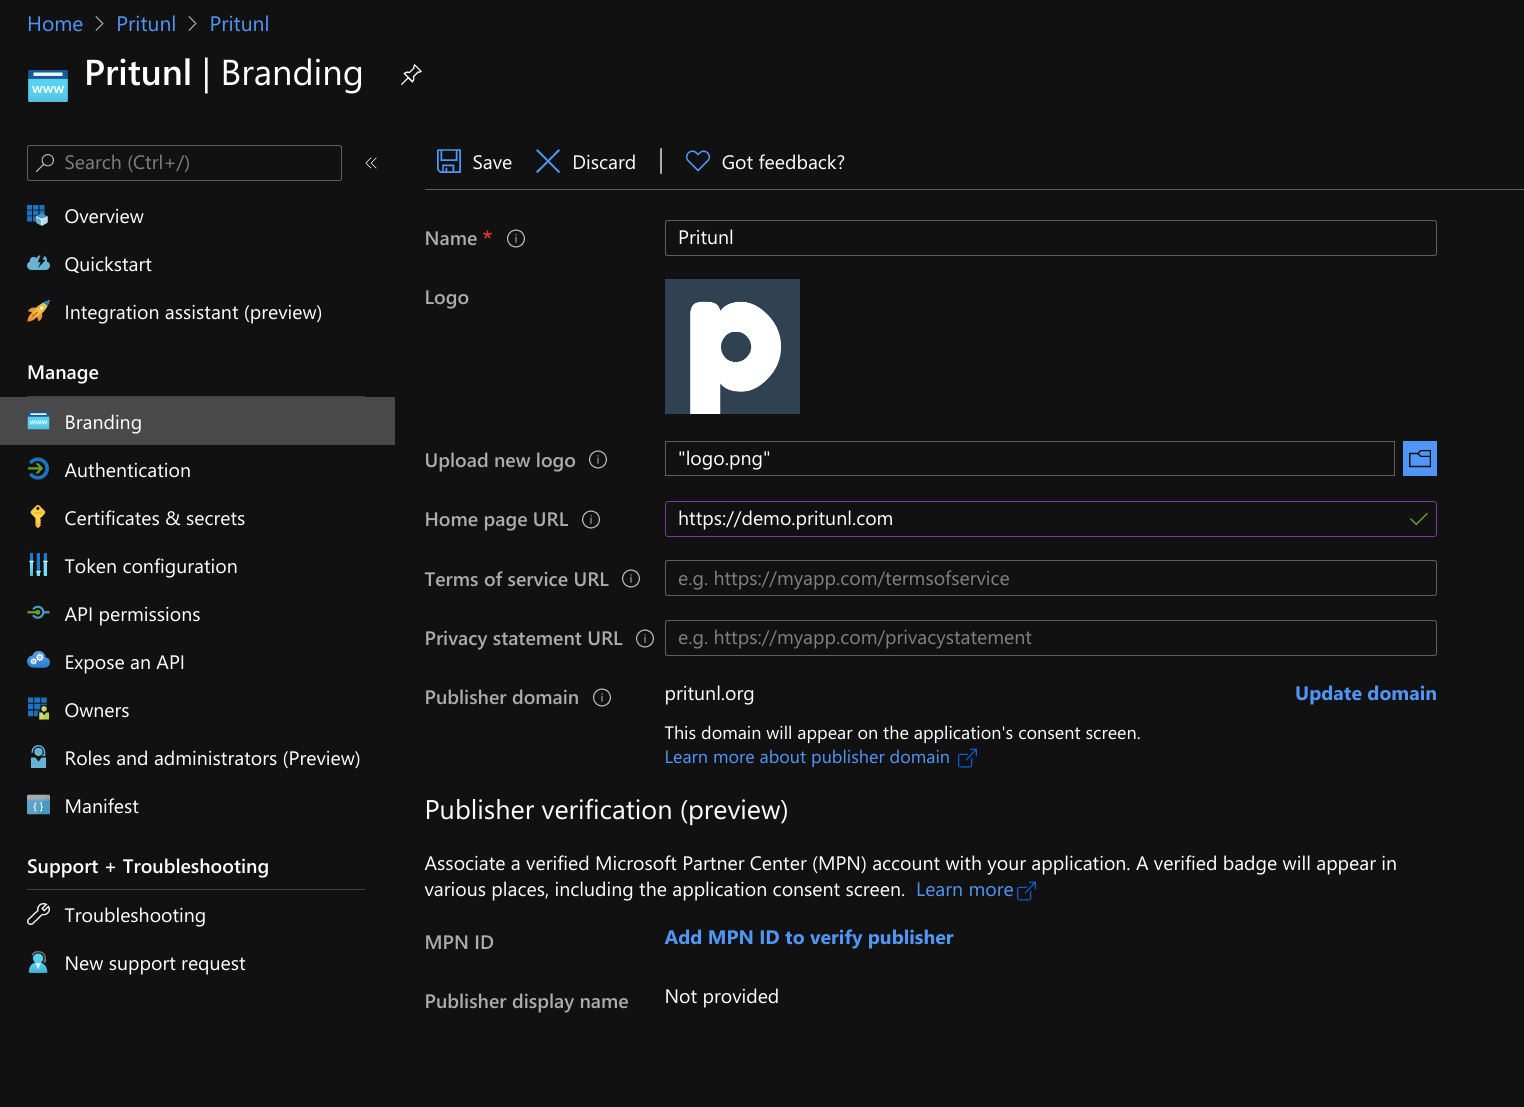
Open Branding and upload the Pritunl Logo. Set the Home page URL to the URL of your Pritunl server. Then click Save.
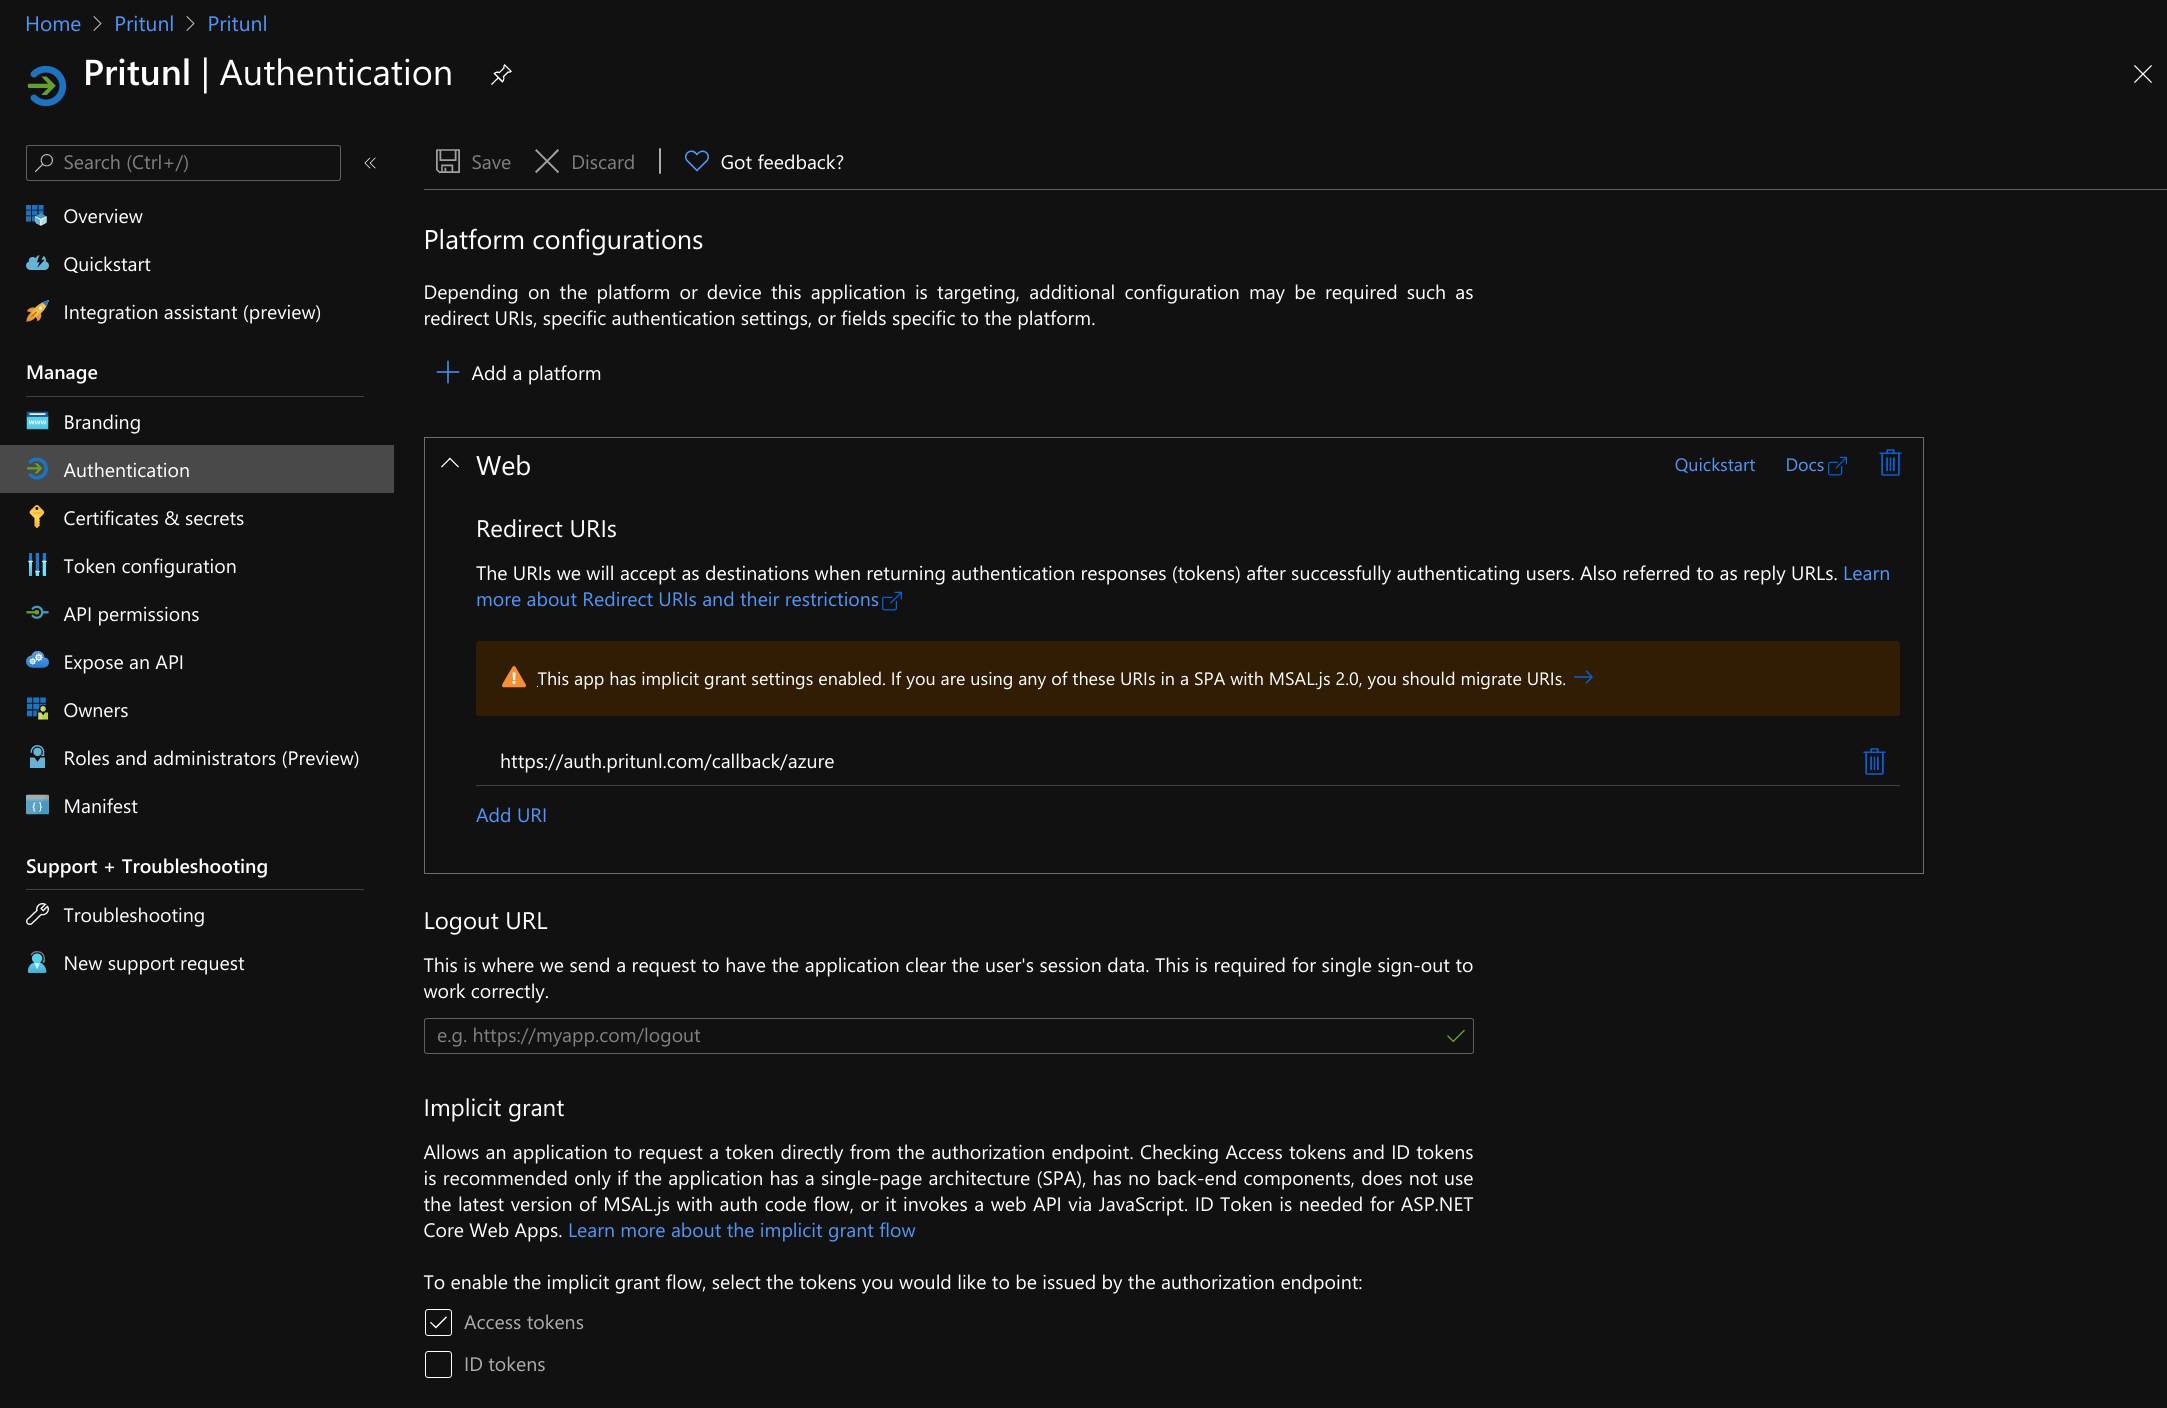
Open the Authentication tab and enable Access tokens under Implicit grant. Then click Save.
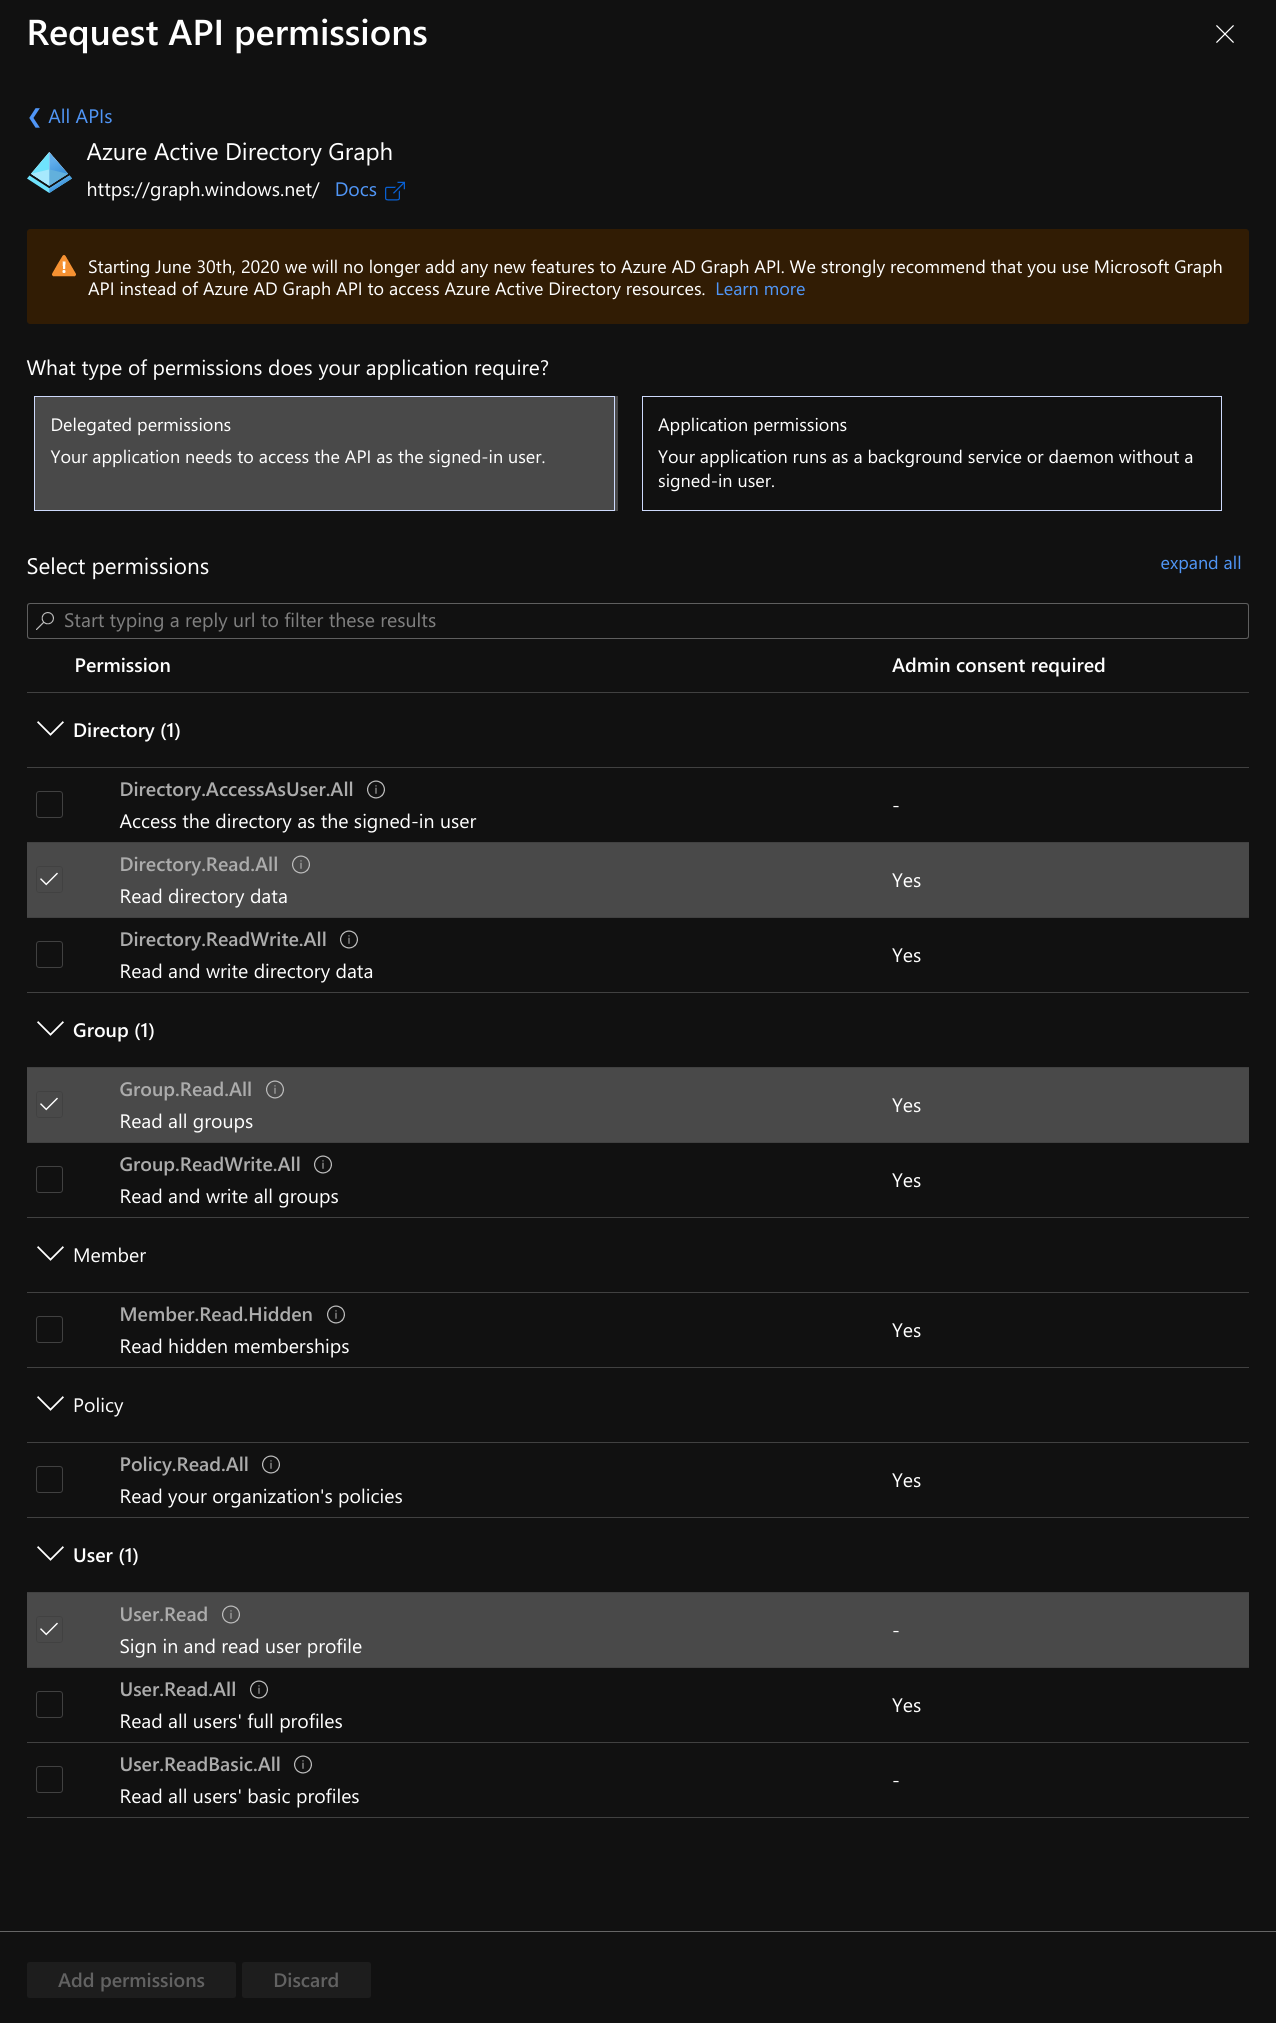
Open API permissions and select Azure Active Directory Graph at the bottom then select Delegated permissions. Then enable Directoy.Read.All, Group.Read.All and User.Read. Once done click Add permissions.
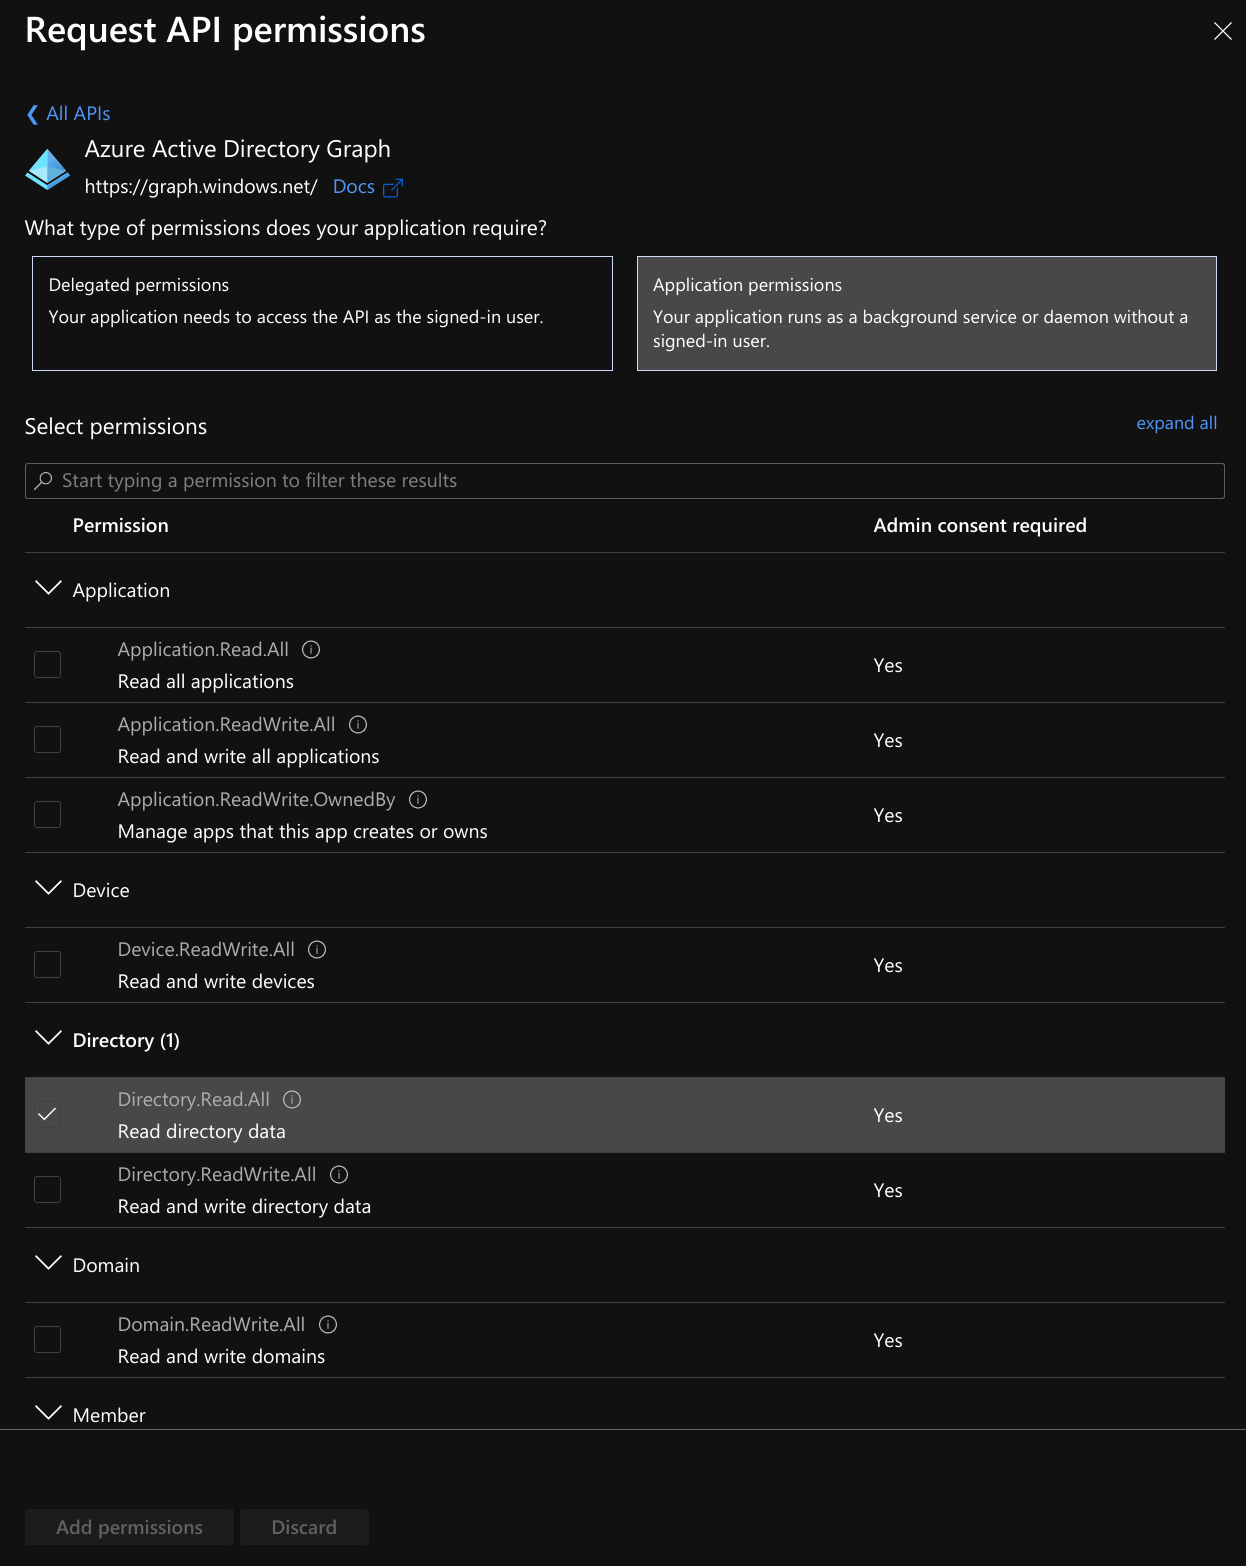
Open API permissions again and select Azure Active Directory Graph at the bottom then select Application permissions. Then enable Directoy.Read.All. Once done click Add permissions.
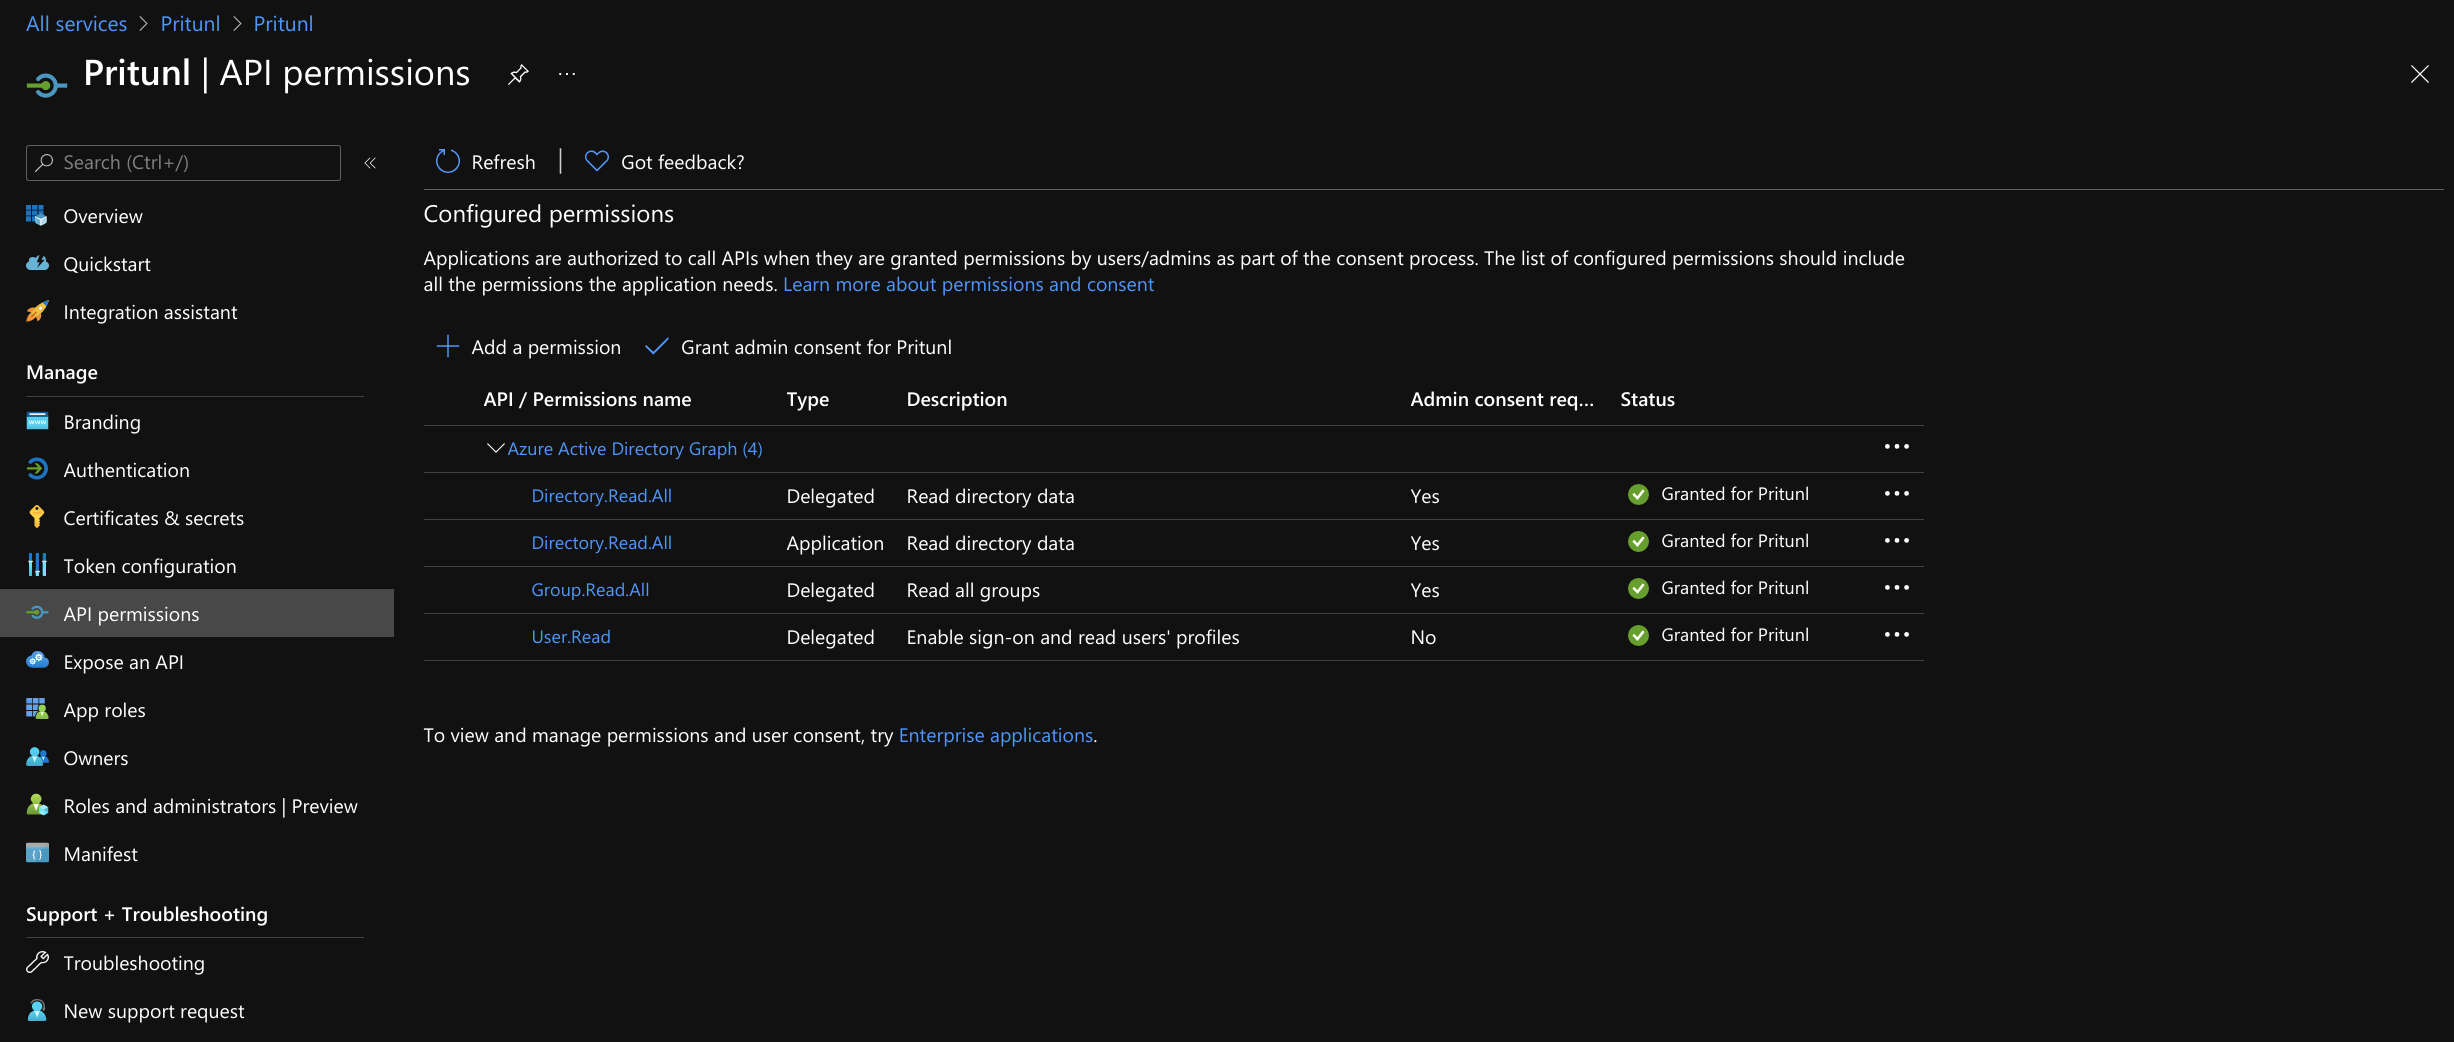
After the permissions have been saved click Grant admin consent for Pritunl on the API permissions tab.
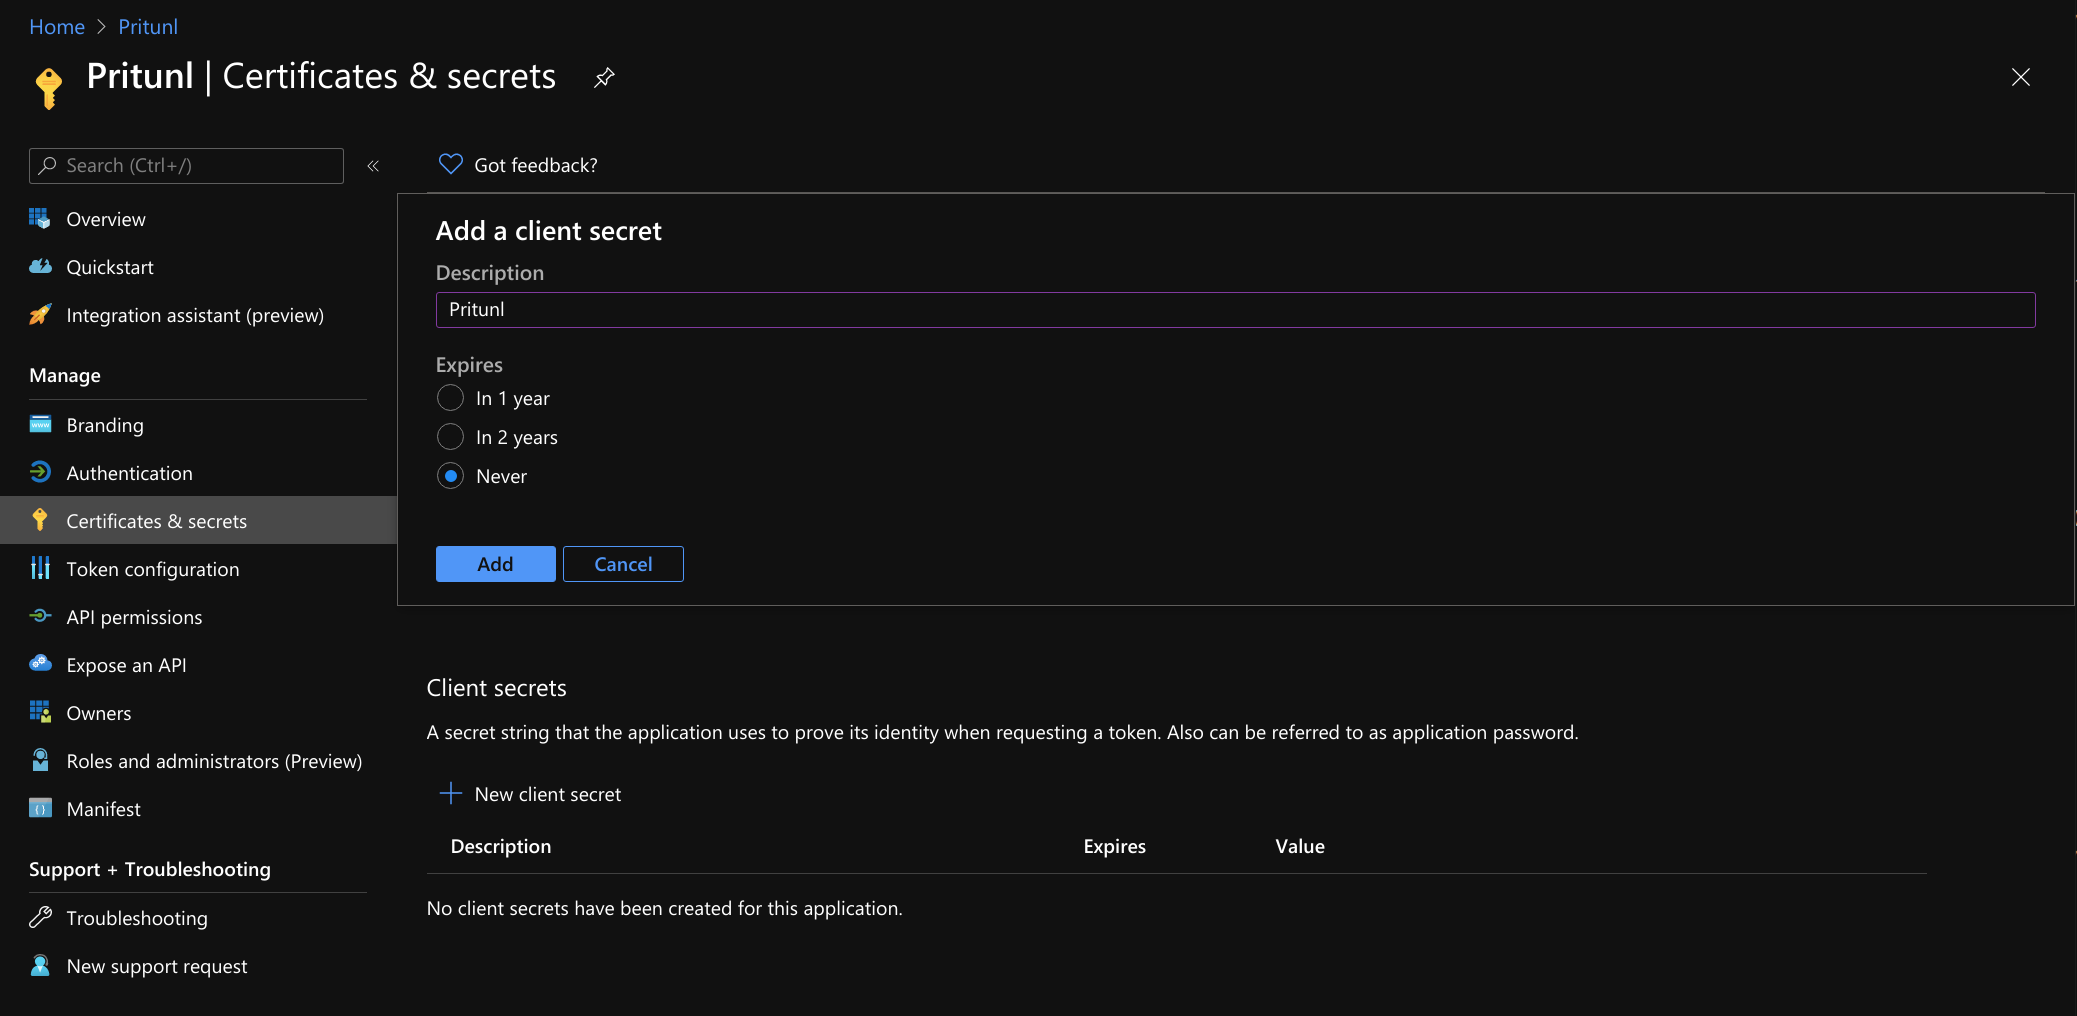
Open Certificates & secrets and click New client secret. Then set the Description to Pritunl and set Expires to Never. Once done click Add and copy the Value in the Client secrets. Save this value for the steps below.
Configure Pritunl Zero
Open the Settings in the Pritunl Zero management console and select Azure under Authentication Providers. Then click Add Provider and set the Label to Azure. Configure any Default Roles that will be needed. Copy the Azure key value from above into Application Secret.
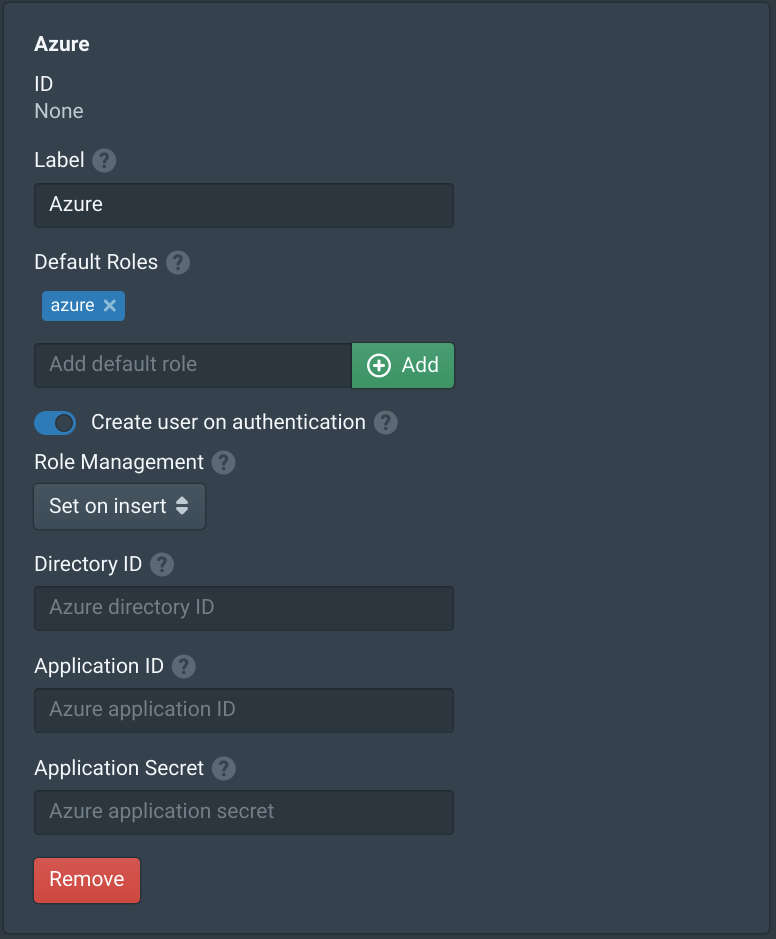
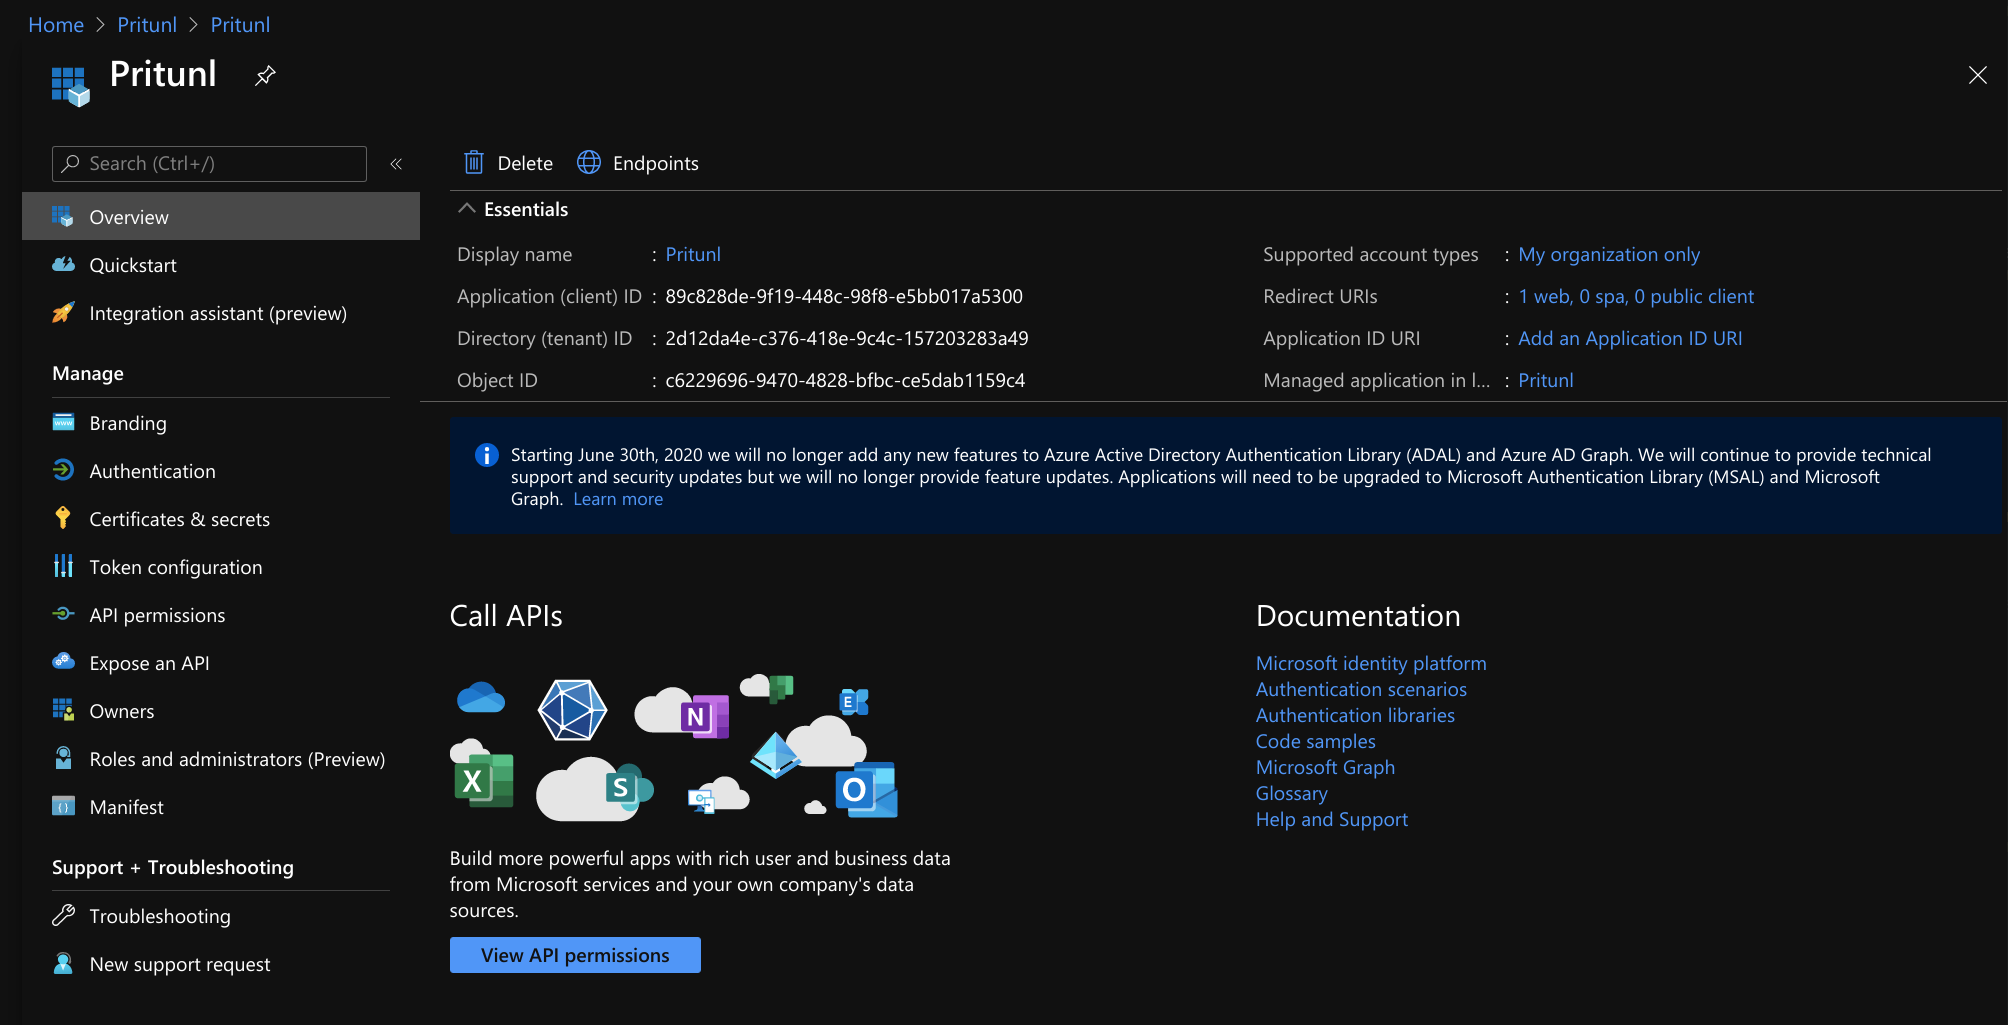
Open the Overview of the Pritunl app in App registrations. Copy the Directory (tenant) ID, and Application (client) ID to the Pritunl Zero configuration.
Once done click Save in the Pritunl Zero settings. Users will then be able to authenticate with Pritunl Zero using Azure Active Directory.
Updated almost 4 years ago
